


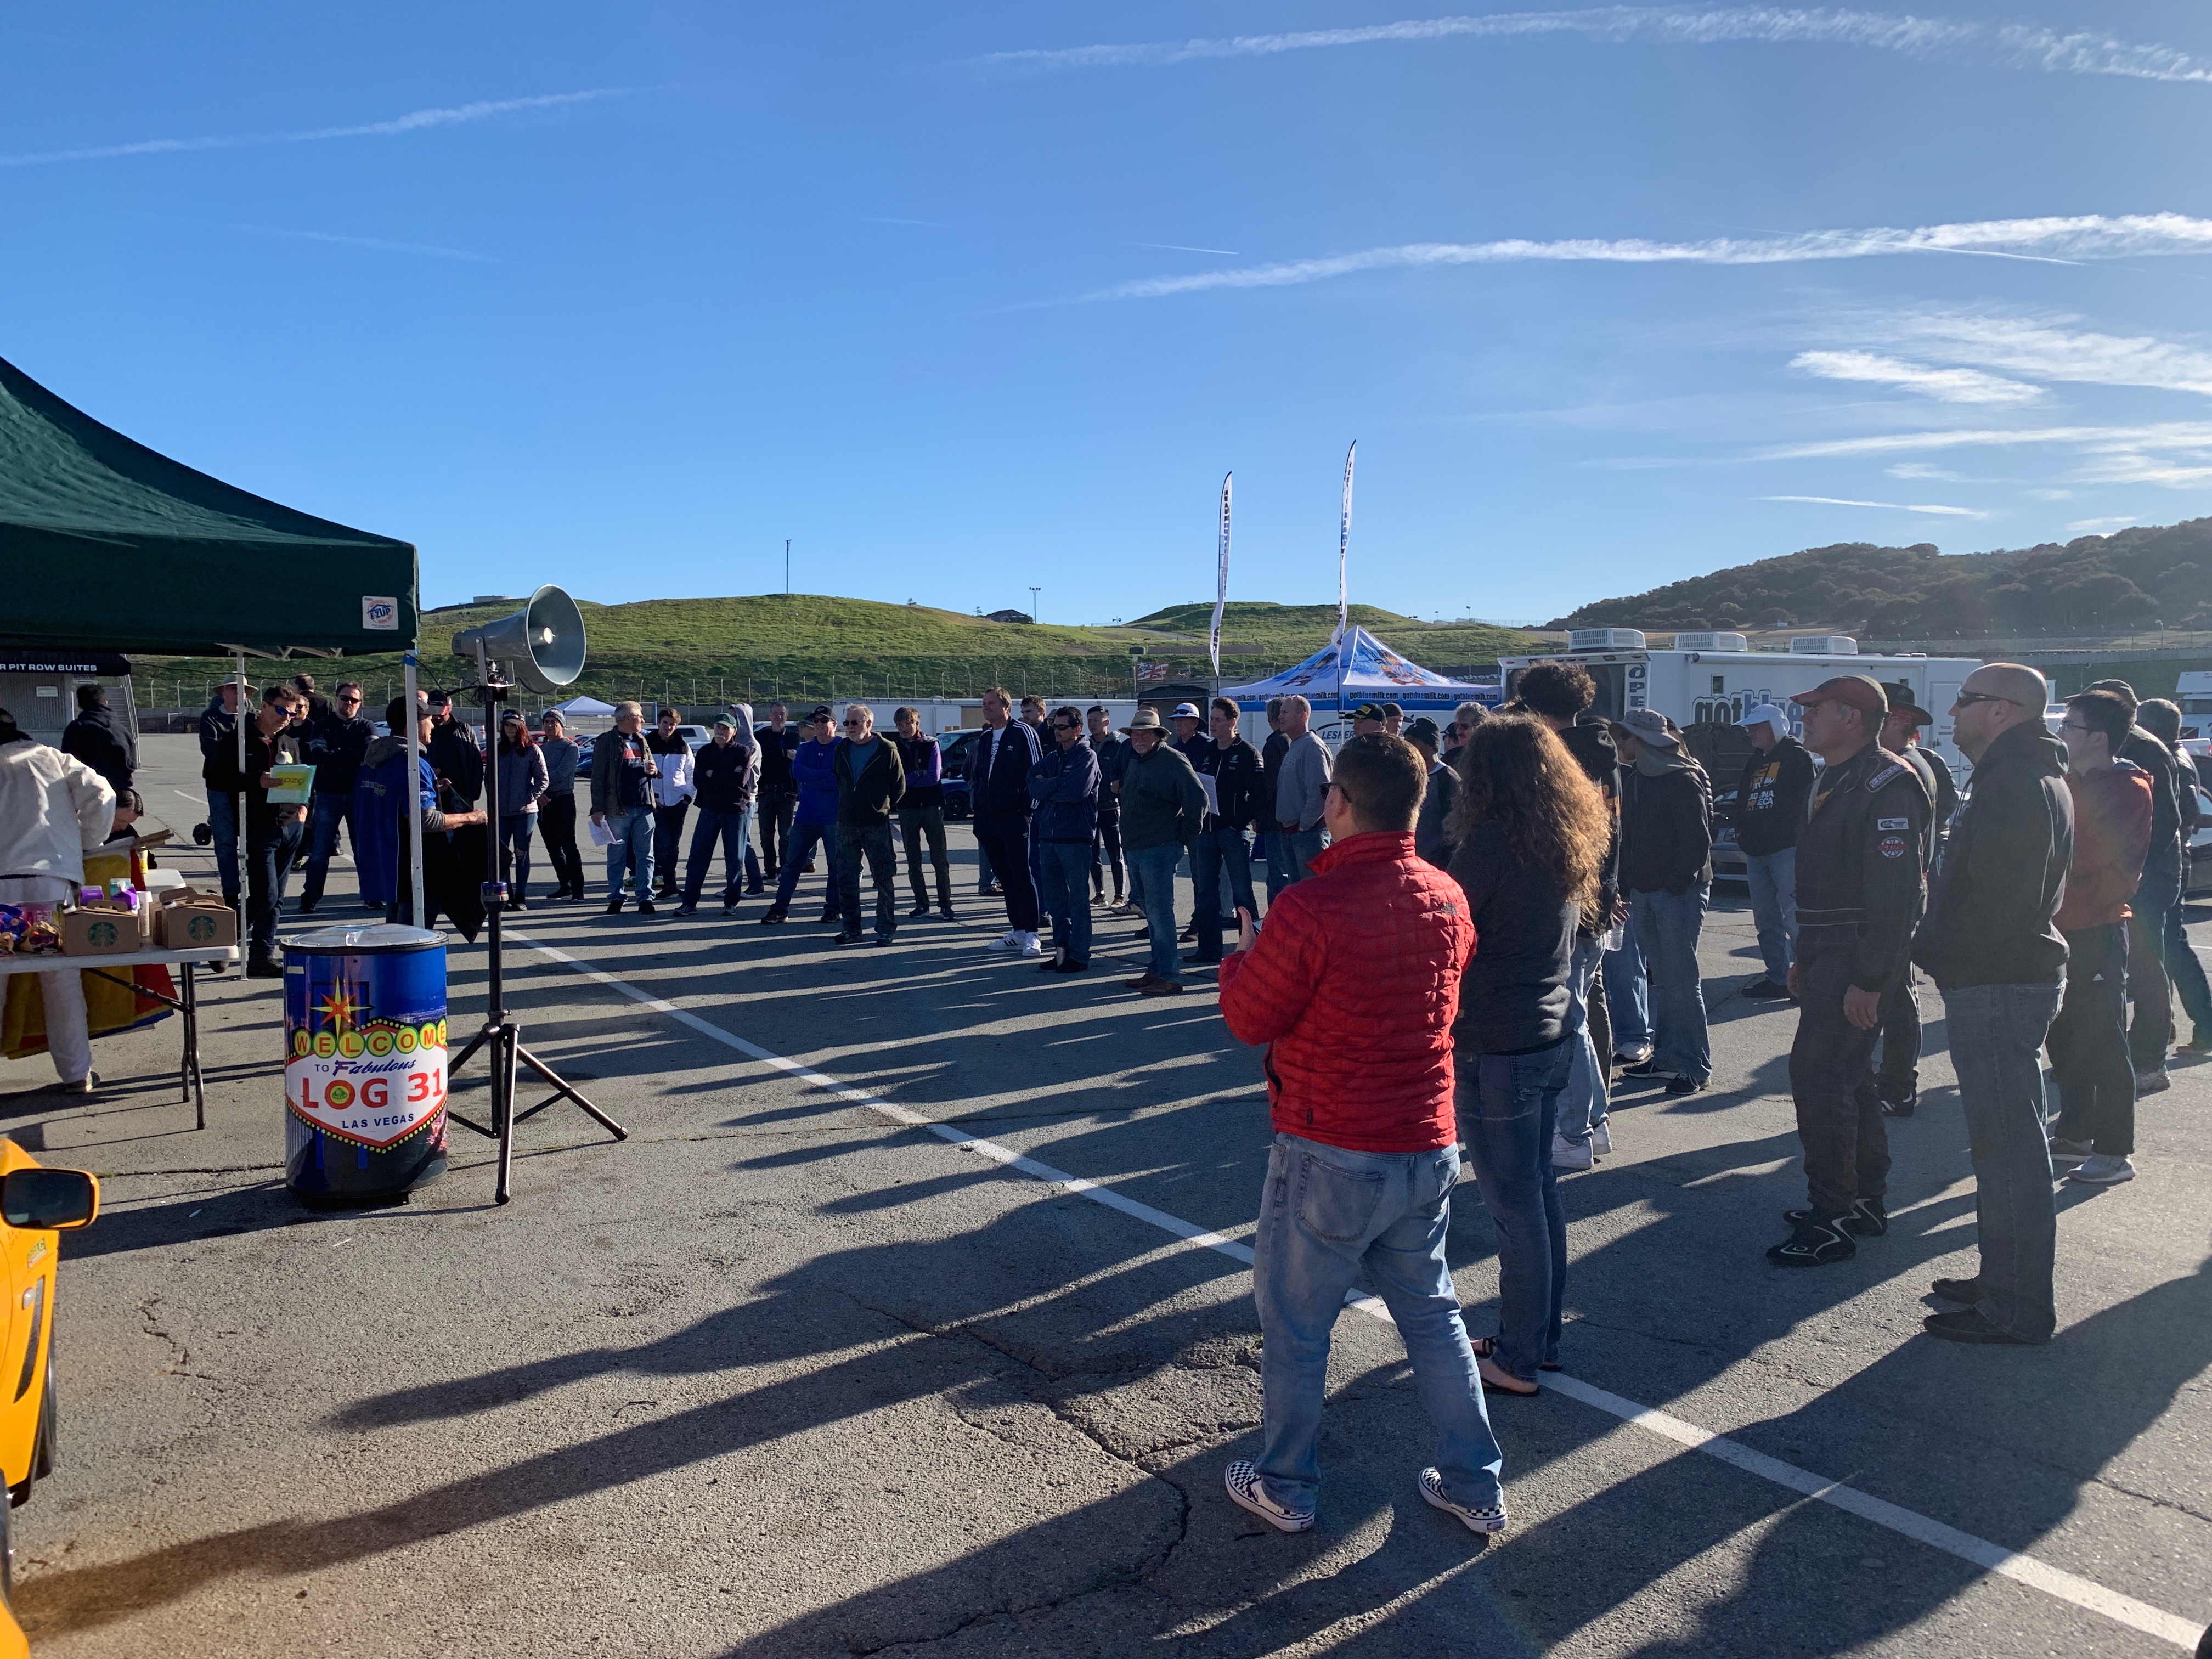
 Drivers' meeting |


 Mini Cooper "XX SMALL" and JPS Lotus |
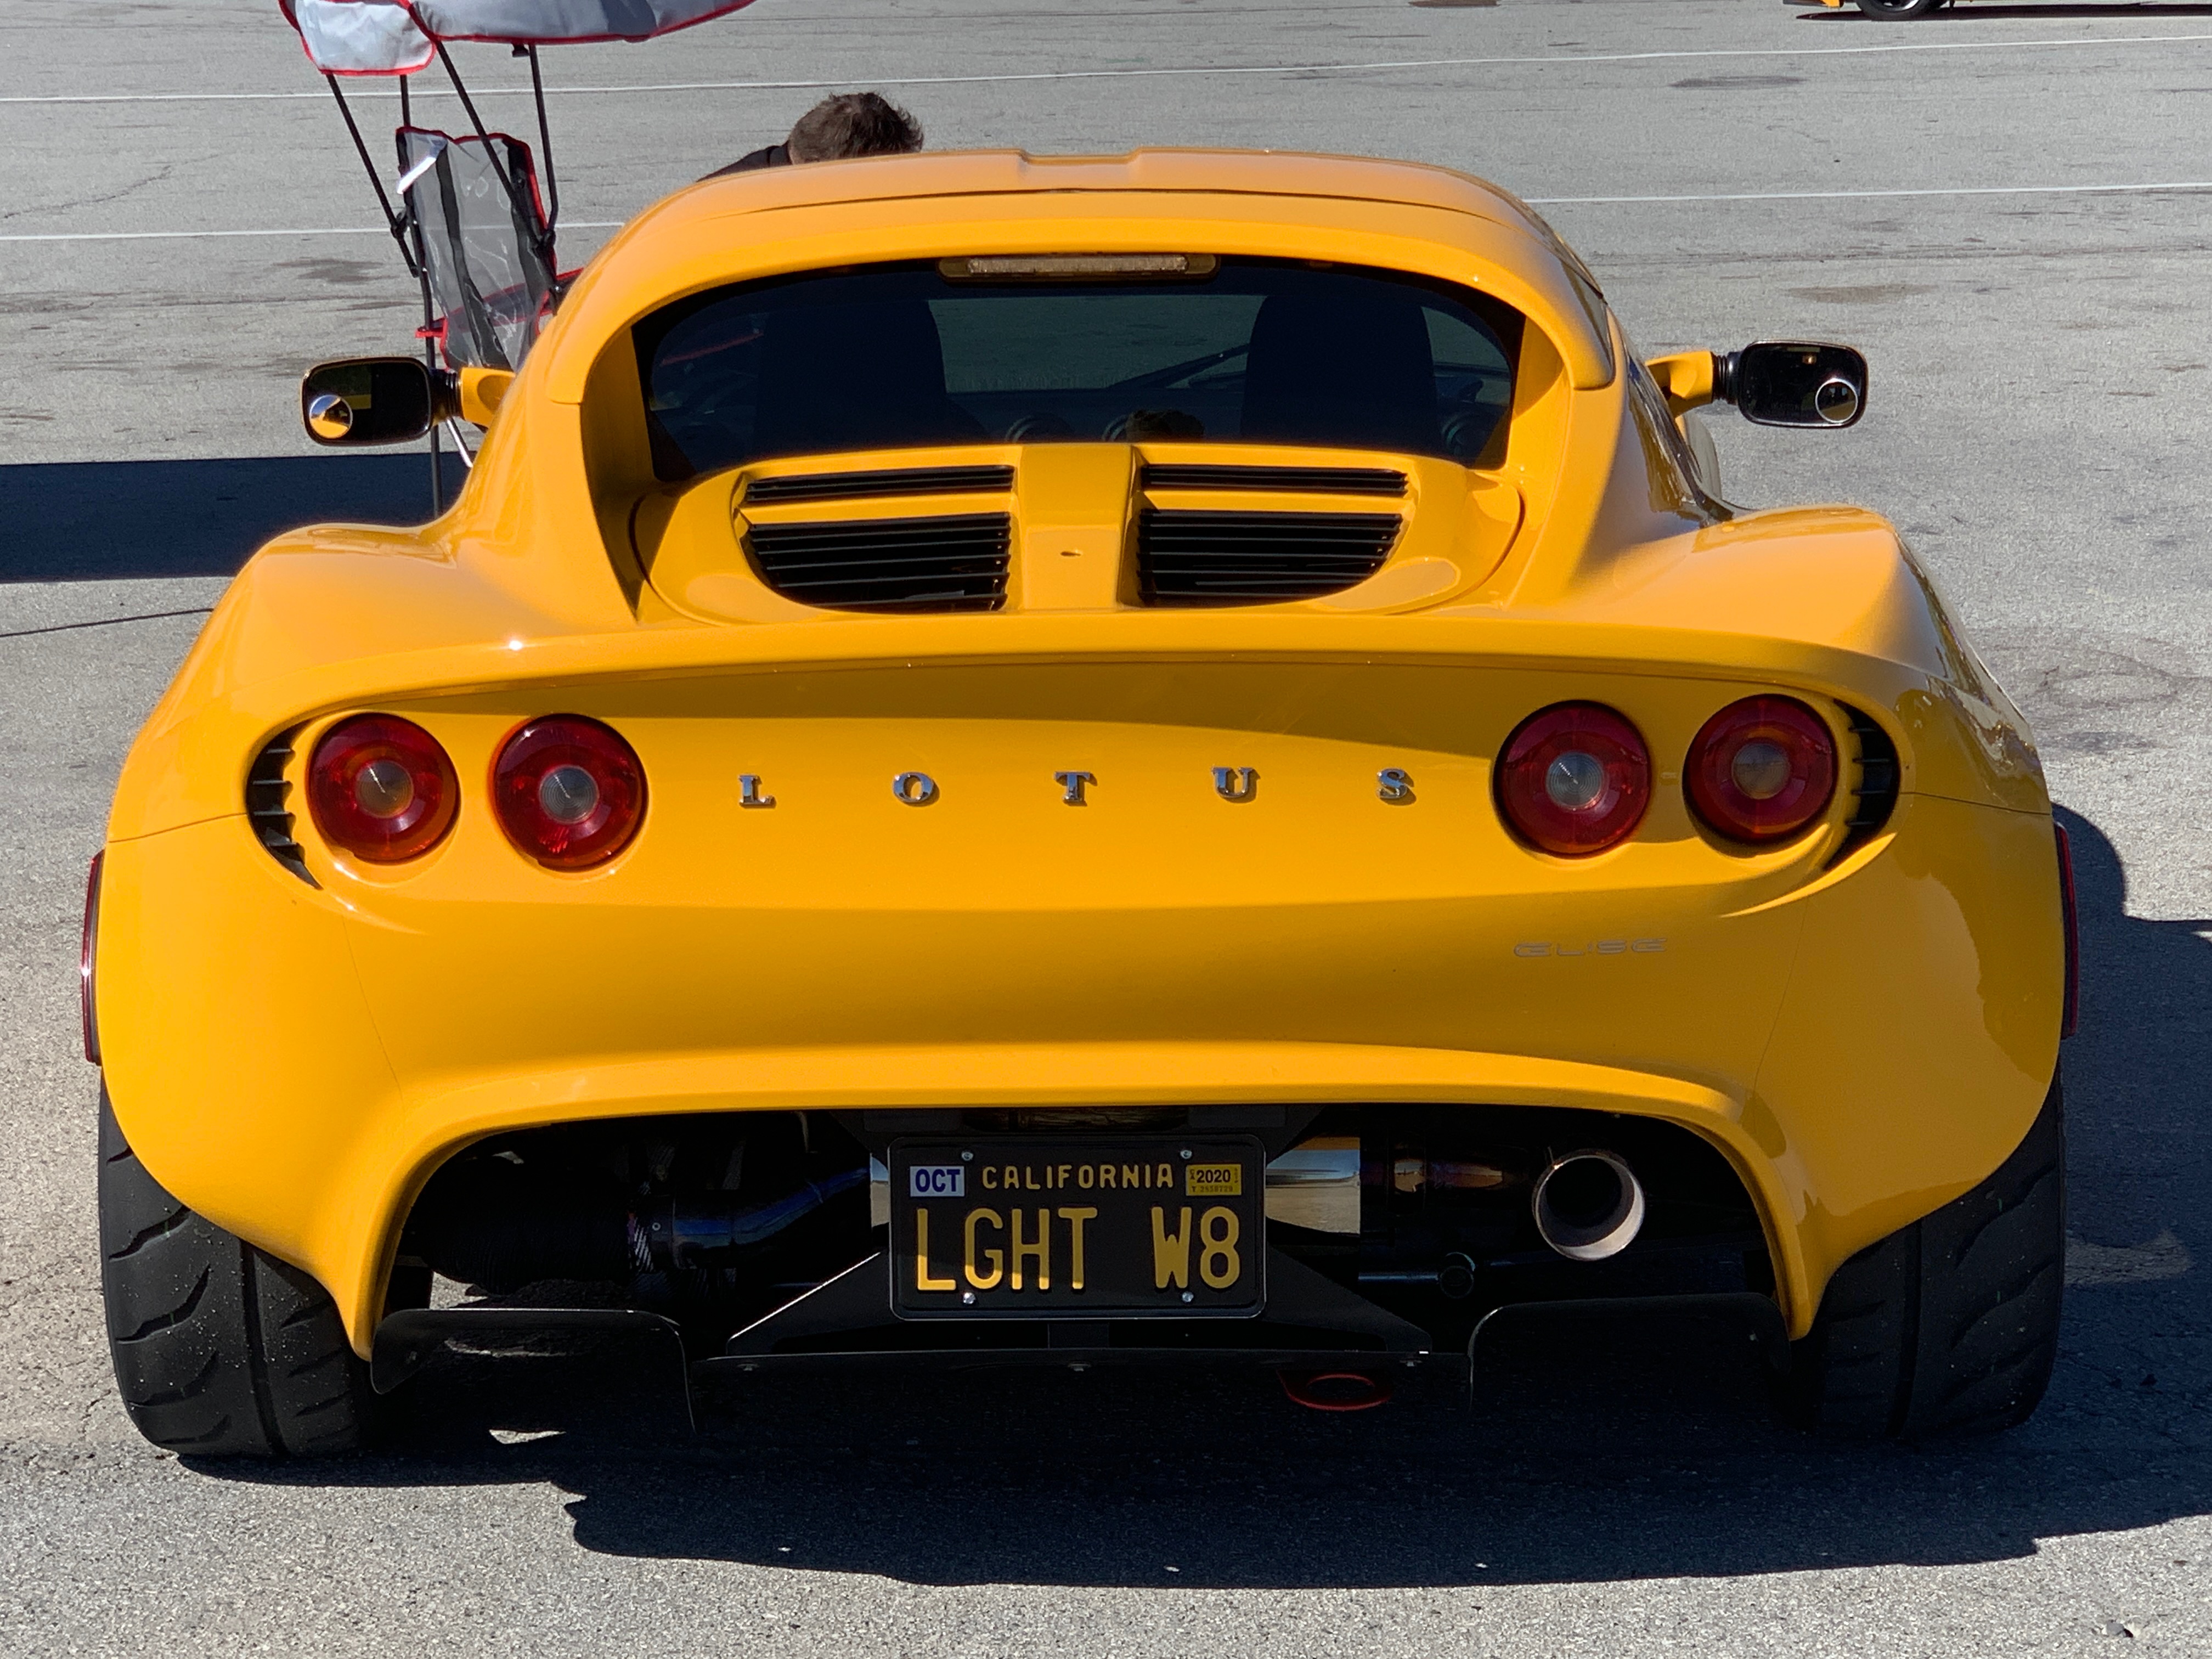

 Fun license plates |
|
After lunch, my first few laps were spent warming up the tires to get tire pressure back to a suitable level. Relative to cold pressures, heat causes my front tires to gain 10 PSI in just one session which makes them very slippery. (The back tires don't work as hard and thus gain only 5-6 PSI.) I bleed off air to get the tire pressure back to where it should be but after the long lunch break they cool enough to be underinflated. I was cautious to leave them a little overinflated during the morning so they weren't too low after lunch, and then reset them to appropriate pressures after the first afternoon session.

| Oct. 2019 | Feb. 2020 | |
|---|---|---|
| Lap Time | 1:59.280 | 1:56.723 |
| Turn 11 | 30.0 | 37.1 |
| Start/Finish | 91.4 | 88.3 |
| Front Straight | 104.9 | 105.0 |
| Turn 2 (Andretti Hairpin) | 37.8 | 41.0 |
| (speeds in mph) | ||
The slightly faster speed on the front straight, despite being over 3 mph slower at the start/finish line, suggests that I had enough confidence in my brakes to brake later, which of course doesn't necessarily mean the brakes were better. On the other hand, the faster speeds at the turns entering and exiting the front straight suggest incremental improvement unrelated to brakes, as discussed below. (The tires were the same and there were no suspension improvements between the two days.)
Whether or not the brake improvements contributed to improved lap times, their endurance undoubtedly reduced costs by avoiding the need to replace brake pads and perhaps rotors after just one day. Not having to limp home with tattered brake remains was nice, too.

This line seems bad compared to a graceful, constant-radius, but allows later braking, maintaining front-straight speed longer, and a better exit with less understeer and potential for front-wheel spin. (I drove turn 11 similarly.) It remains unclear if this line is objectively better and of course in a race it would leave a big hole for a competitor to pass on the traditional line.
(The illustration is based on GPS data from Track Addict for my best lap overlaid on Google Maps' satellite view. Coordinate registration in the full-course map reveals some errors, suggesting off-course excursions that didn't happen, but it's close enough to show what I want through The Andretti Hairpin.)
Shift points were a focus last June and the main issue with them this time was remembering them. Several times I found that I had instinctively downshifted despite knowing that really was not optimal.
Towards the end of the day, I experiemented with when to shift on the front straight. I had been shifting at about 6,500 rpm but at that point turbocharger boost is waning so I tried shifting a little earlier. I would really like to get a set of power curves for my engine and compare them to the gearing to identify the ideal point at which to shift on high-speed straights. Upcoming track days at Thunderhill will provide good opportunities to explore this aspect of the car.
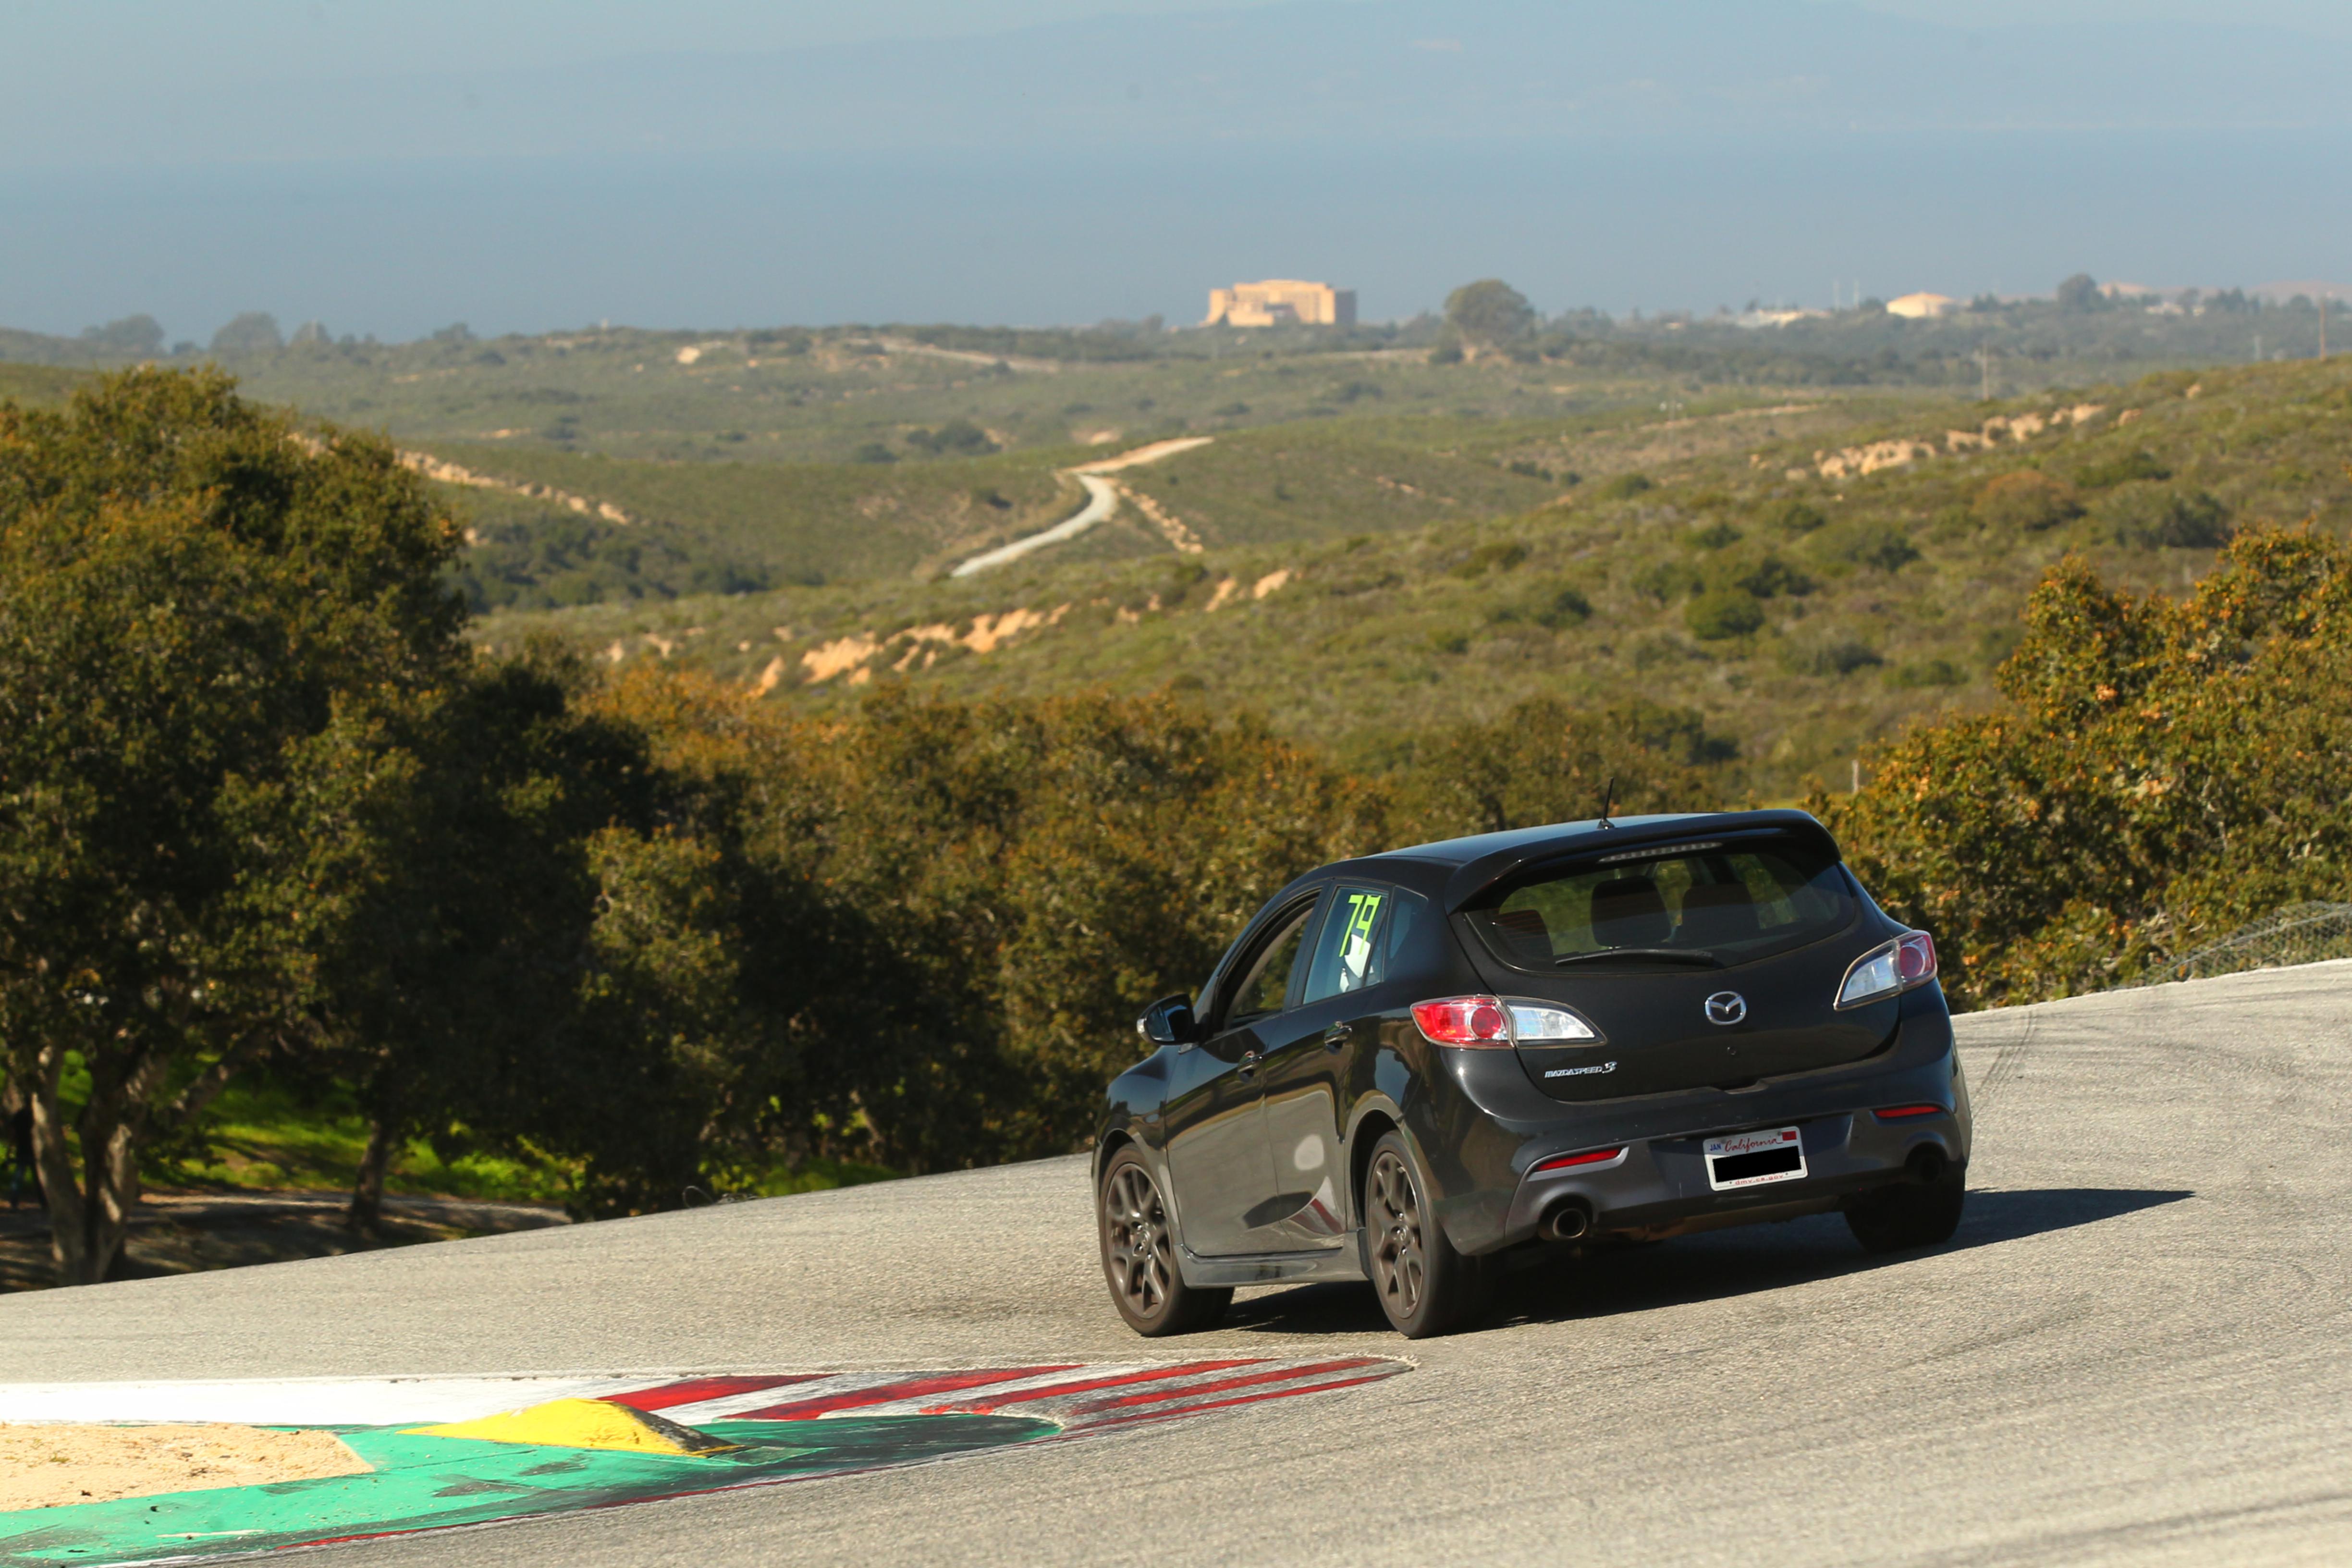
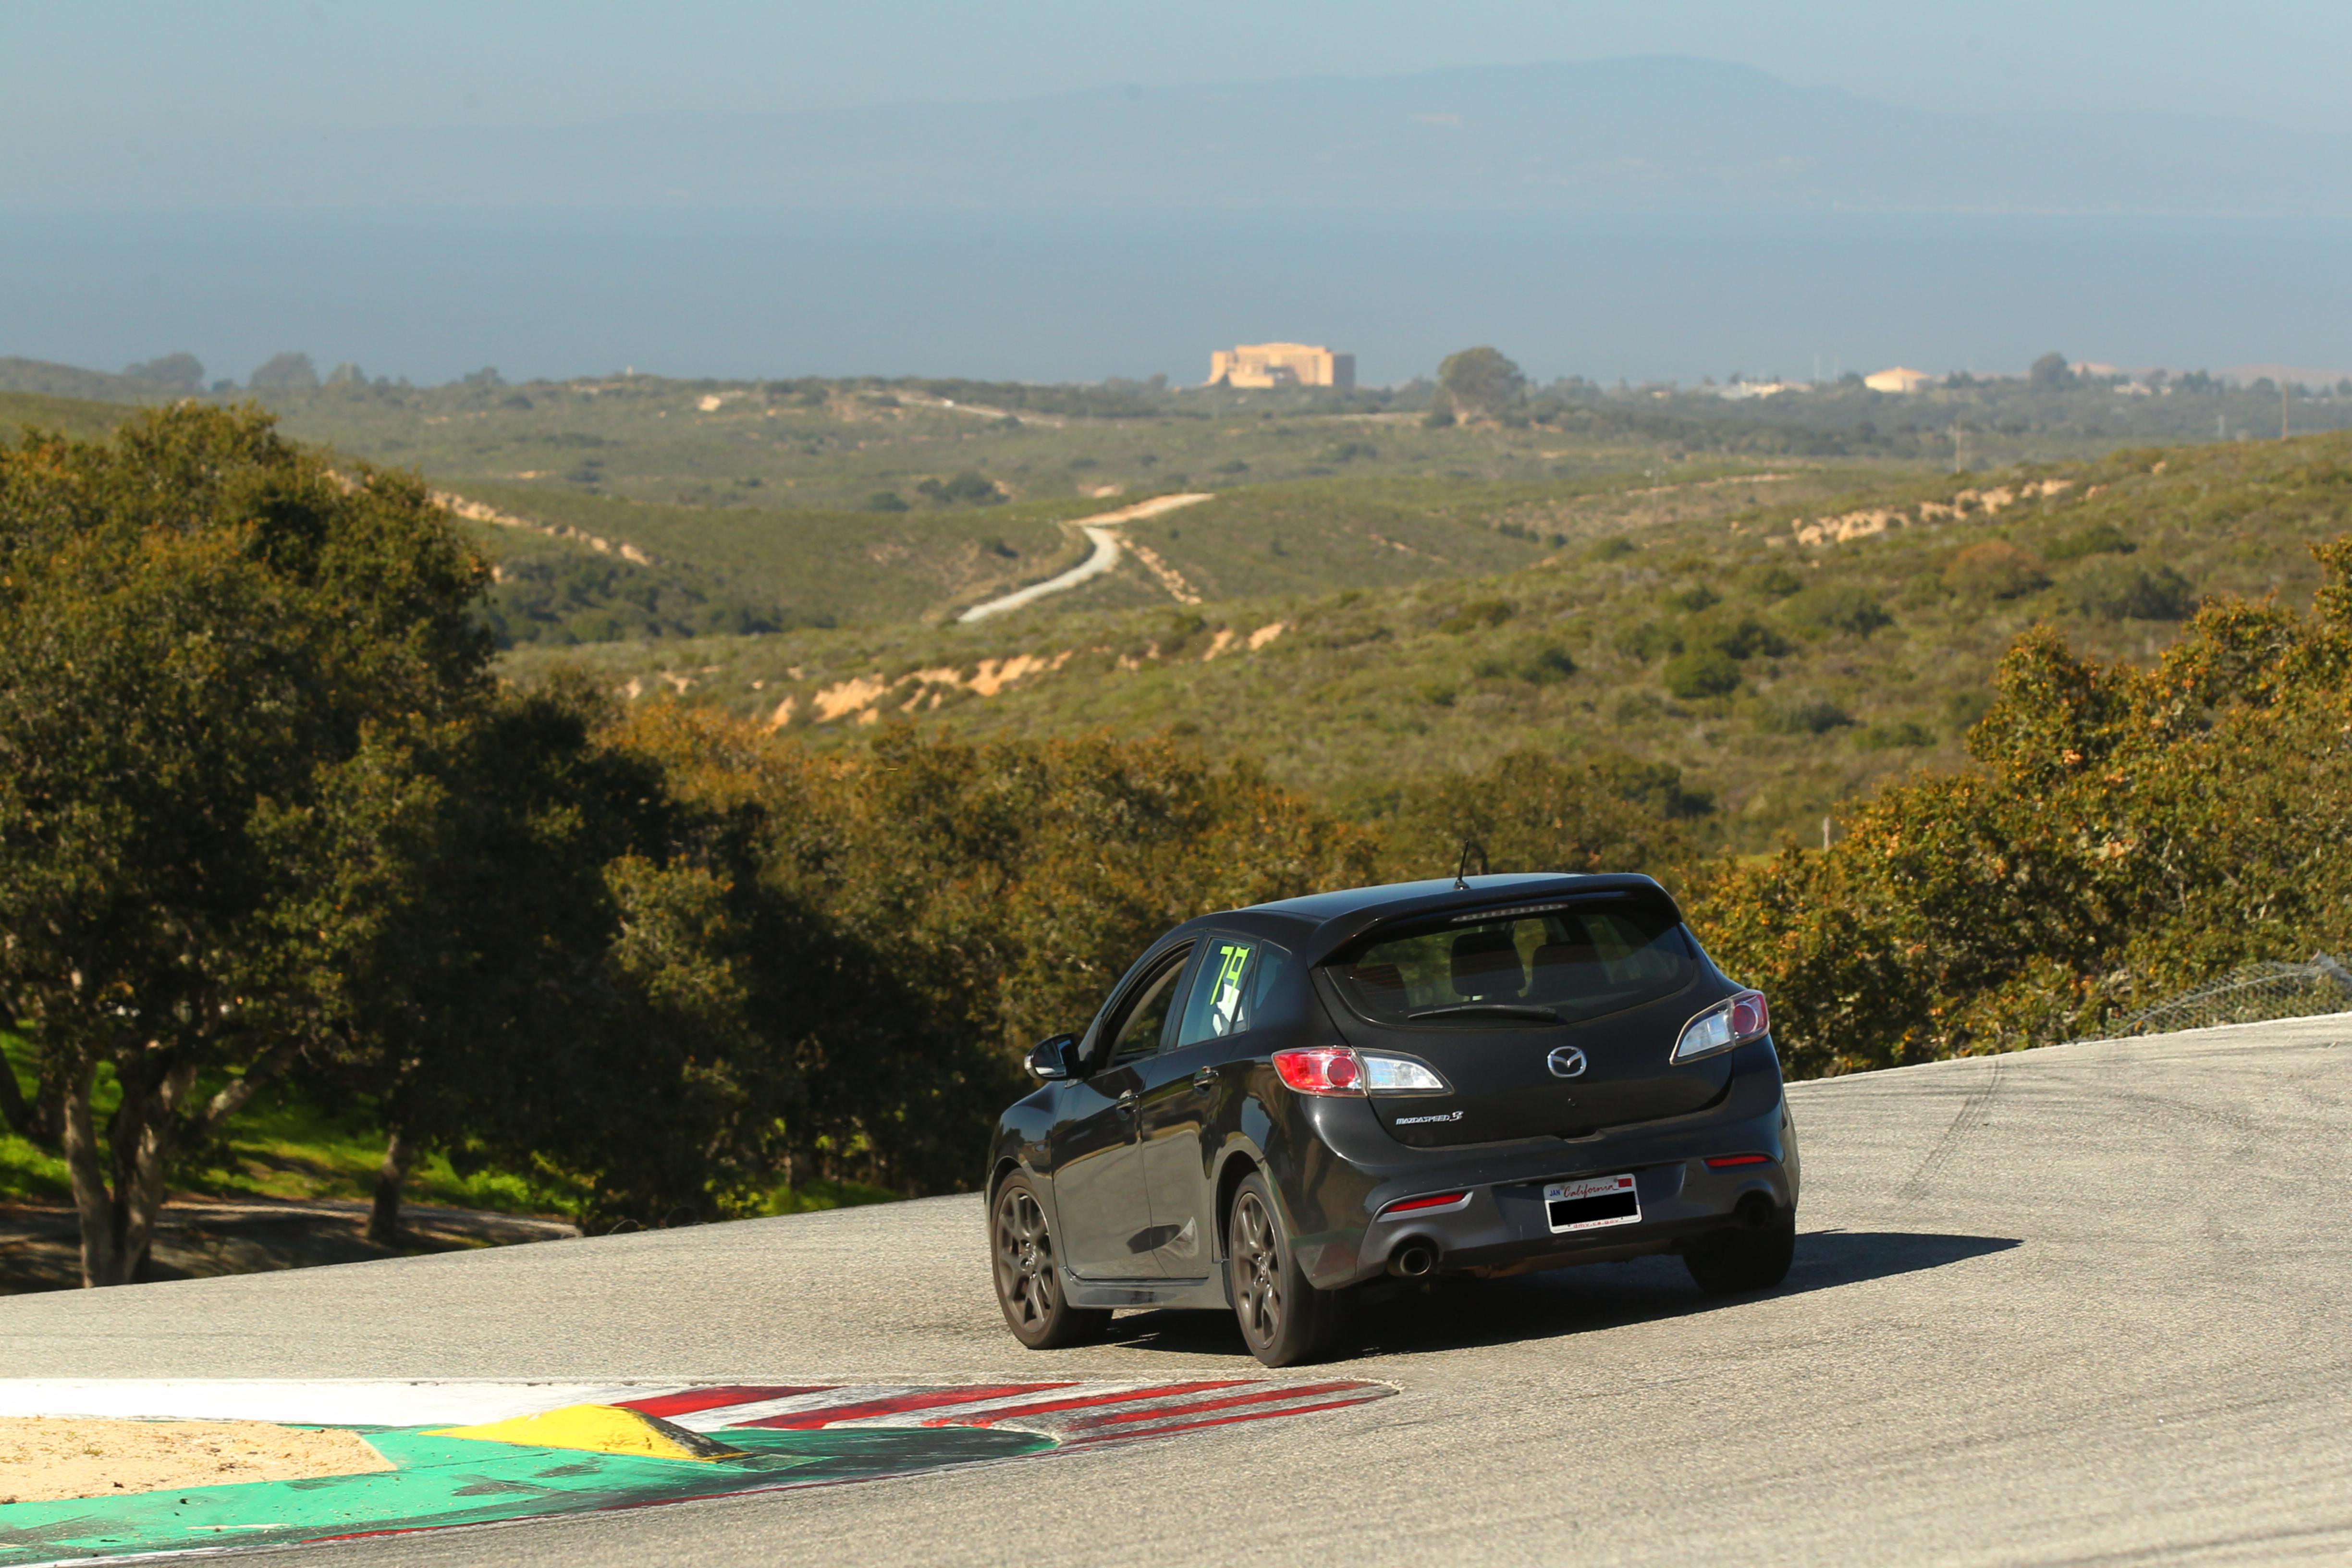
I had again planned to work on turn 6, which is a faster turn than it seems.
It's a sharper turn than the preceding turn 5, the track feels narrow,
and you mostly see sky in the turn, all of which encourage unnecessarily
slow speeds. It's at the start of an uphill run that's nearly straight so it
is quite important yet not one that I had given enough attention until my
previous time at Laguna Seca.
It remains a work in progress but on my best lap I was nearly 10% faster
than last October so I'm improving.
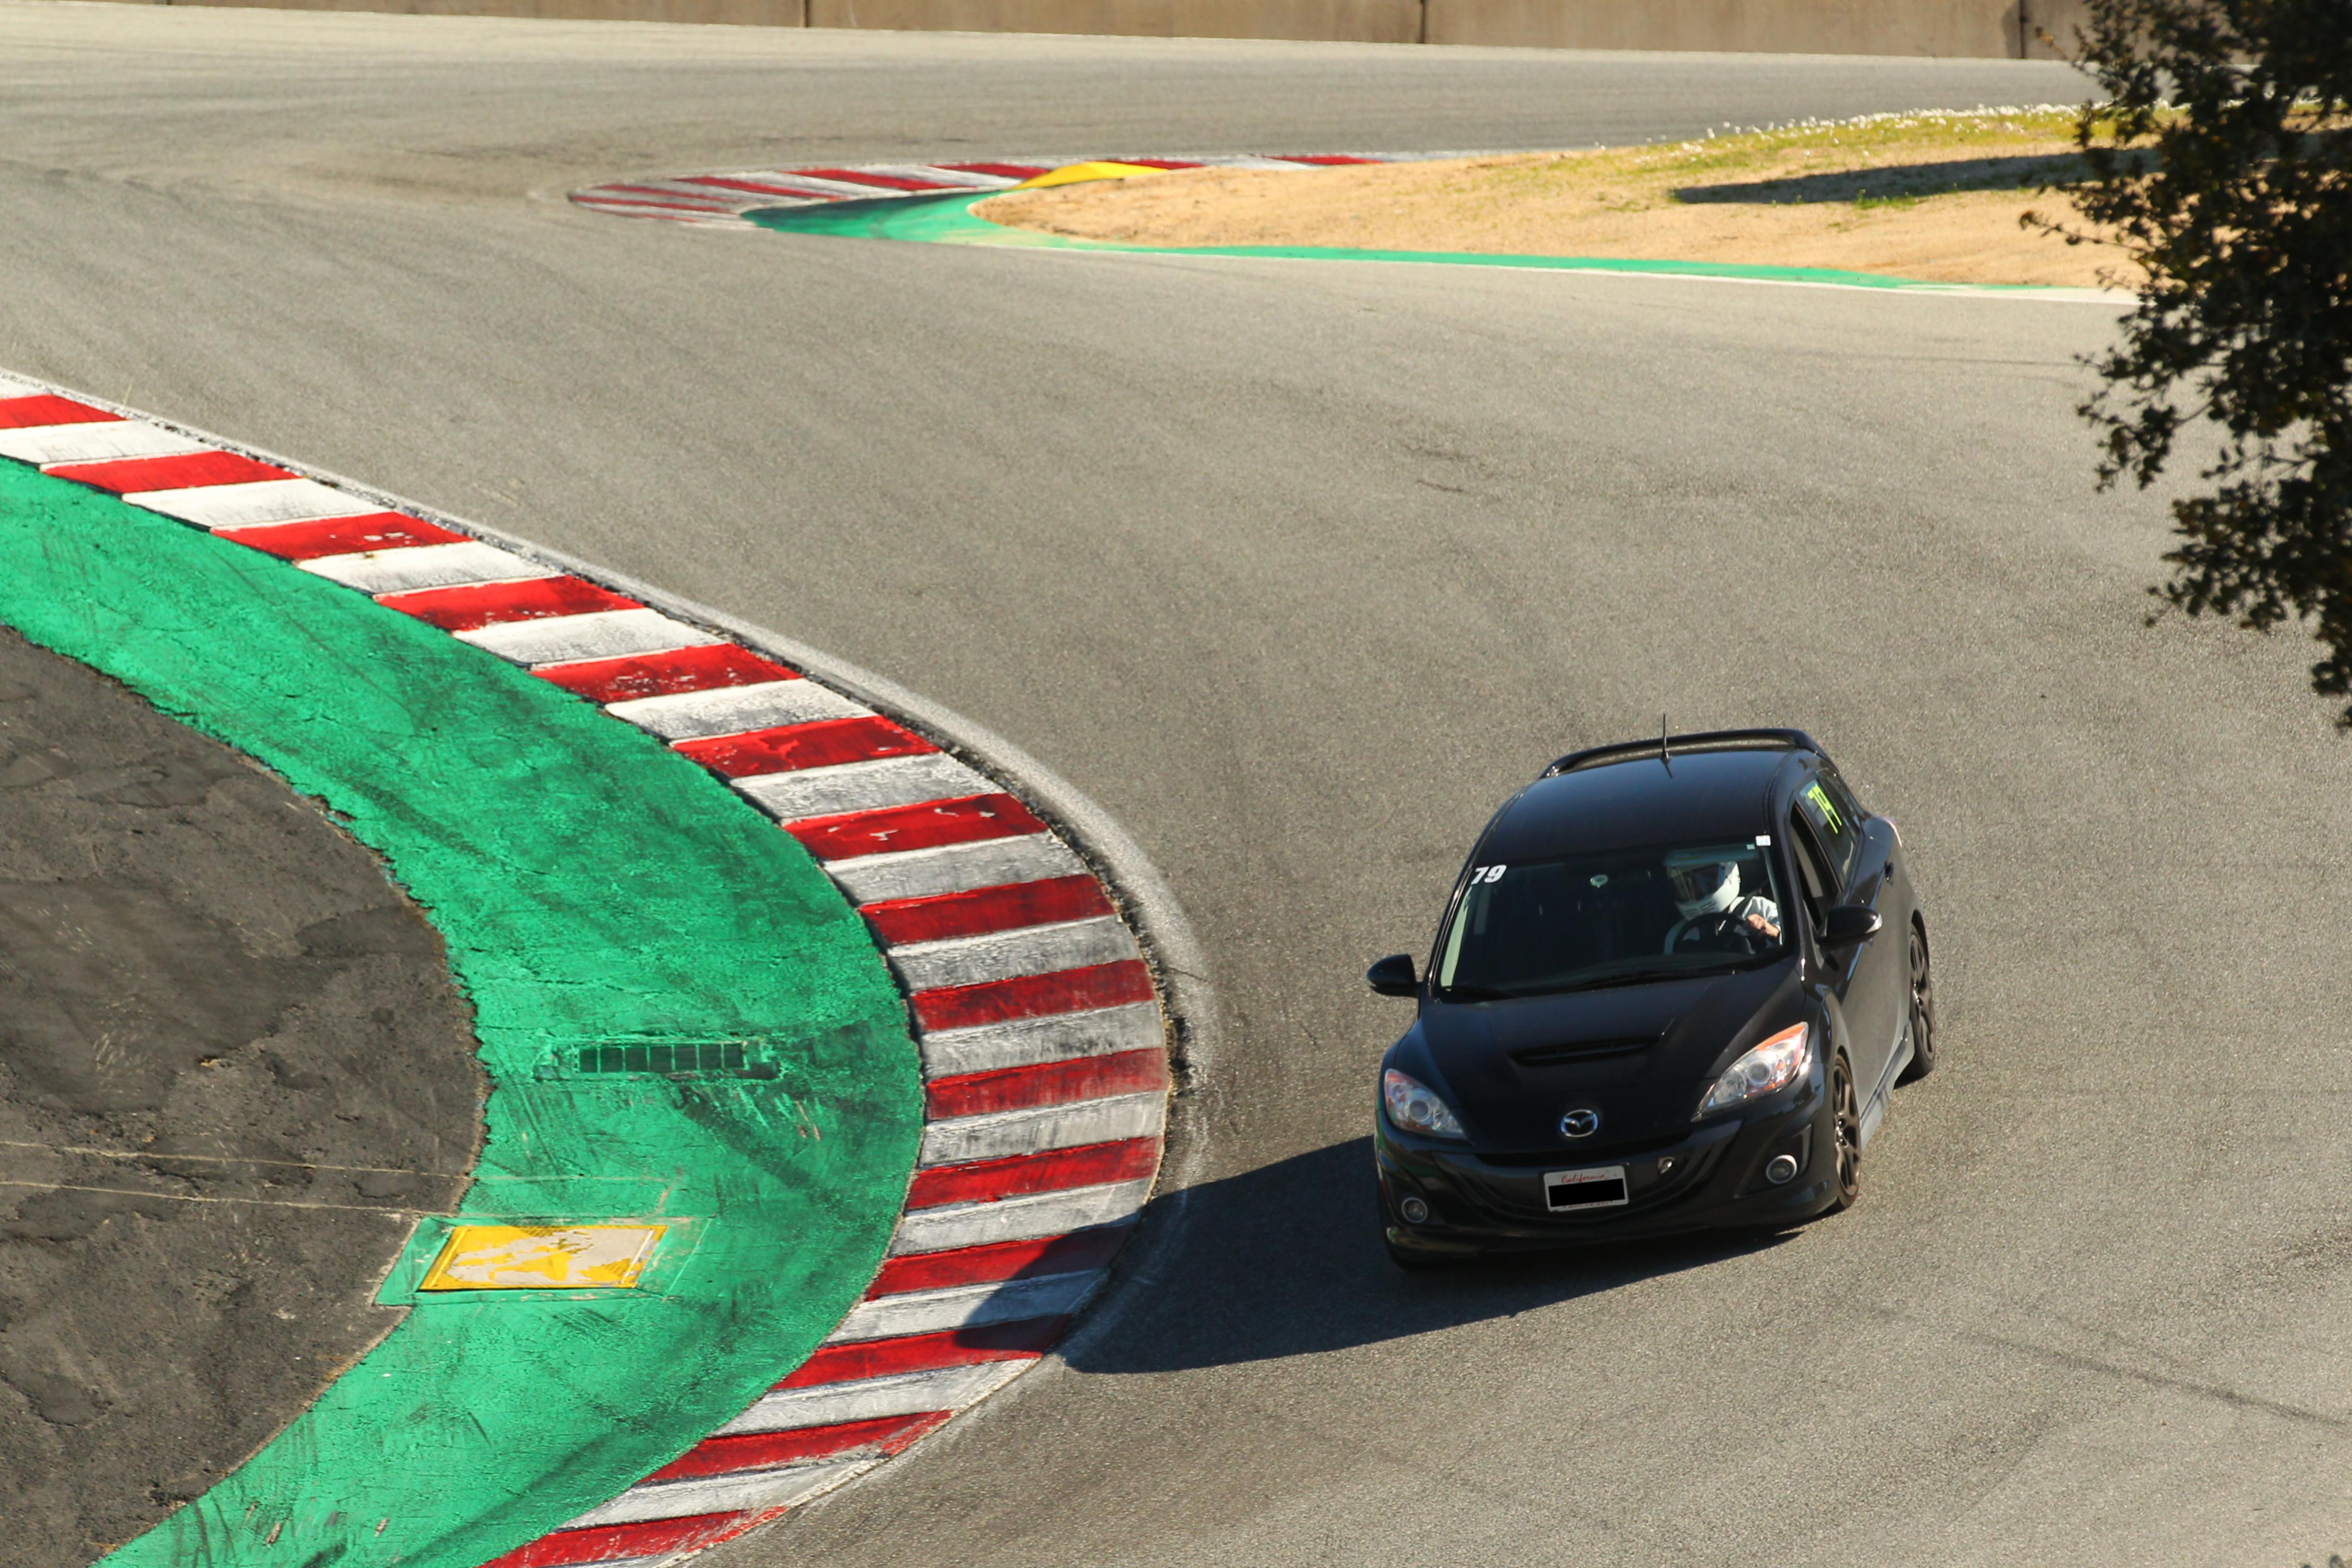
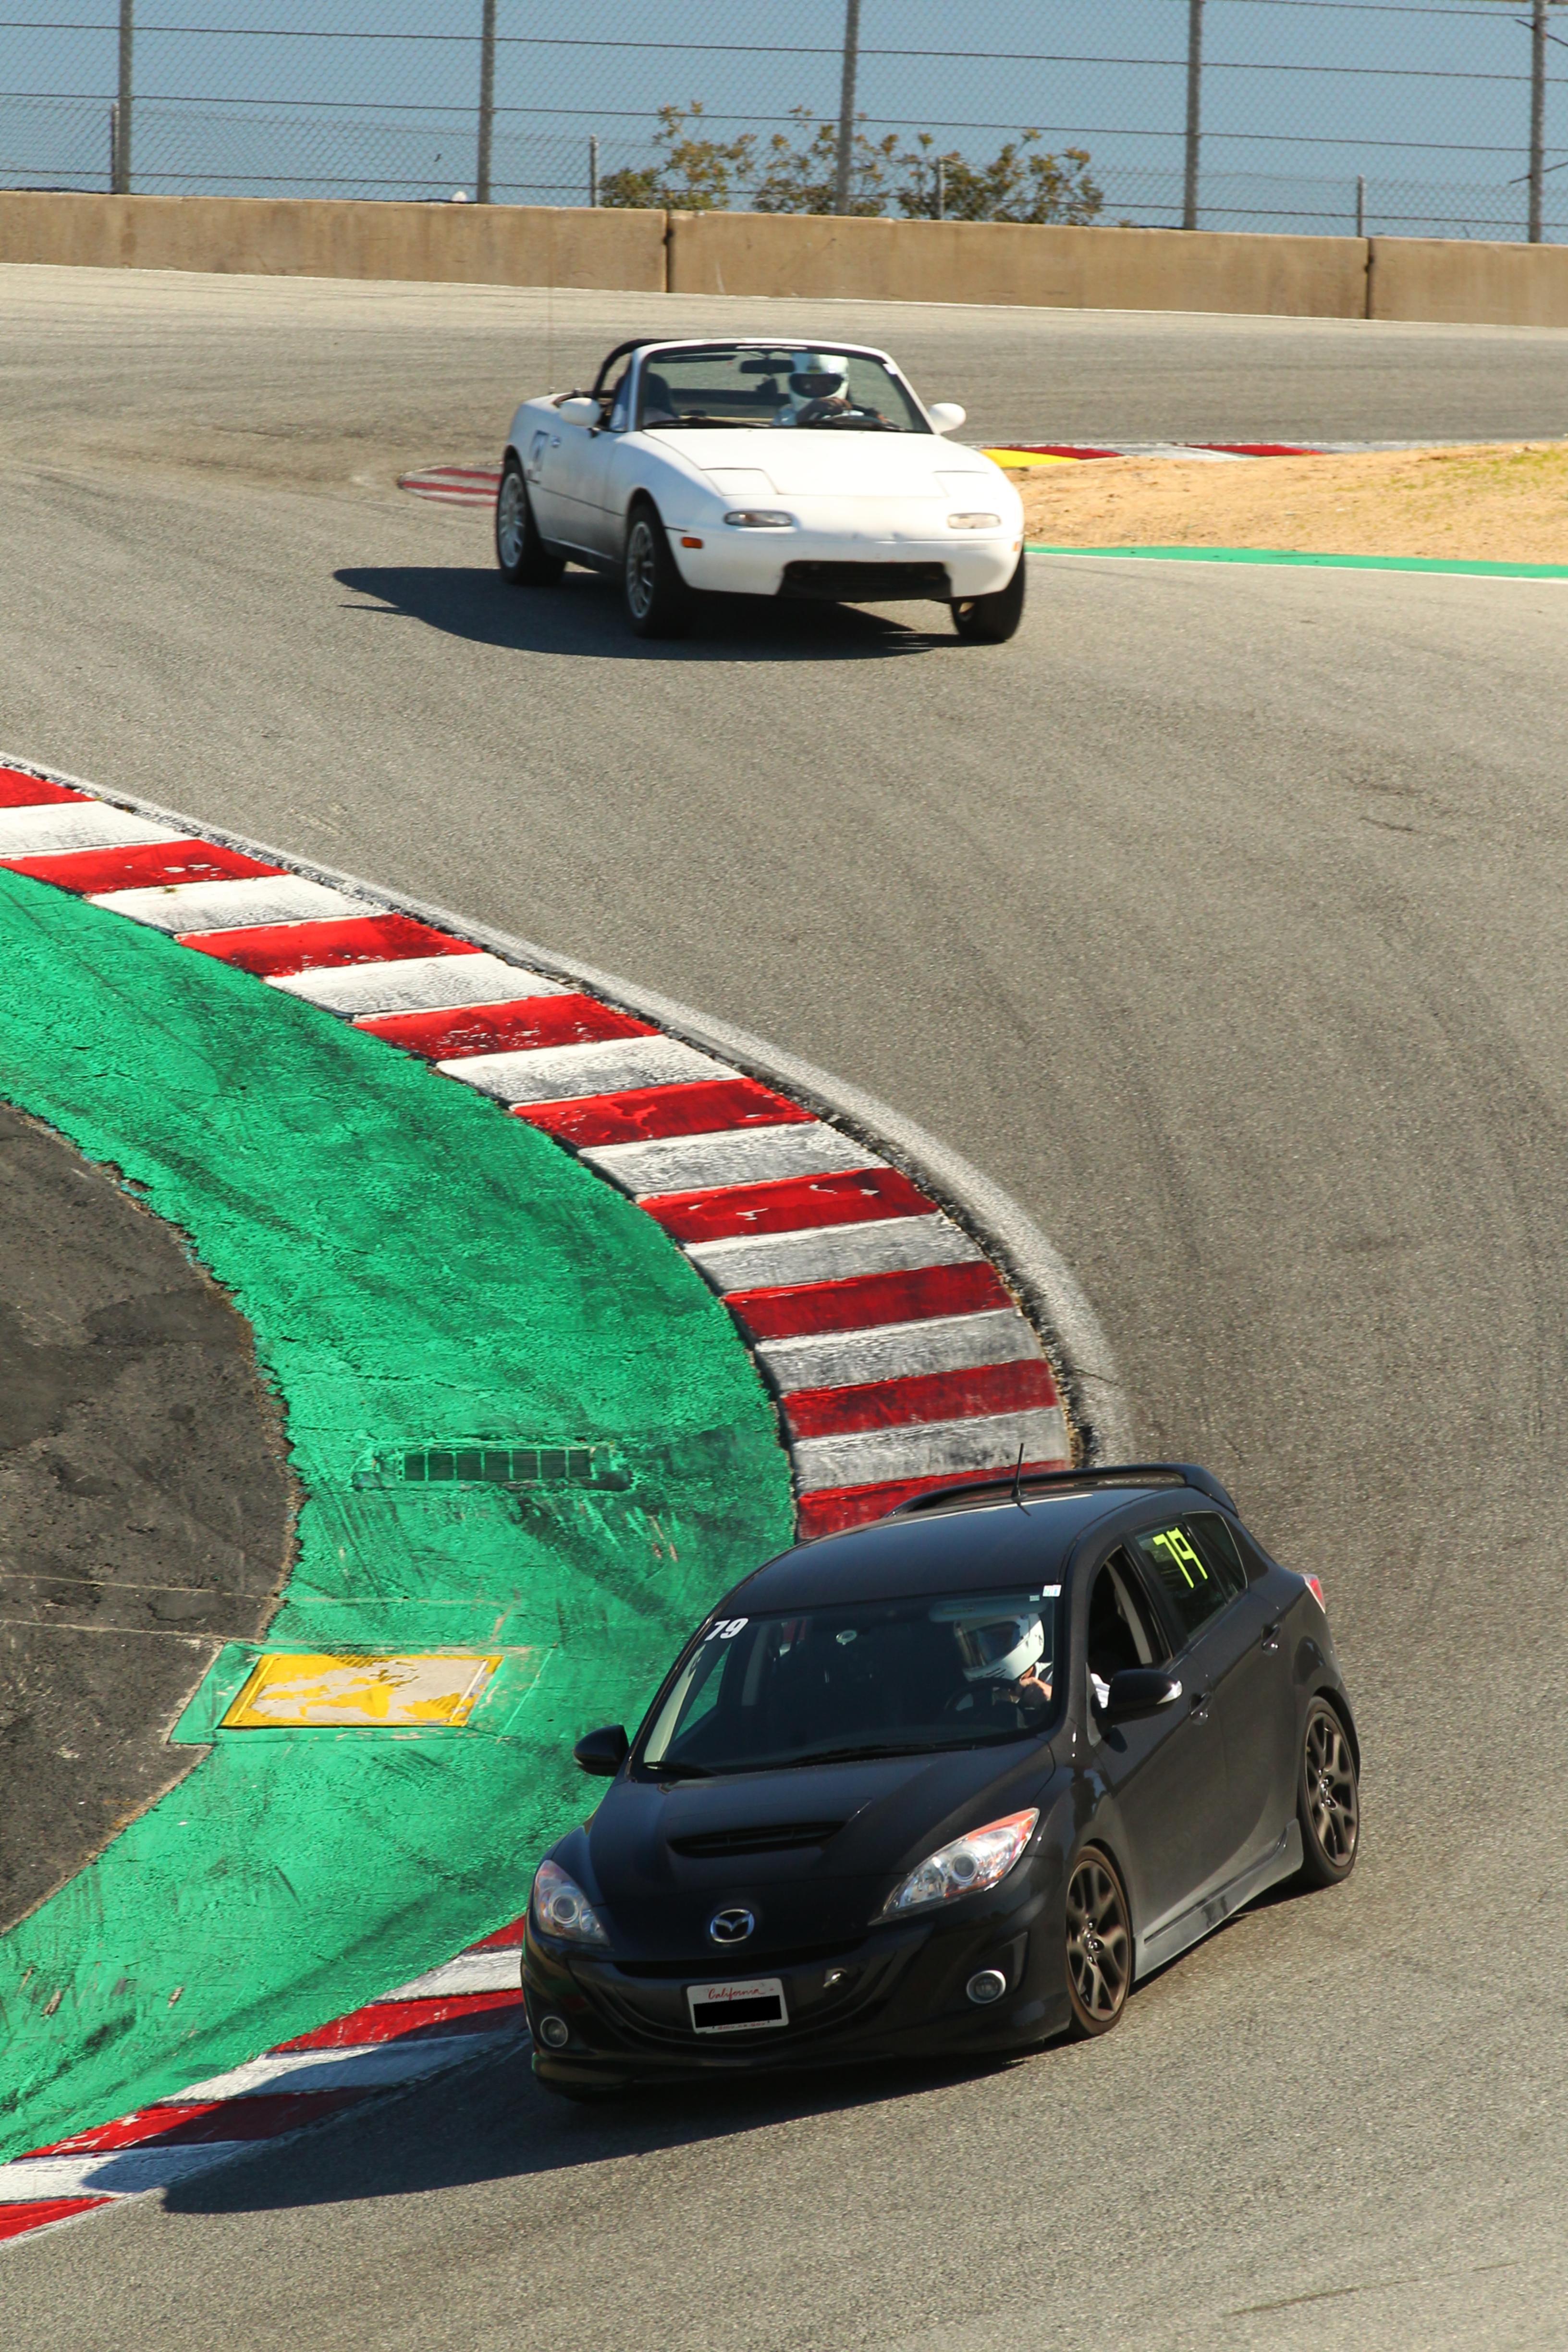
For the exit from The Corkscrew (turn 8a) I again kept to the right, rather than using the full track, in order to get the best approach to turn 9. Although a bit of a fight at times I really think this is the best line.
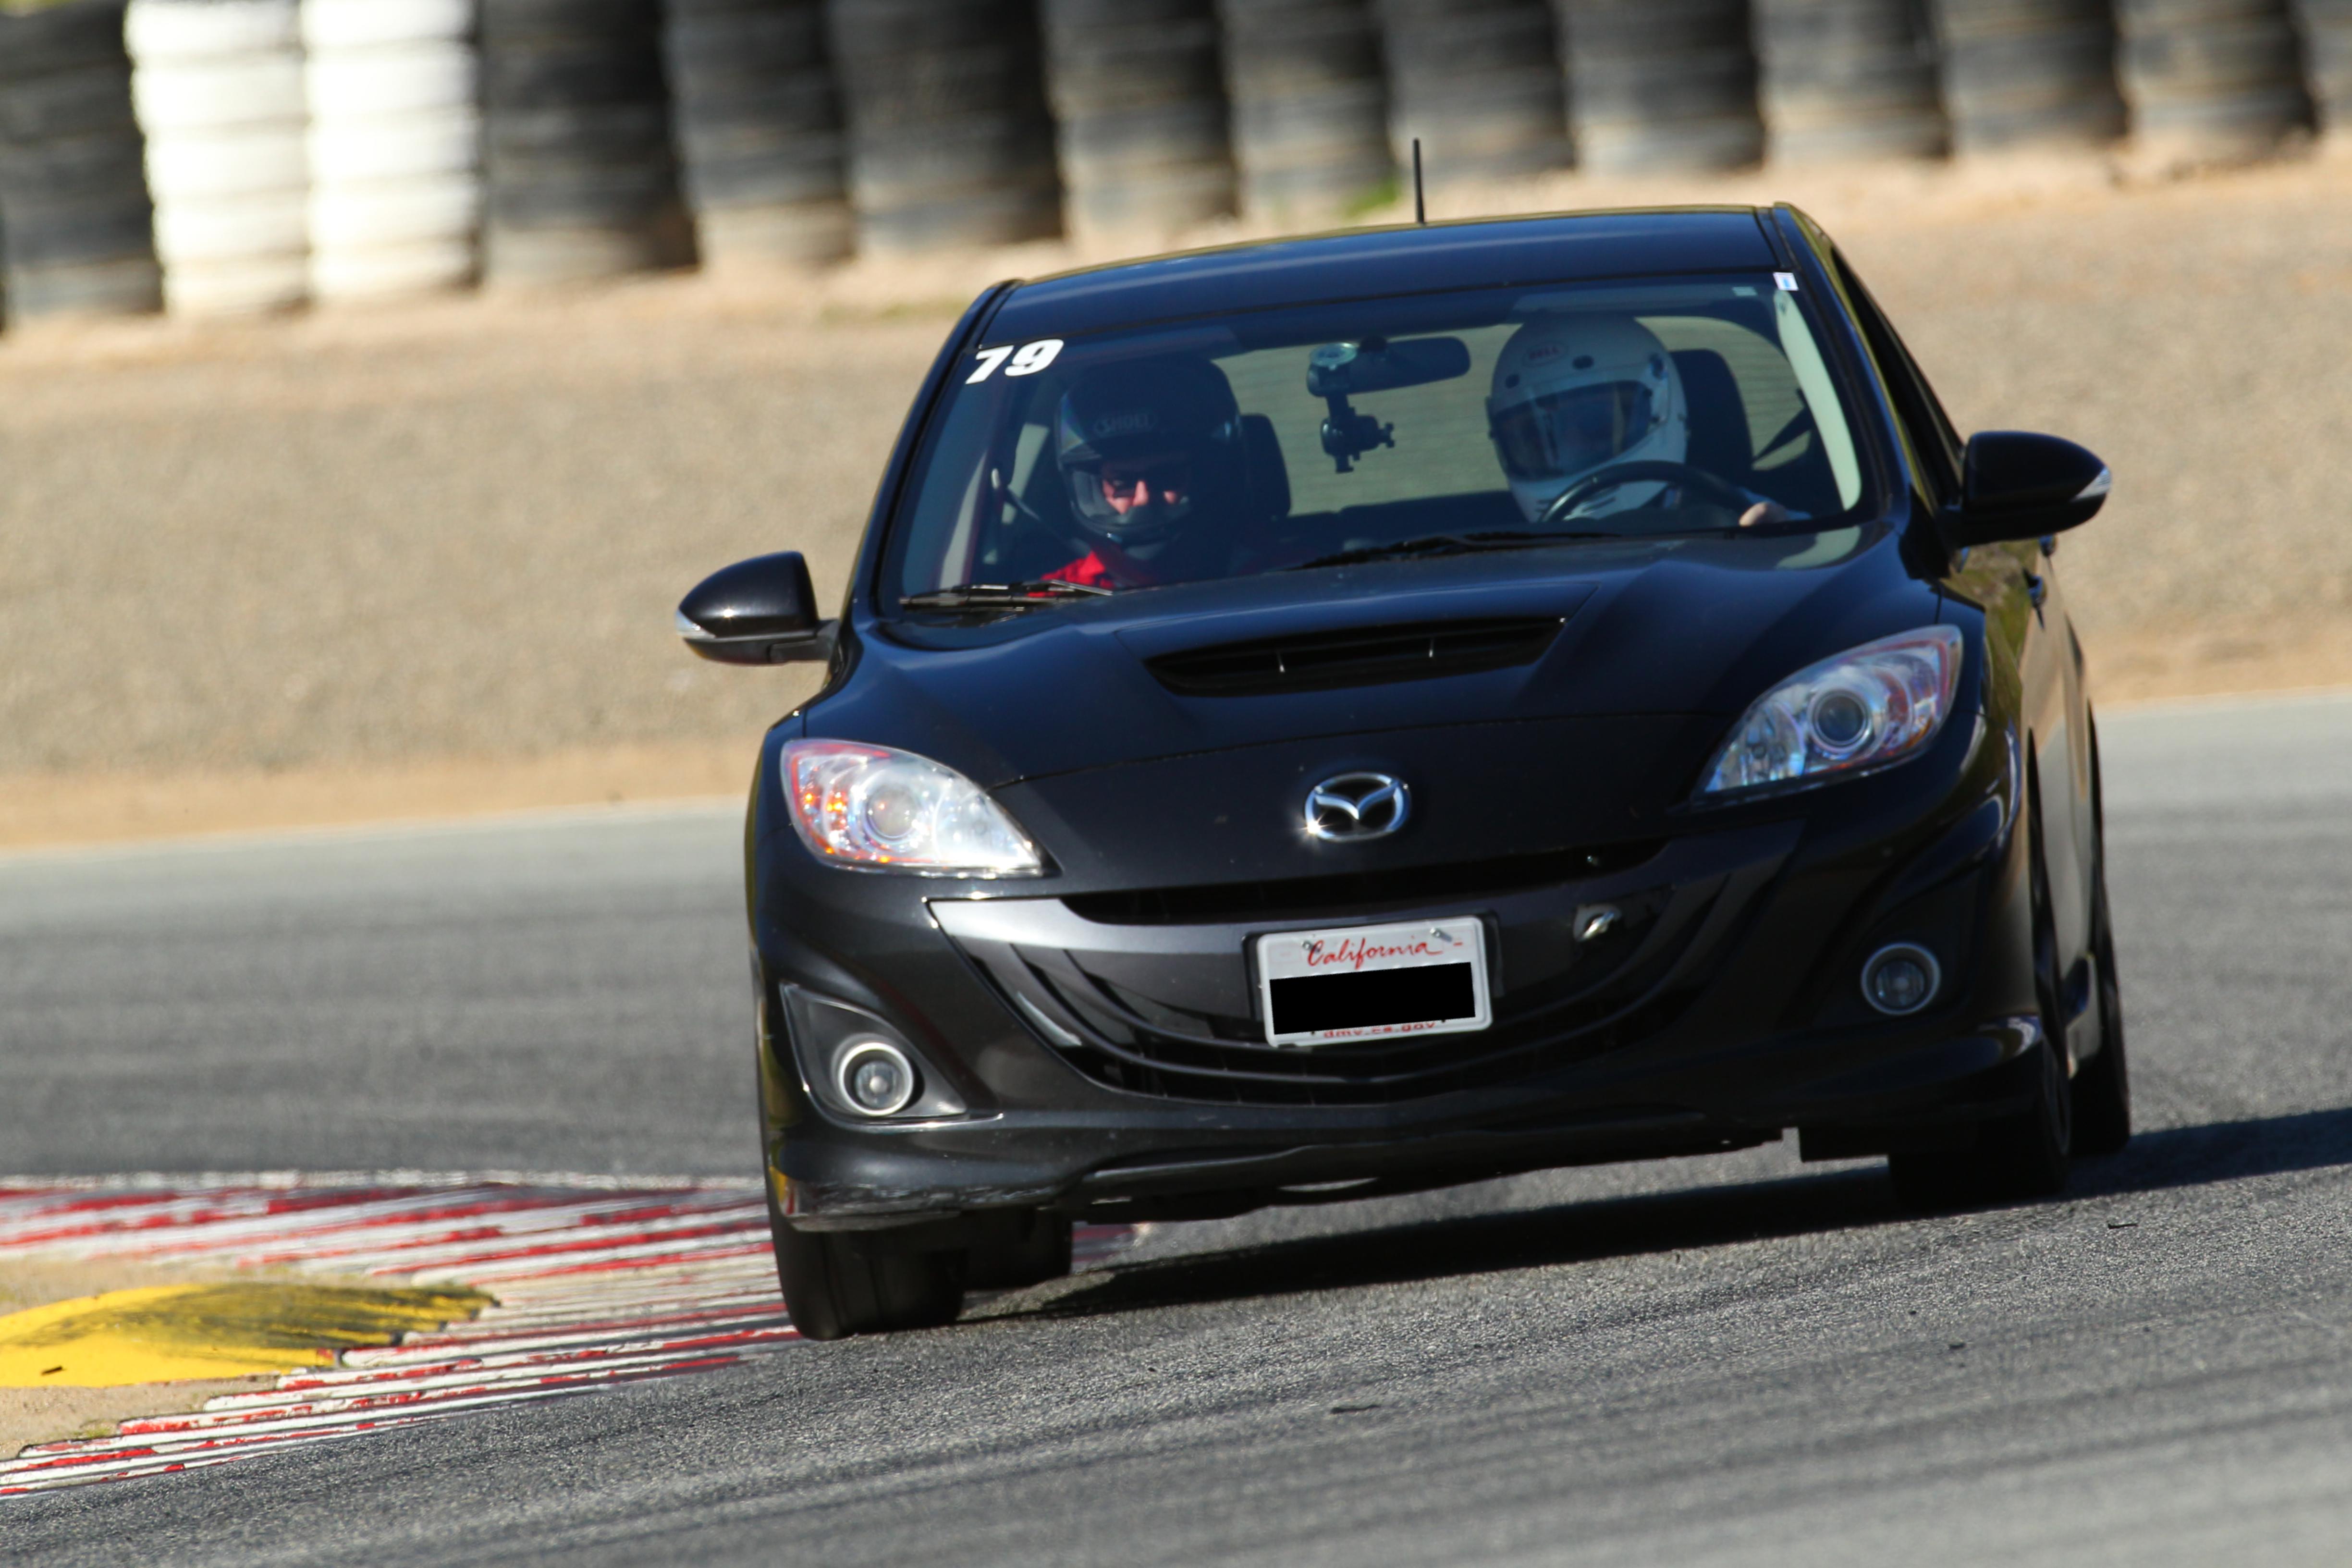
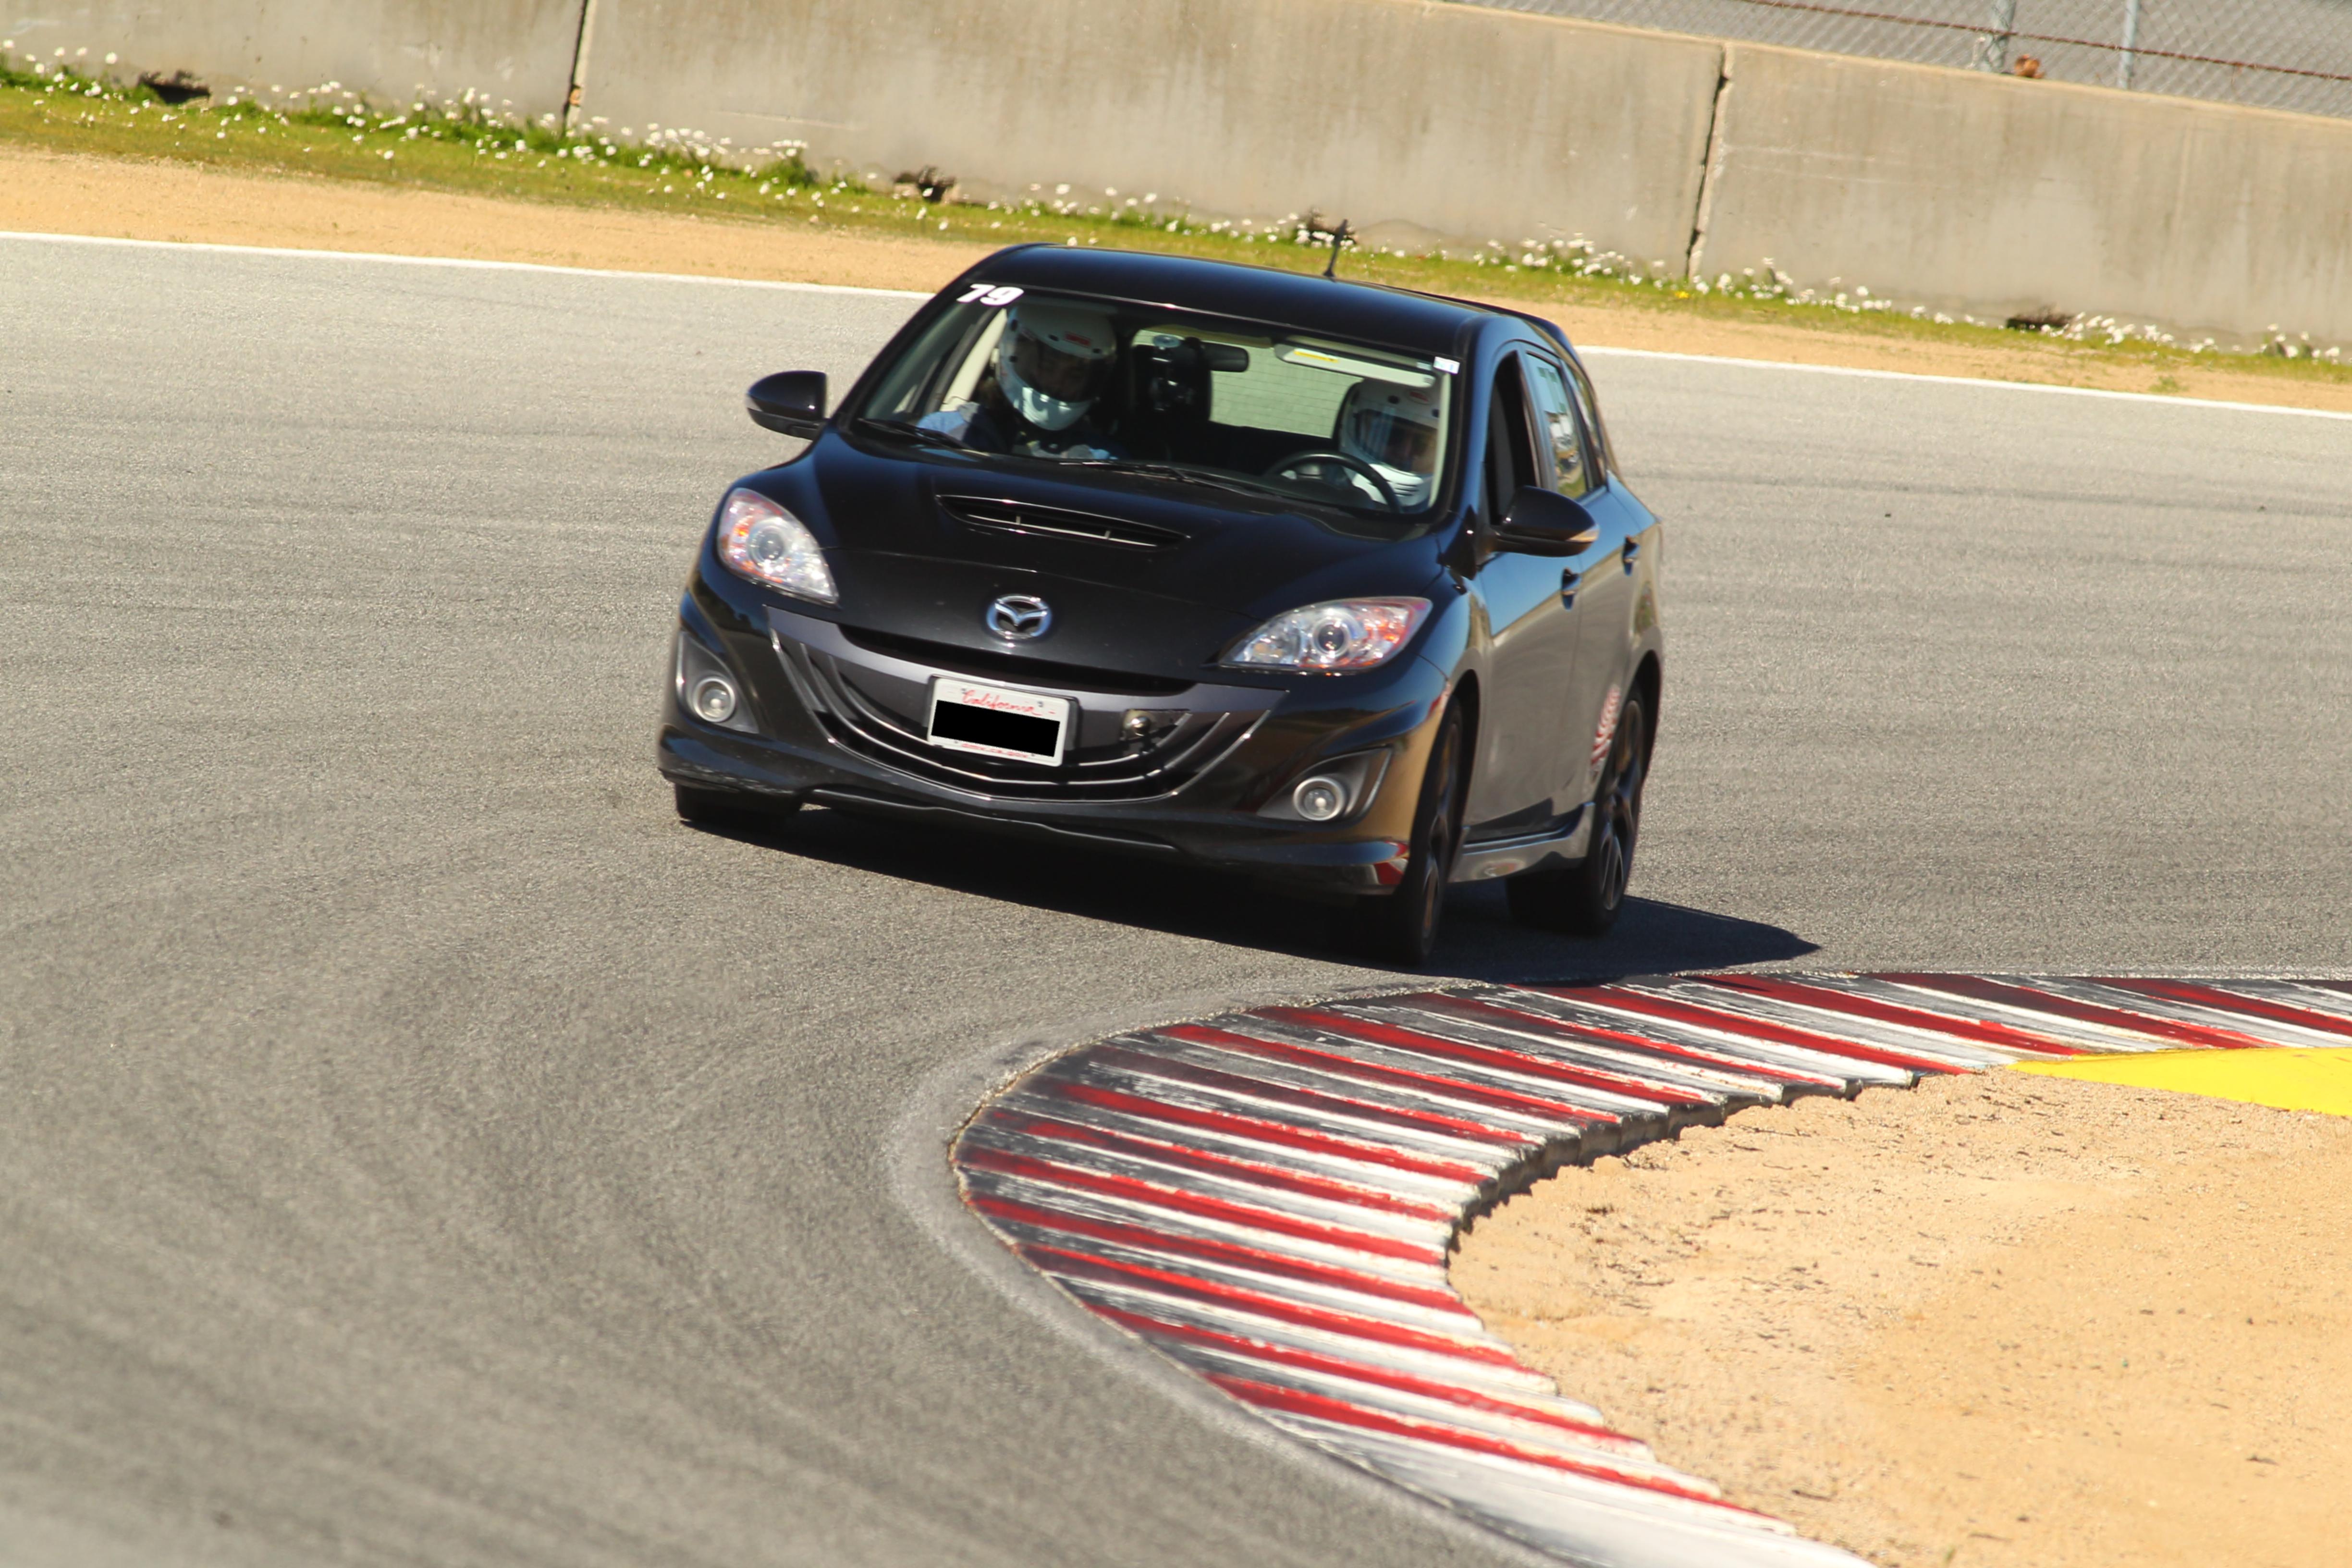
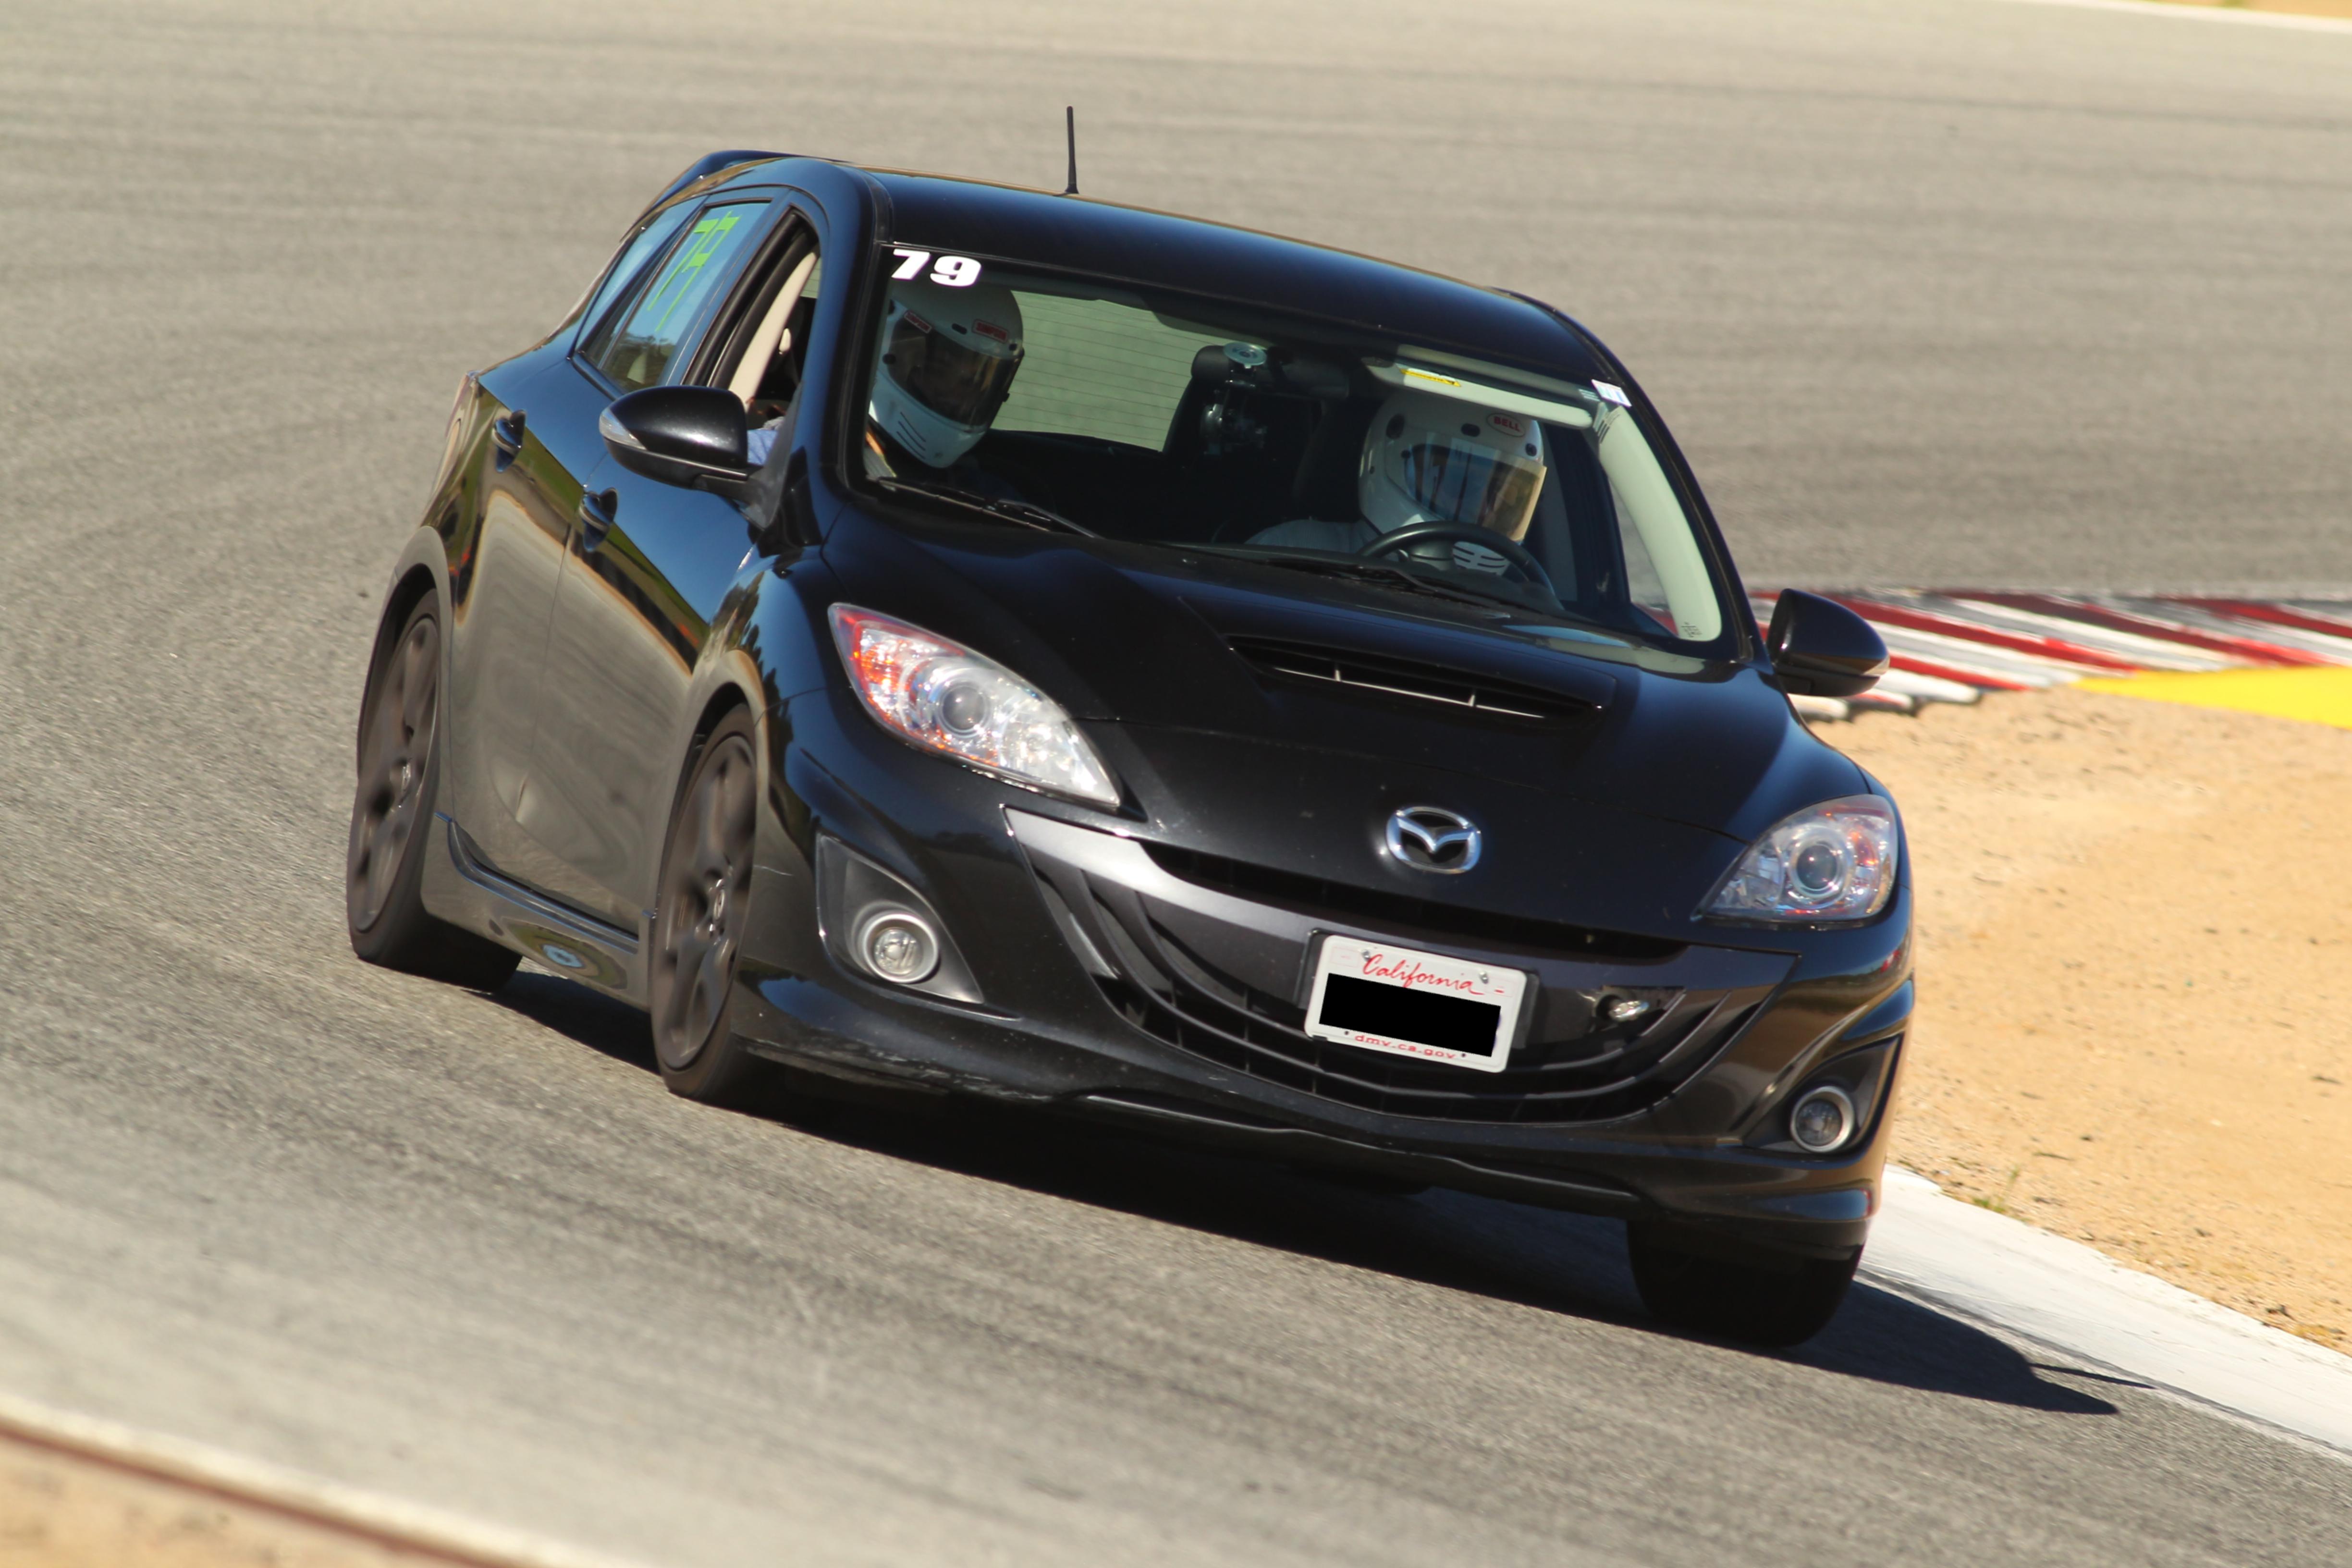
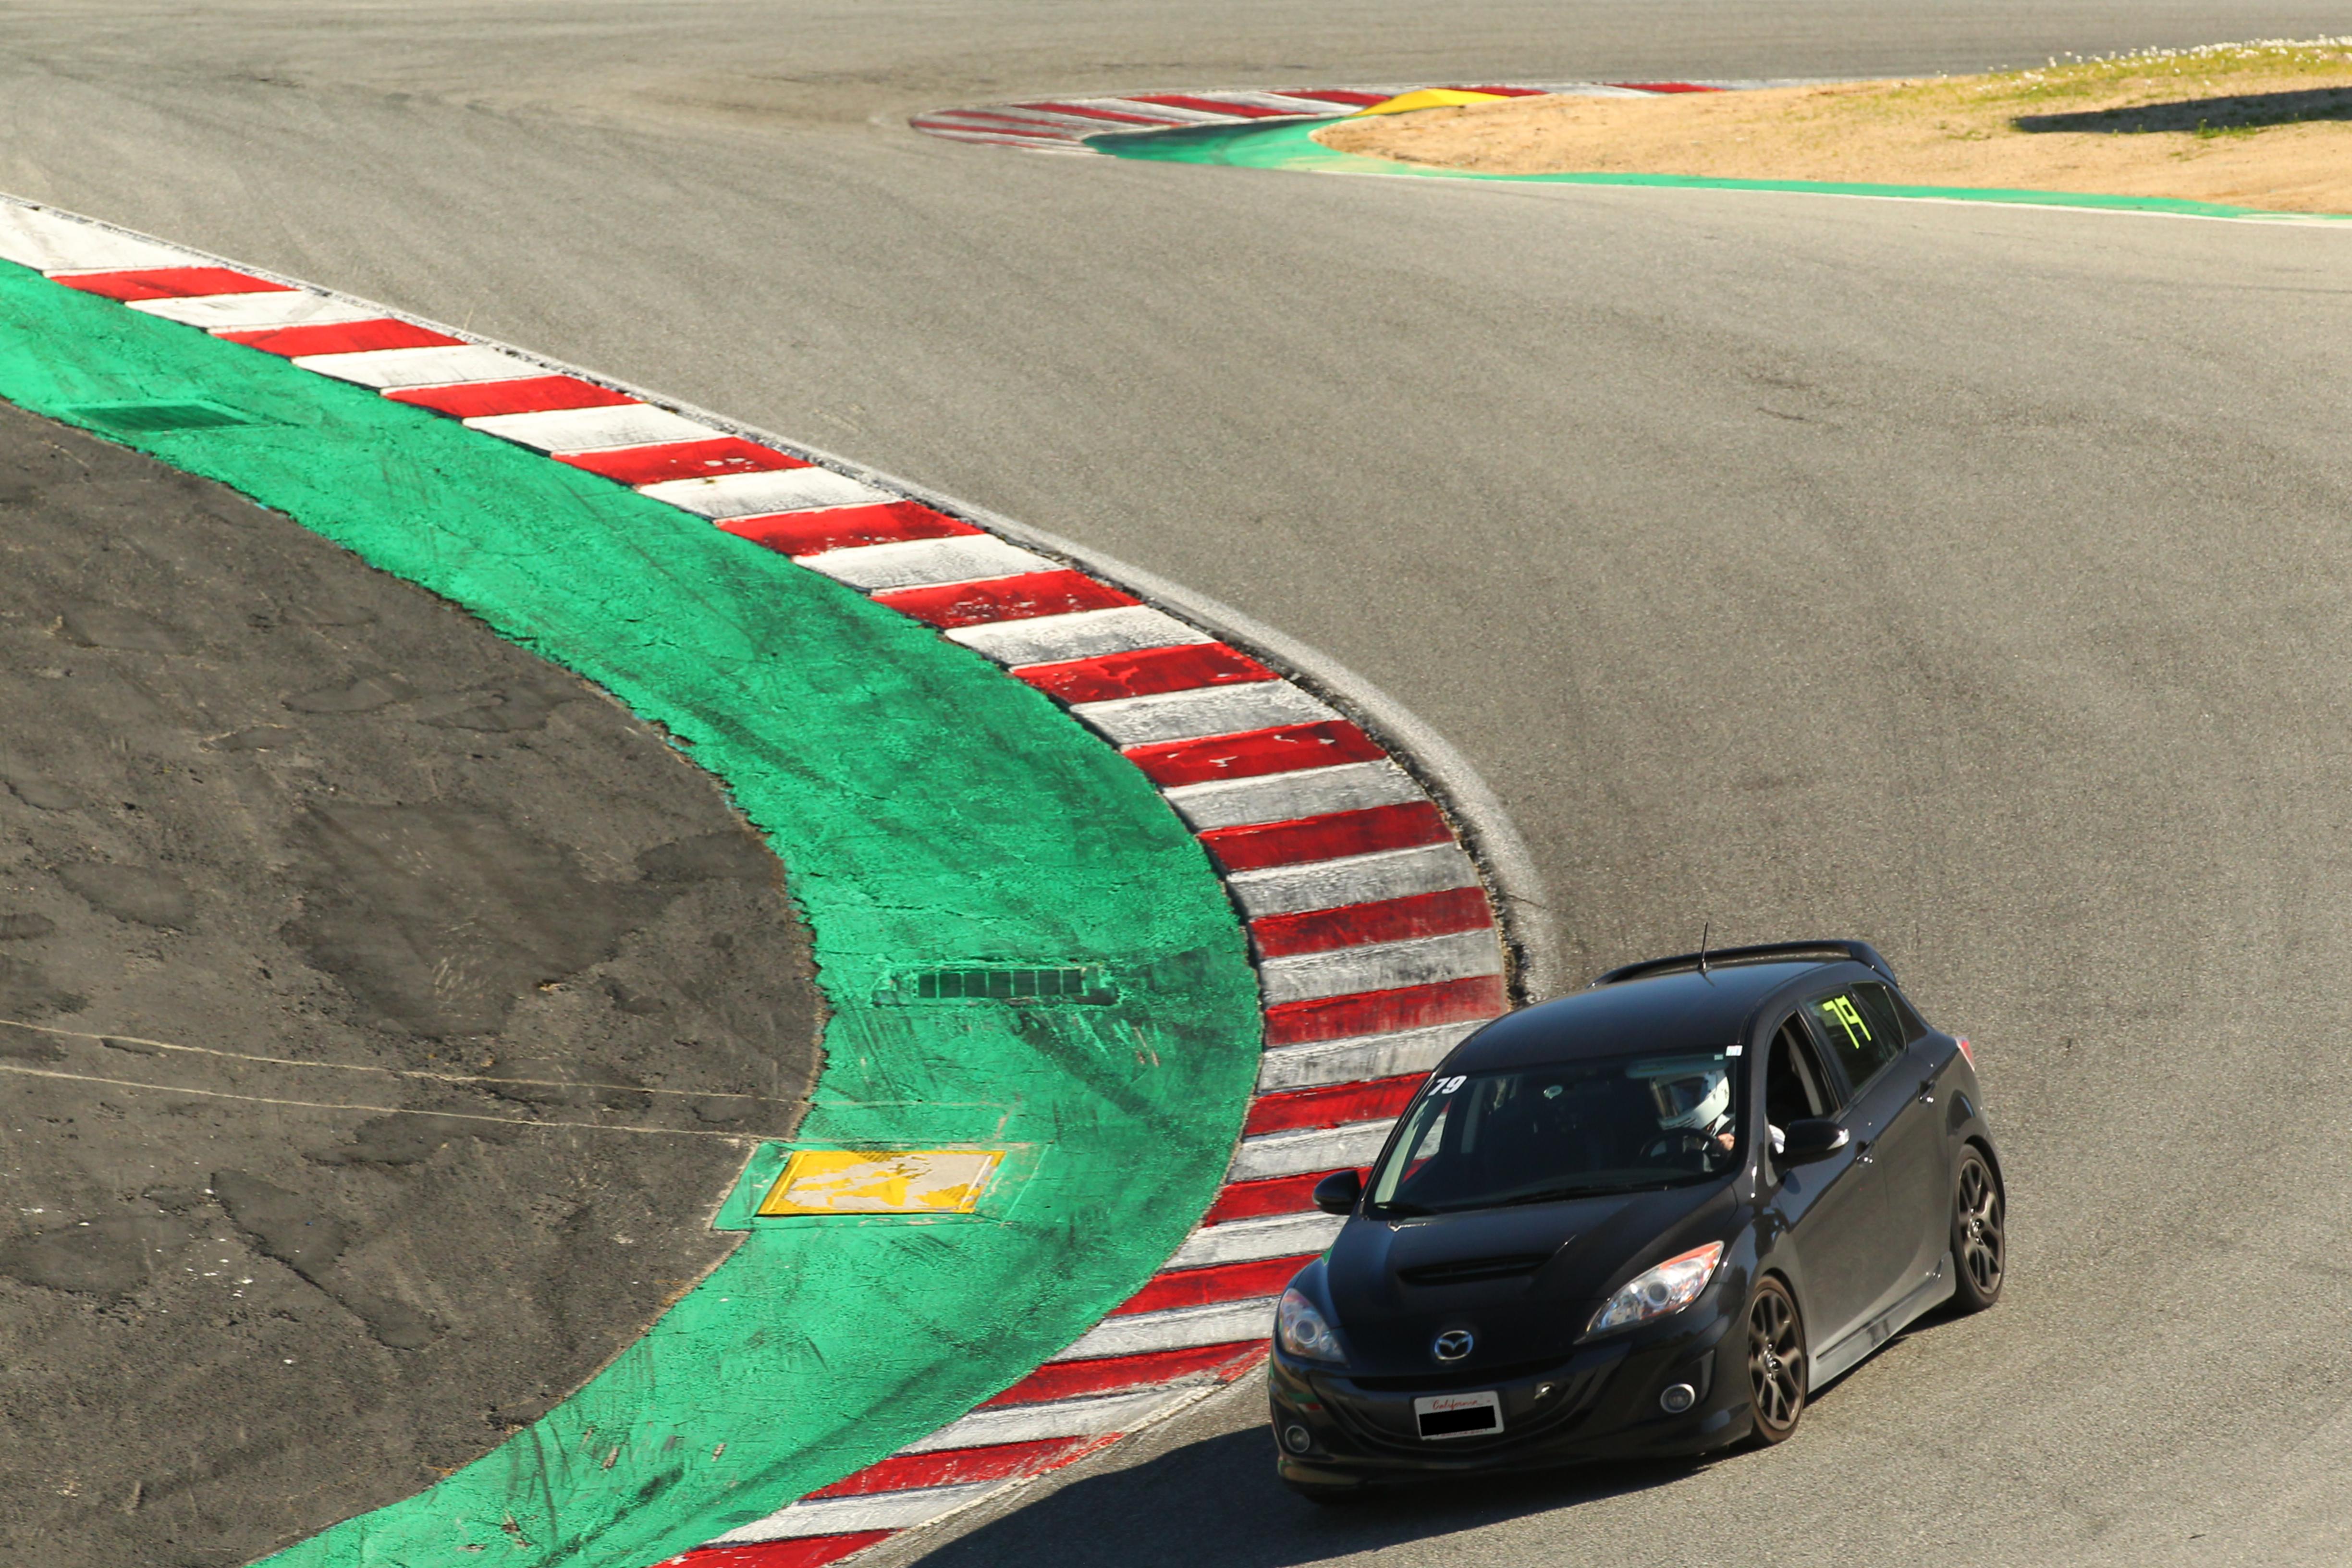
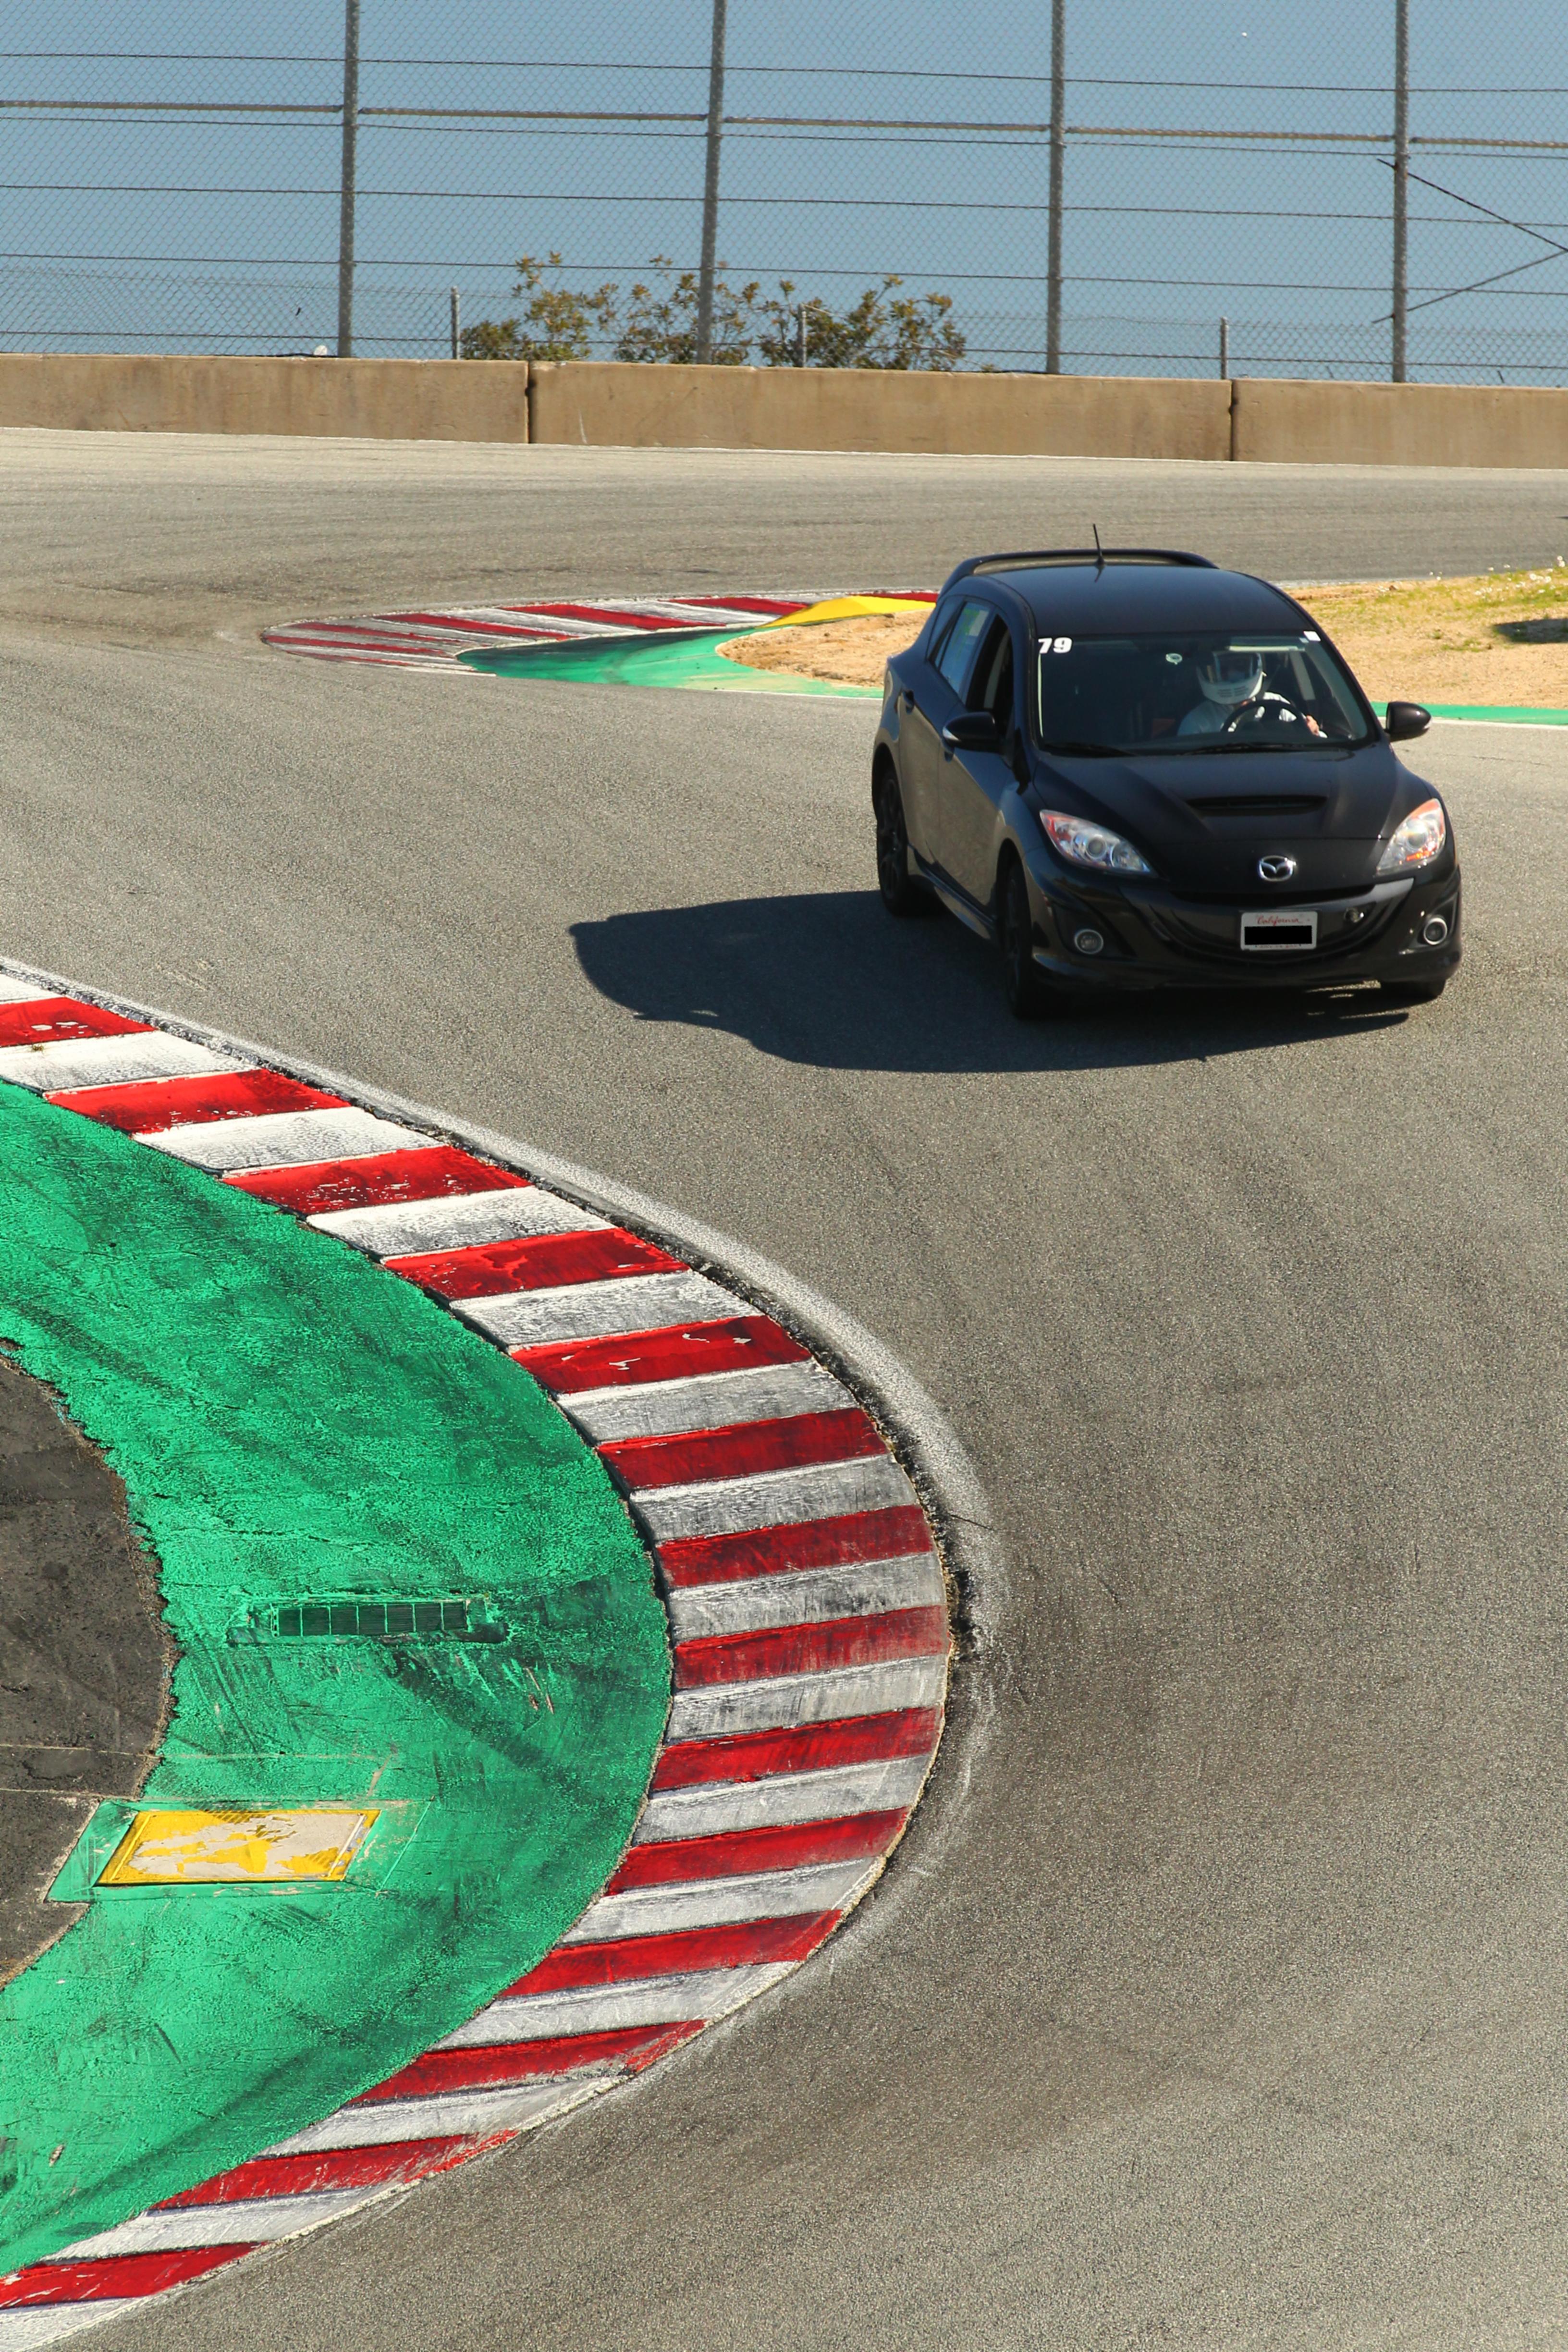
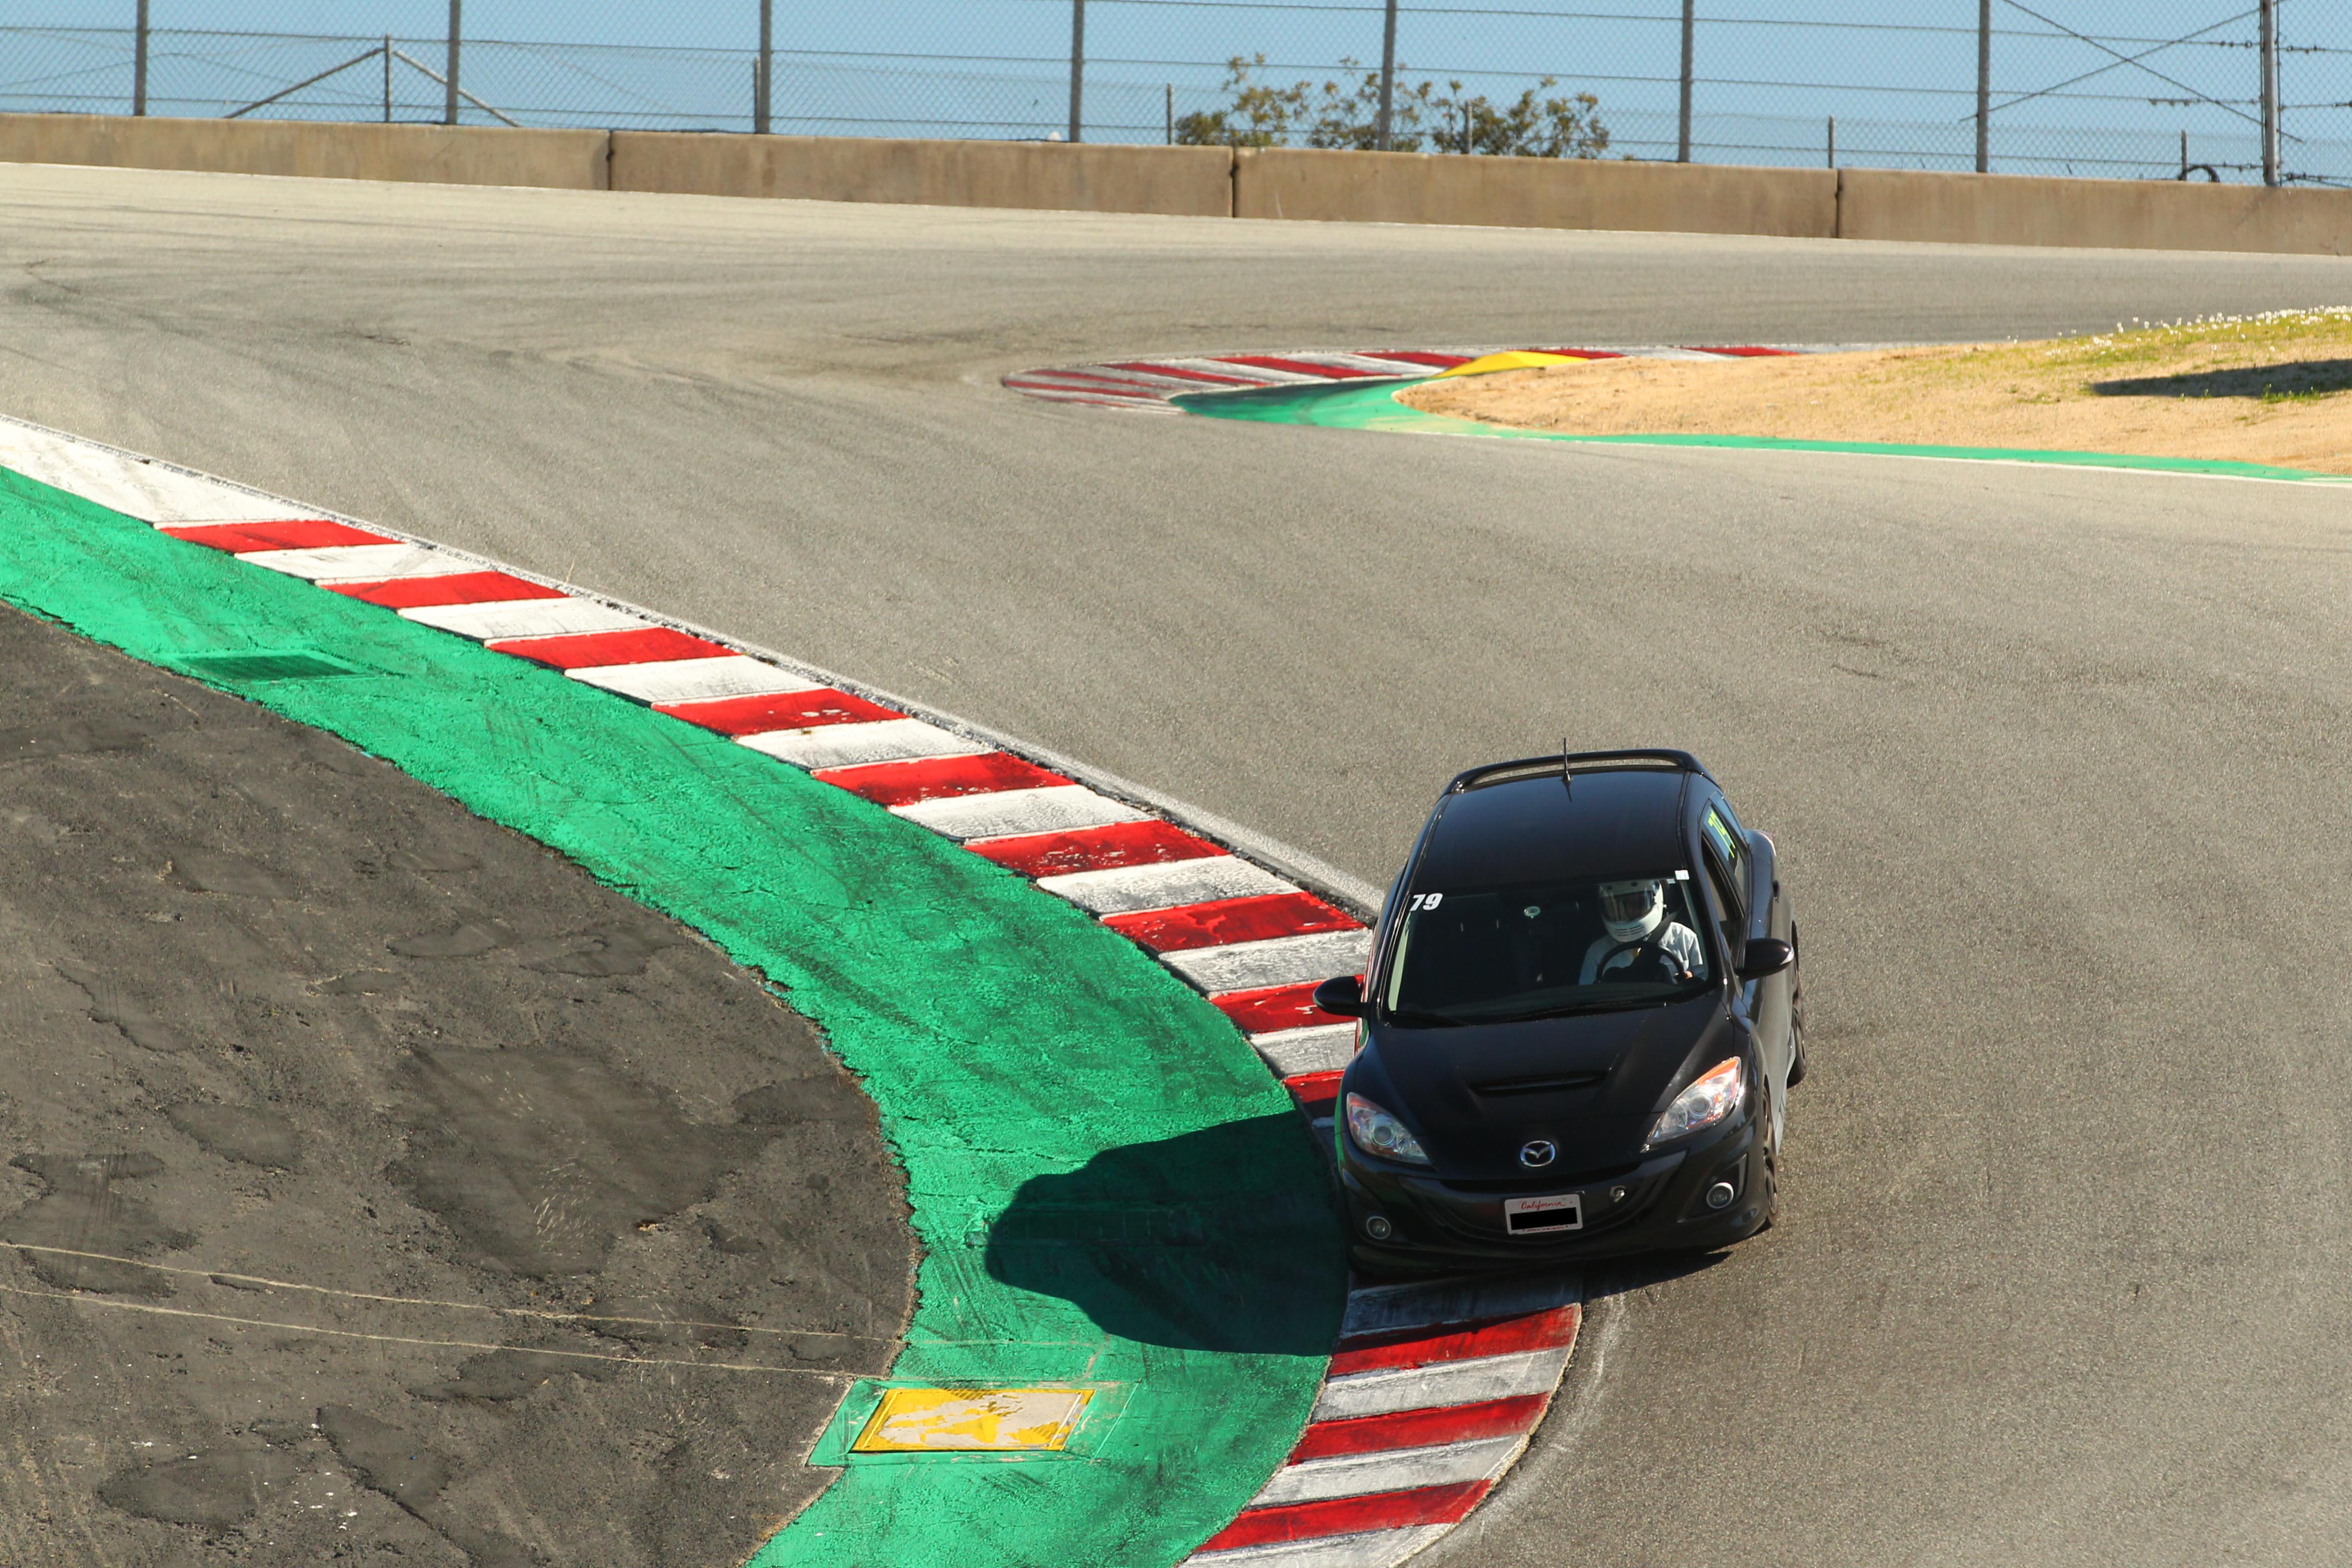
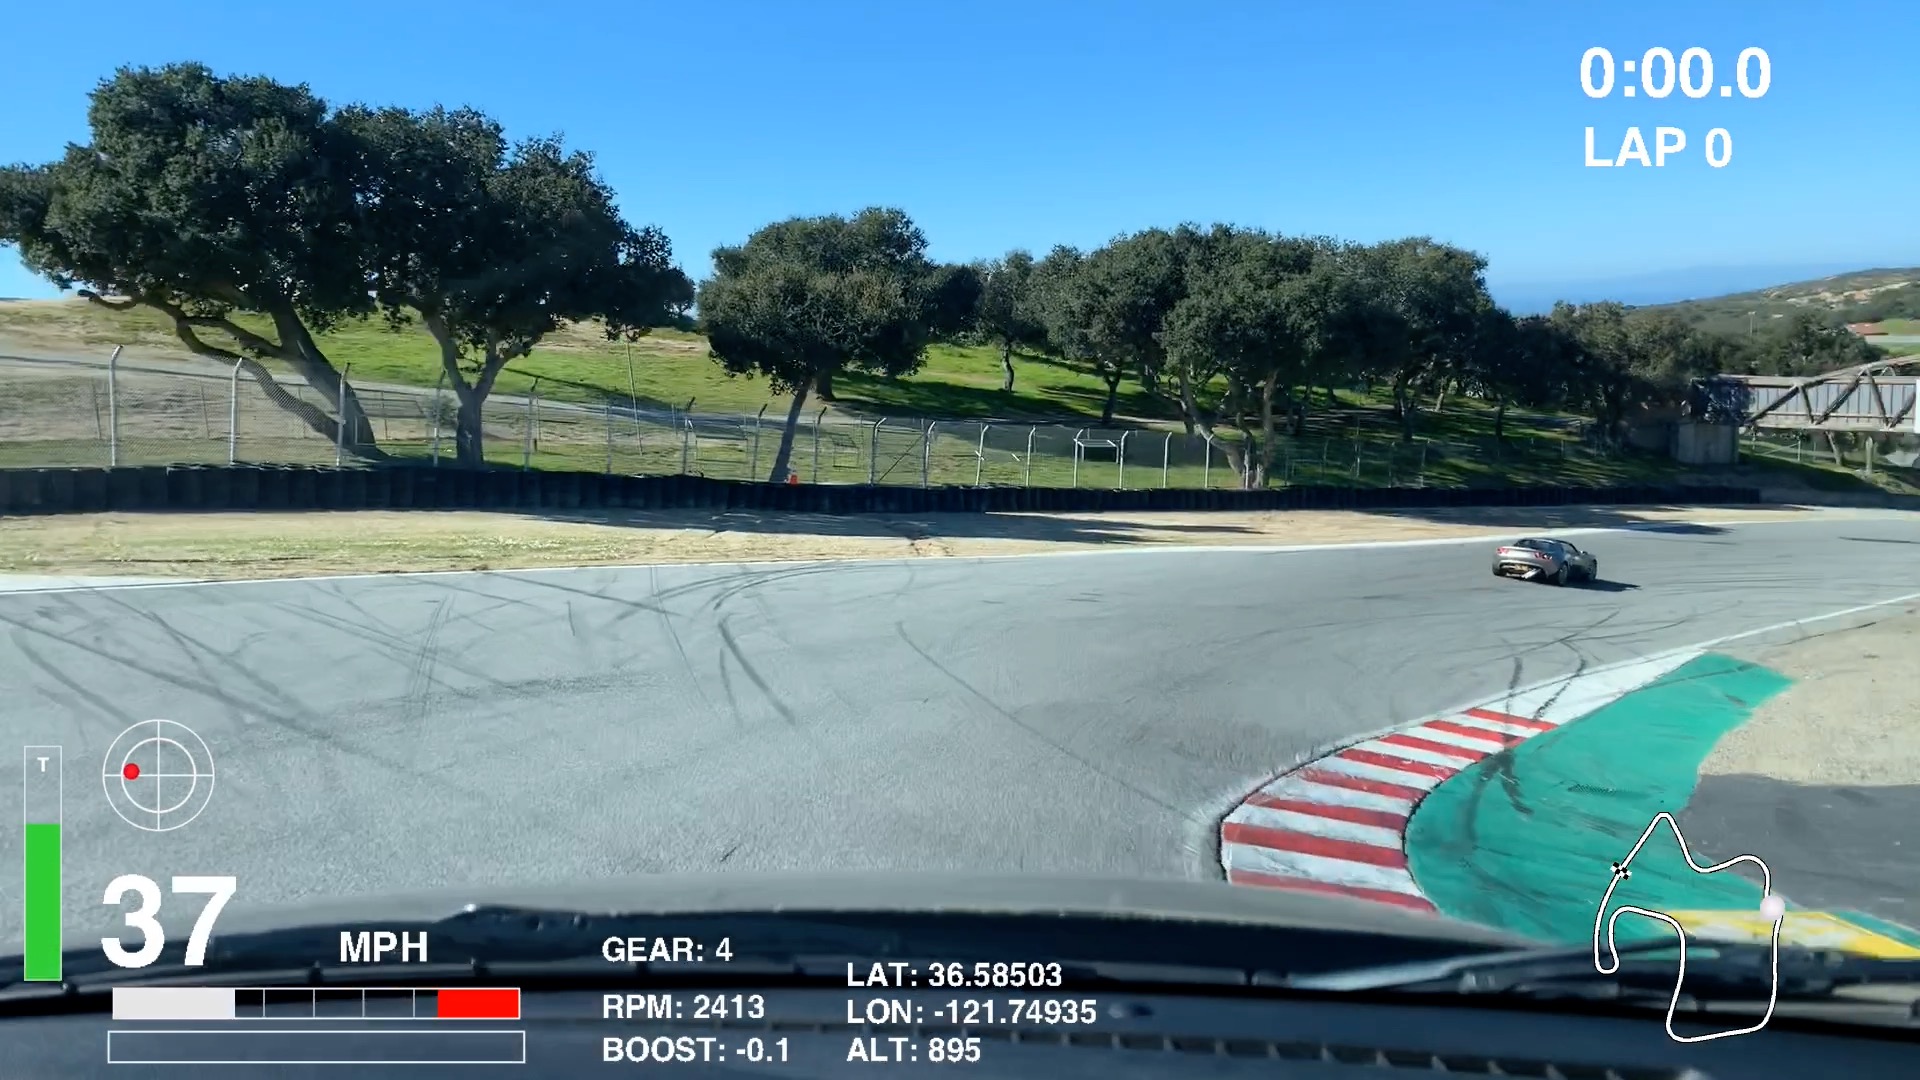
The photograph at right is an example of a botched turn 8a (the bottom of The Corkscrew): I should be just barely brushing the red-and-white striped area at the apex, not straddling it. This mistake set me up for a wide exit from the turn which then meant I needed to struggle to get into proper position on the right side of the track for the entry to turn 9, a hugely important turn.
The second image shows the same moment from inside the car.
Note that it says LAP 0, i.e., the warm-up lap before the
first run down the front straight, during my first session after the
lunch break. That's not an excuse but I may have been
distracted by low tire pressure before the tires warmed up
or just re-establishing the feel of the car
without a passenger. (It's remarkable how even a difference of a few
kilograms in the passenger's seat can make a huge difference in
The Corkscrew.)
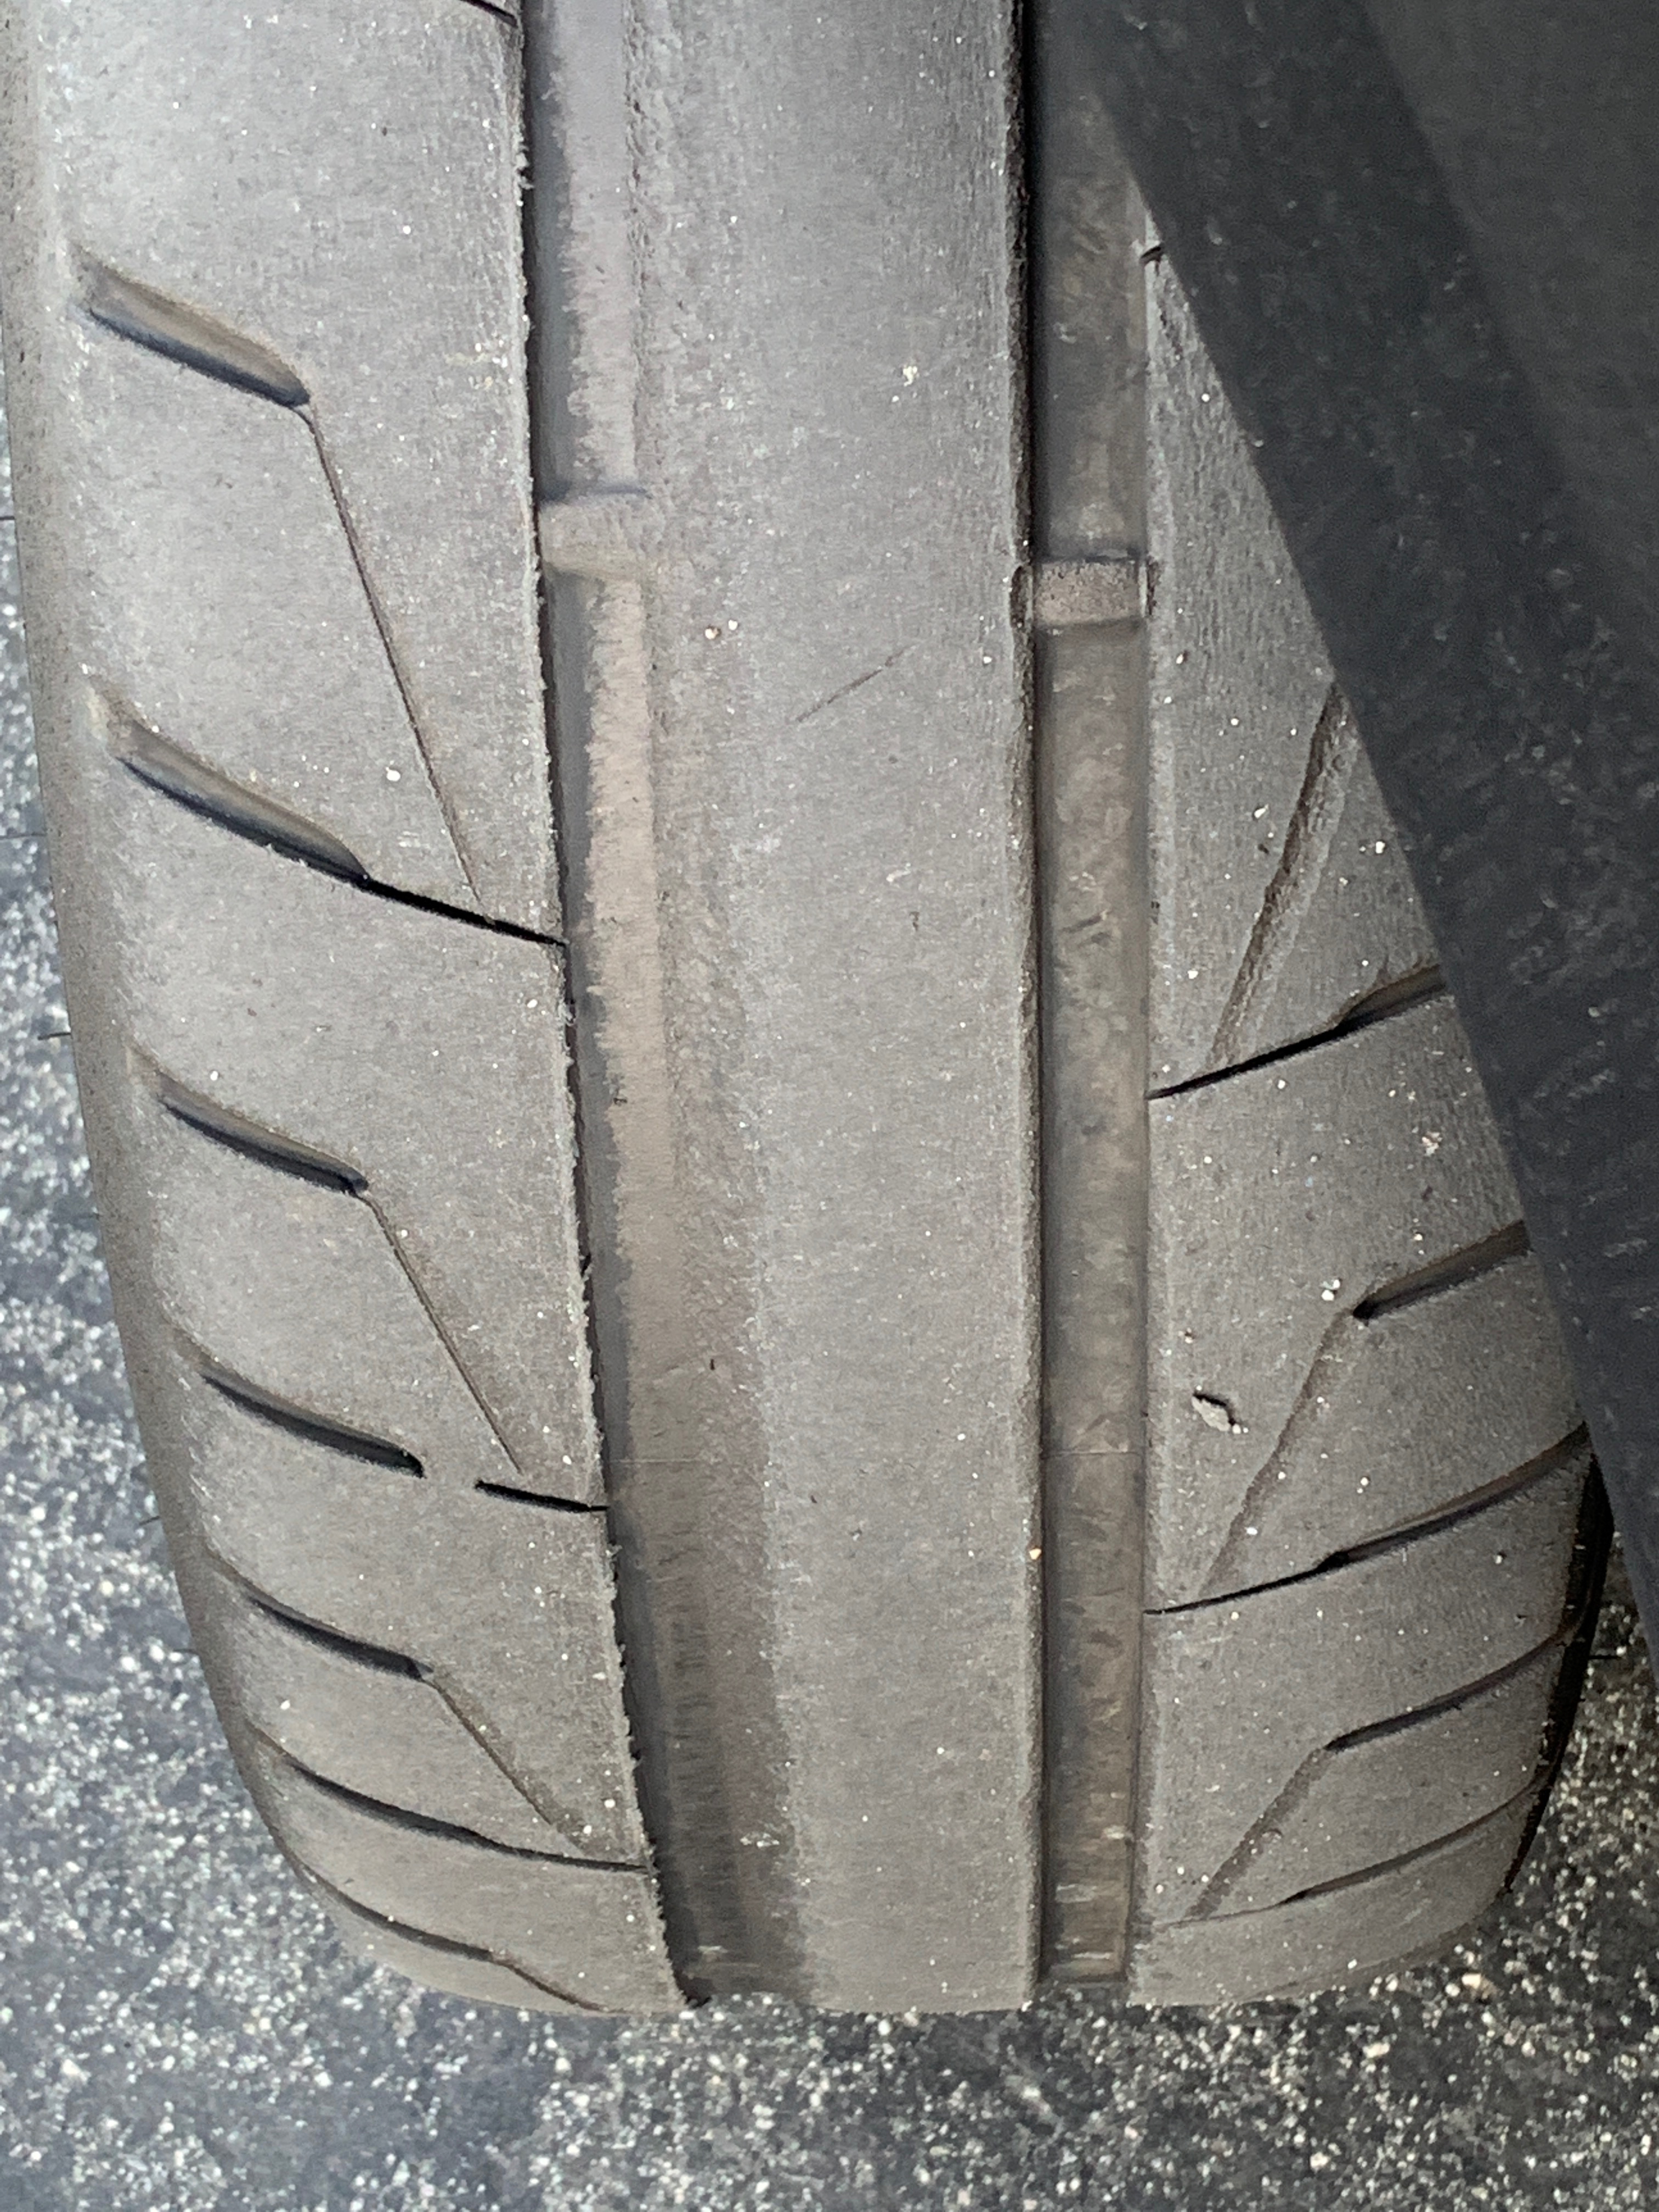
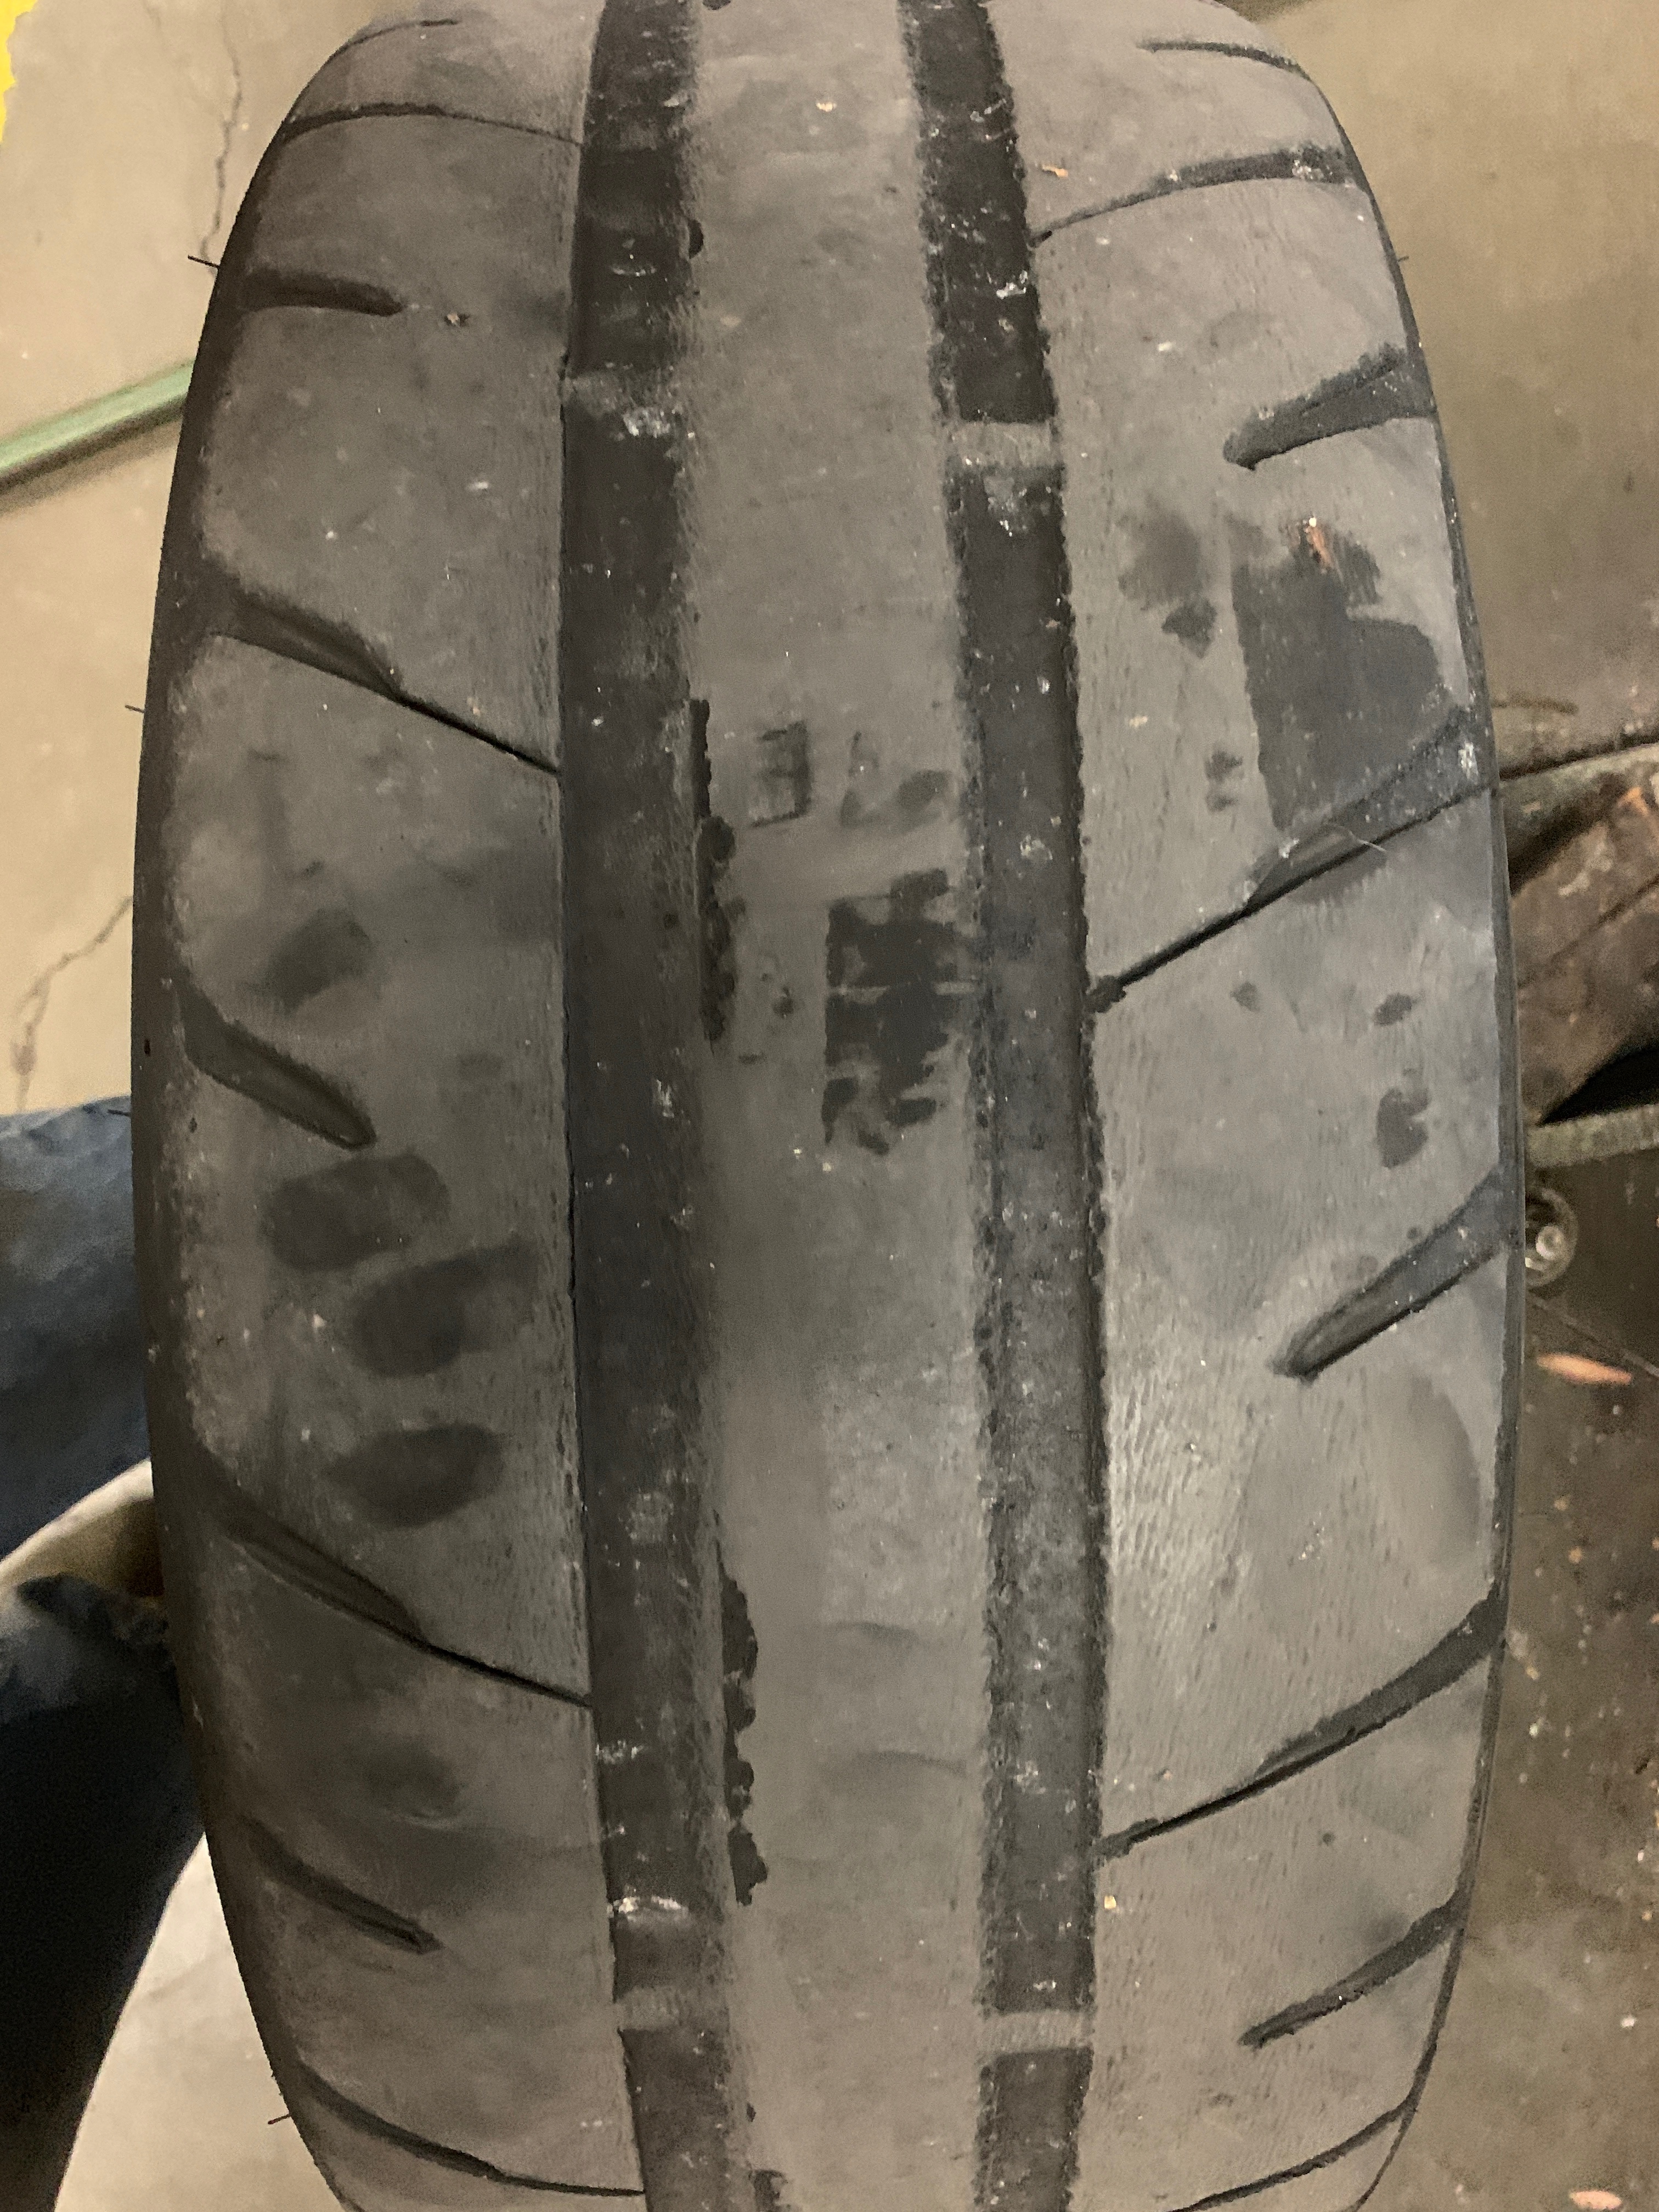
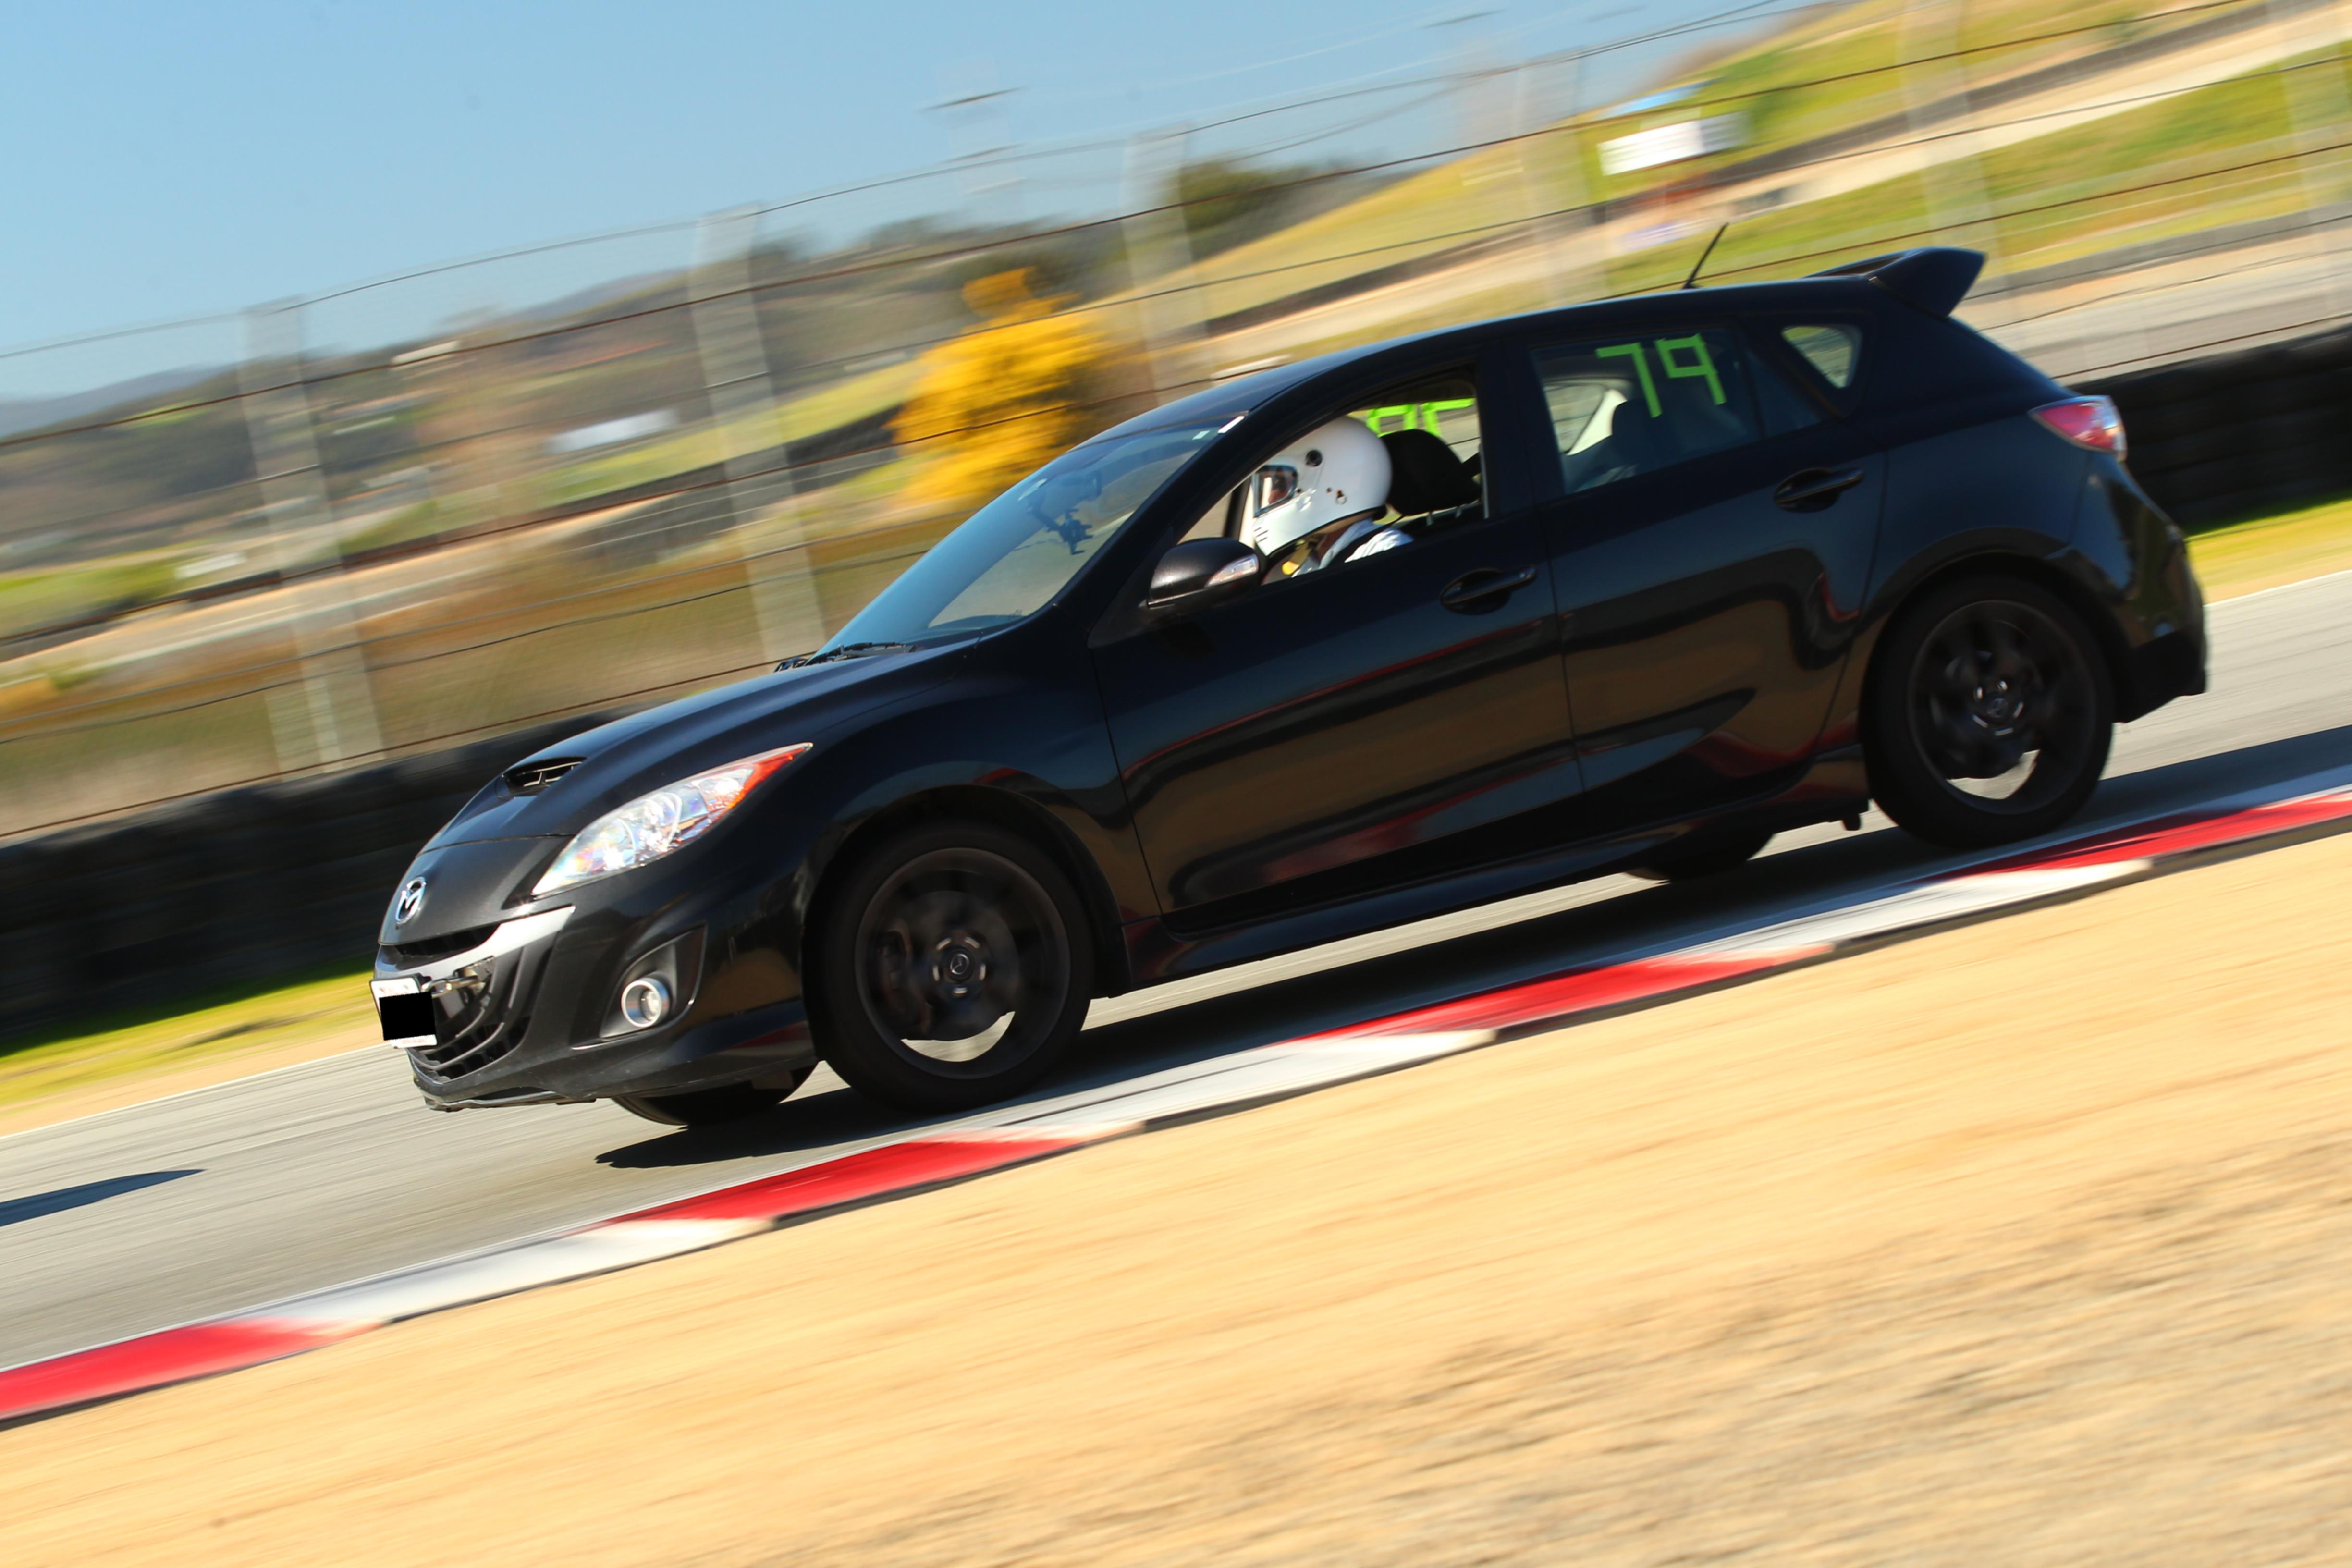
Tires always take a beating on the race track. The photograph at left shows one of the front tires at the end of the day. Although worn it looks much better then one of the front tires nine days earlier after the track day at Willow Springs. (The tires were rotated front-to-rear between the two track days so the tire at left had been on the rear at Willow Springs.)
Tire pressure was also a concern, as discussed above, but I managed it
better this time.
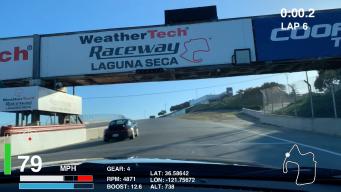
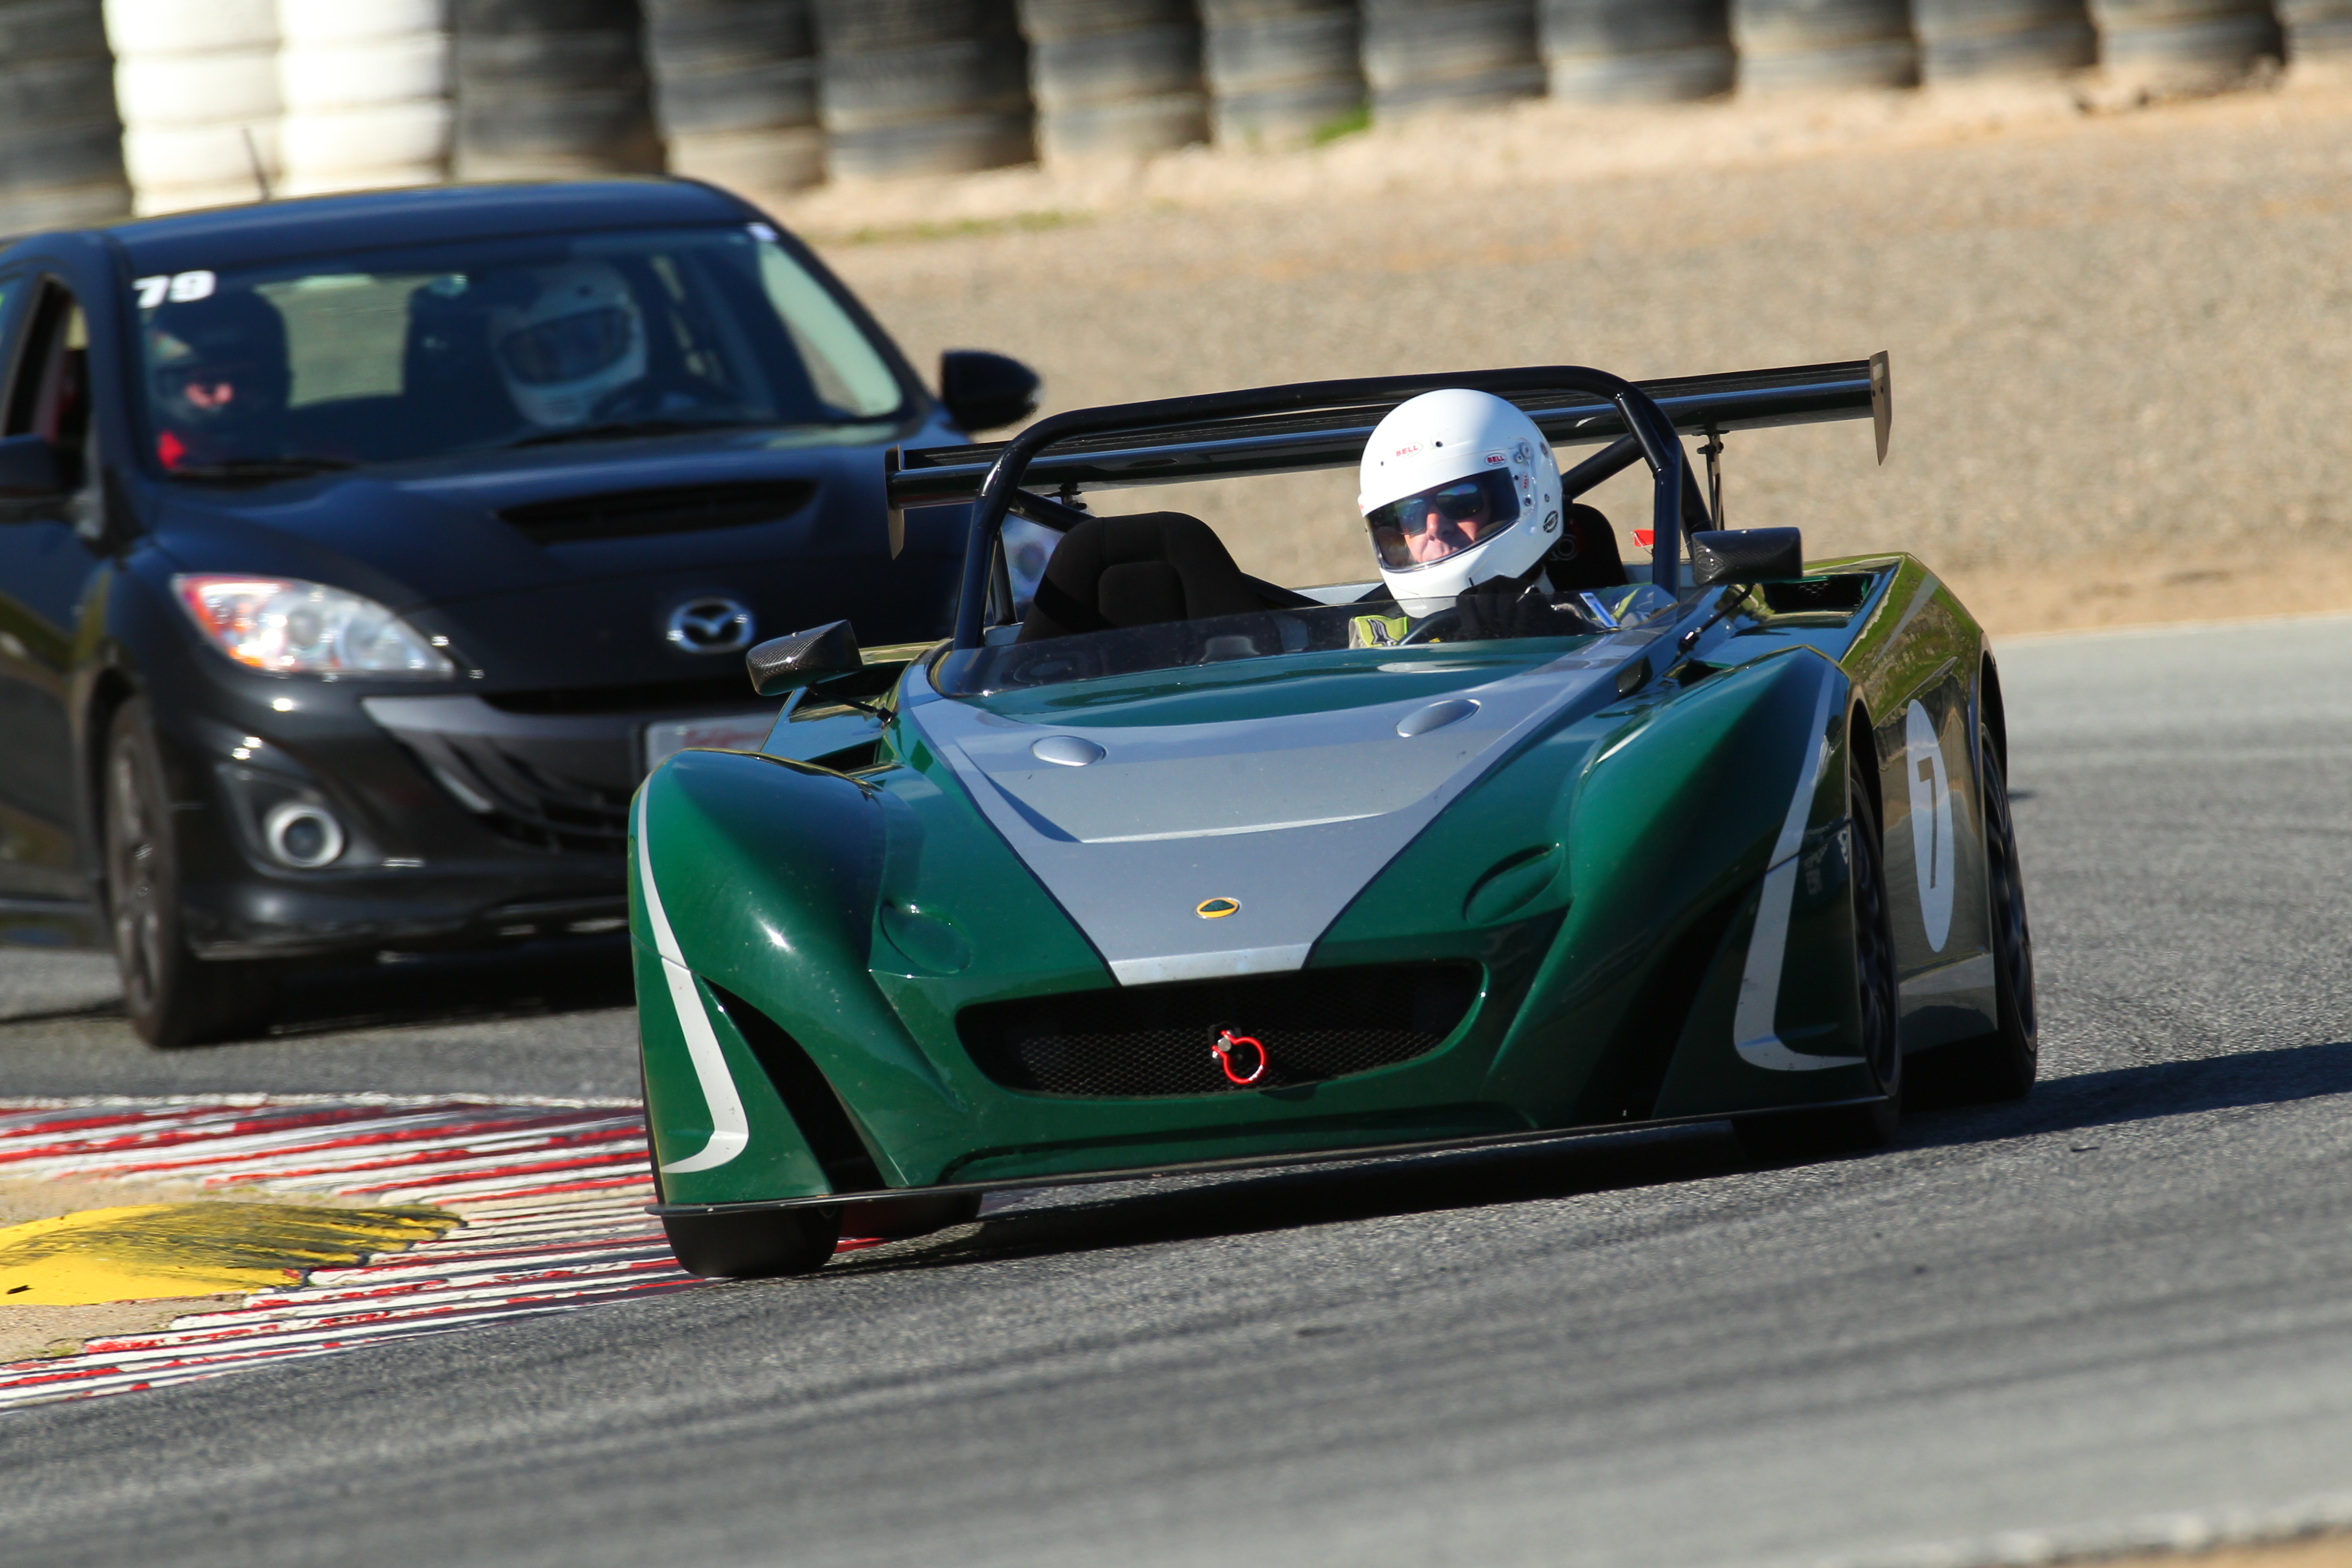
This video (QuickTime version) shows my best two laps, from the last session of the day. At the start, a Porsche "911" had just passed me and gradually crept away; another Porsche passes me at the end of the video. I'm pretty happy that a little ol' Mazdaspeed could (almost) keep up with these fast machines.
The second (lap 7) was my new personal record, 1:56.723, also plotted on a Google Map. Lap 6 was only slightly slower (1:56.818). The app that I use (Track Addict) breaks Laguna Seca into six sectors and calculates a best theoretical lap from the best of each sector in a session. Picking the best sectors of these two laps, I could have attained a theoretical lap time of 1:55.854, nearly a one-second improvement over my best time.
Watching this video I see many places for improvement, including several cringeworthy ("what did I do?!") moments. Despite being a "numbers guy" I have little idea of my speeds on the track until reviewing the data later. Instead, I use fixed reference points on the track for braking, shifts, etc. The main exception is the upshift point on the front straight, based on RPM, and I've yet to settle on the right number. Armchair quarterbacking is useful in this case as I learn for future track days.
The video includes quite a bit of on-screen data. The vertical histogram at the left shows throttle position; the target to its right shows two-dimensional acceleration. The two horizontal bars at bottom left show RPM and the turbocharger's boost pressure, with the numeric values to their right. At lower right is a map of the track showing the current track location in the video. (Video from the Track Addict app with additional data via a PLX KIWI 3 OBD adapter.)
(coming soon)
|
Copyright © 2020-2021 Karl L. Swartz. All rights reserved. |

|
