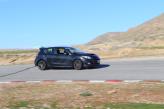
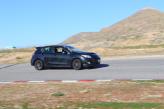
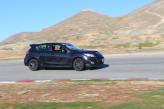
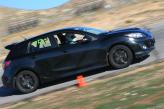
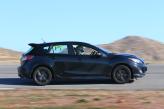
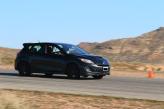
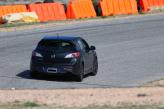
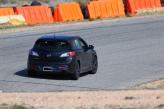
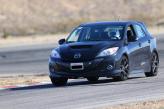
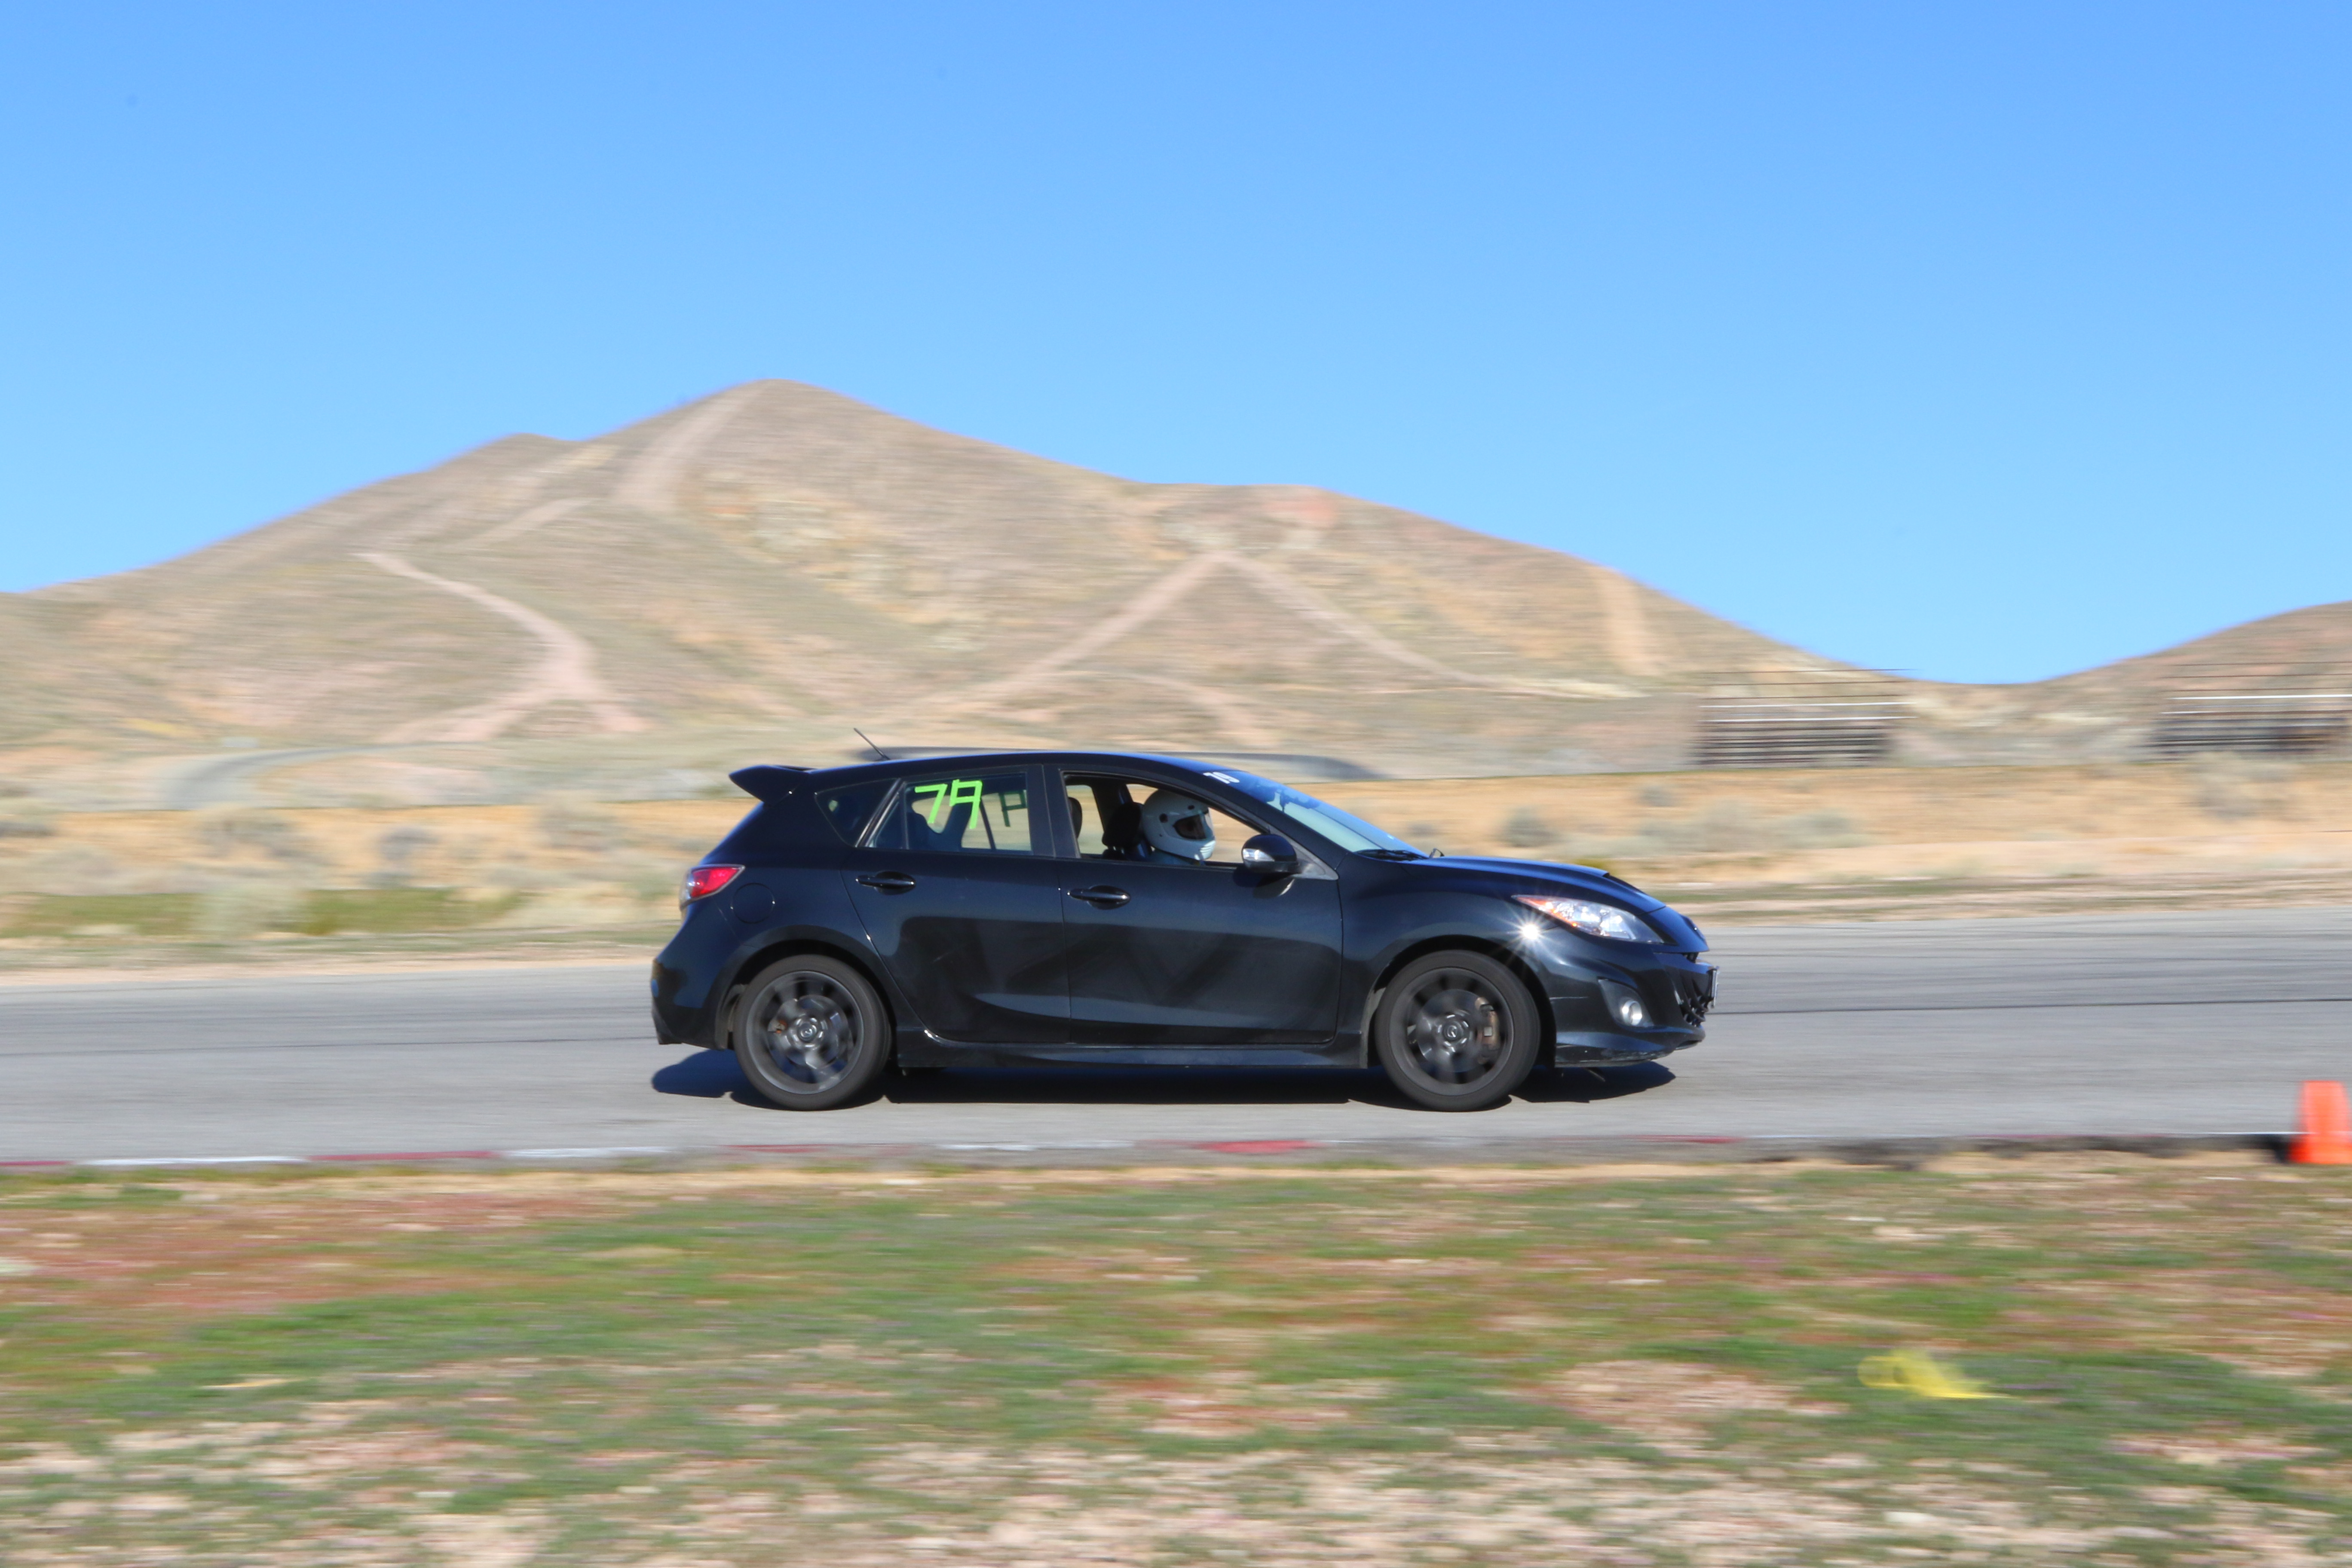
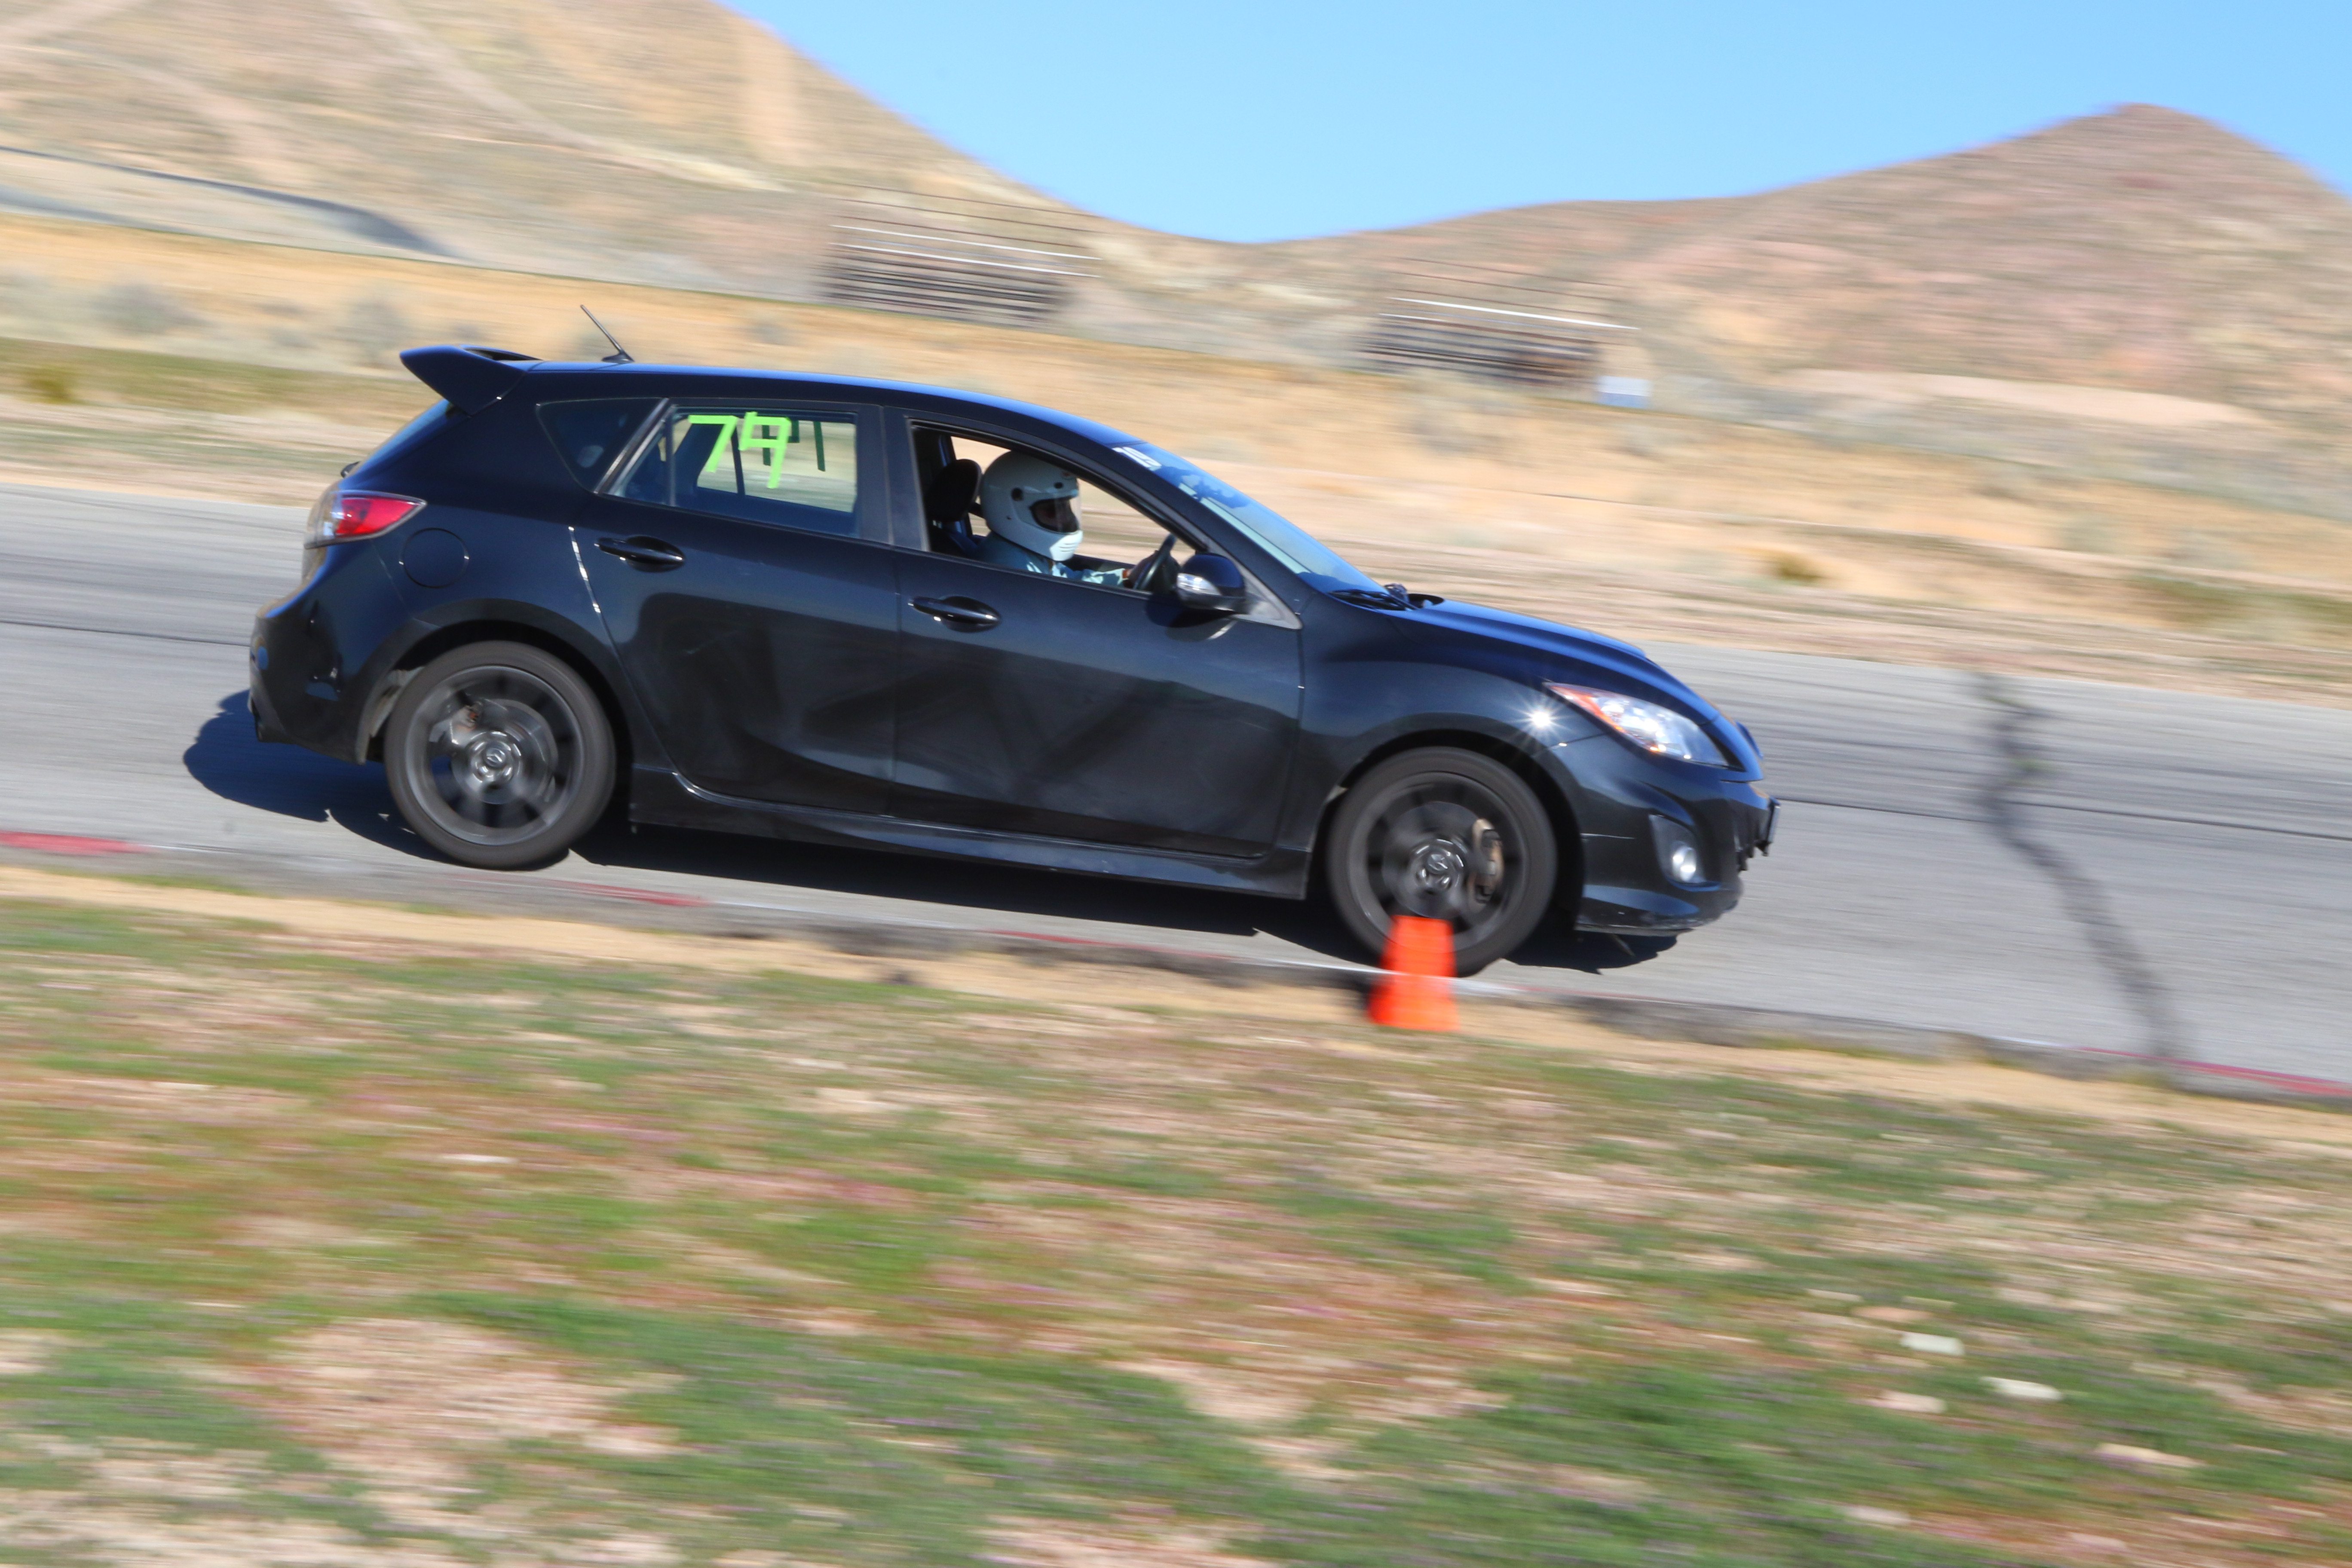
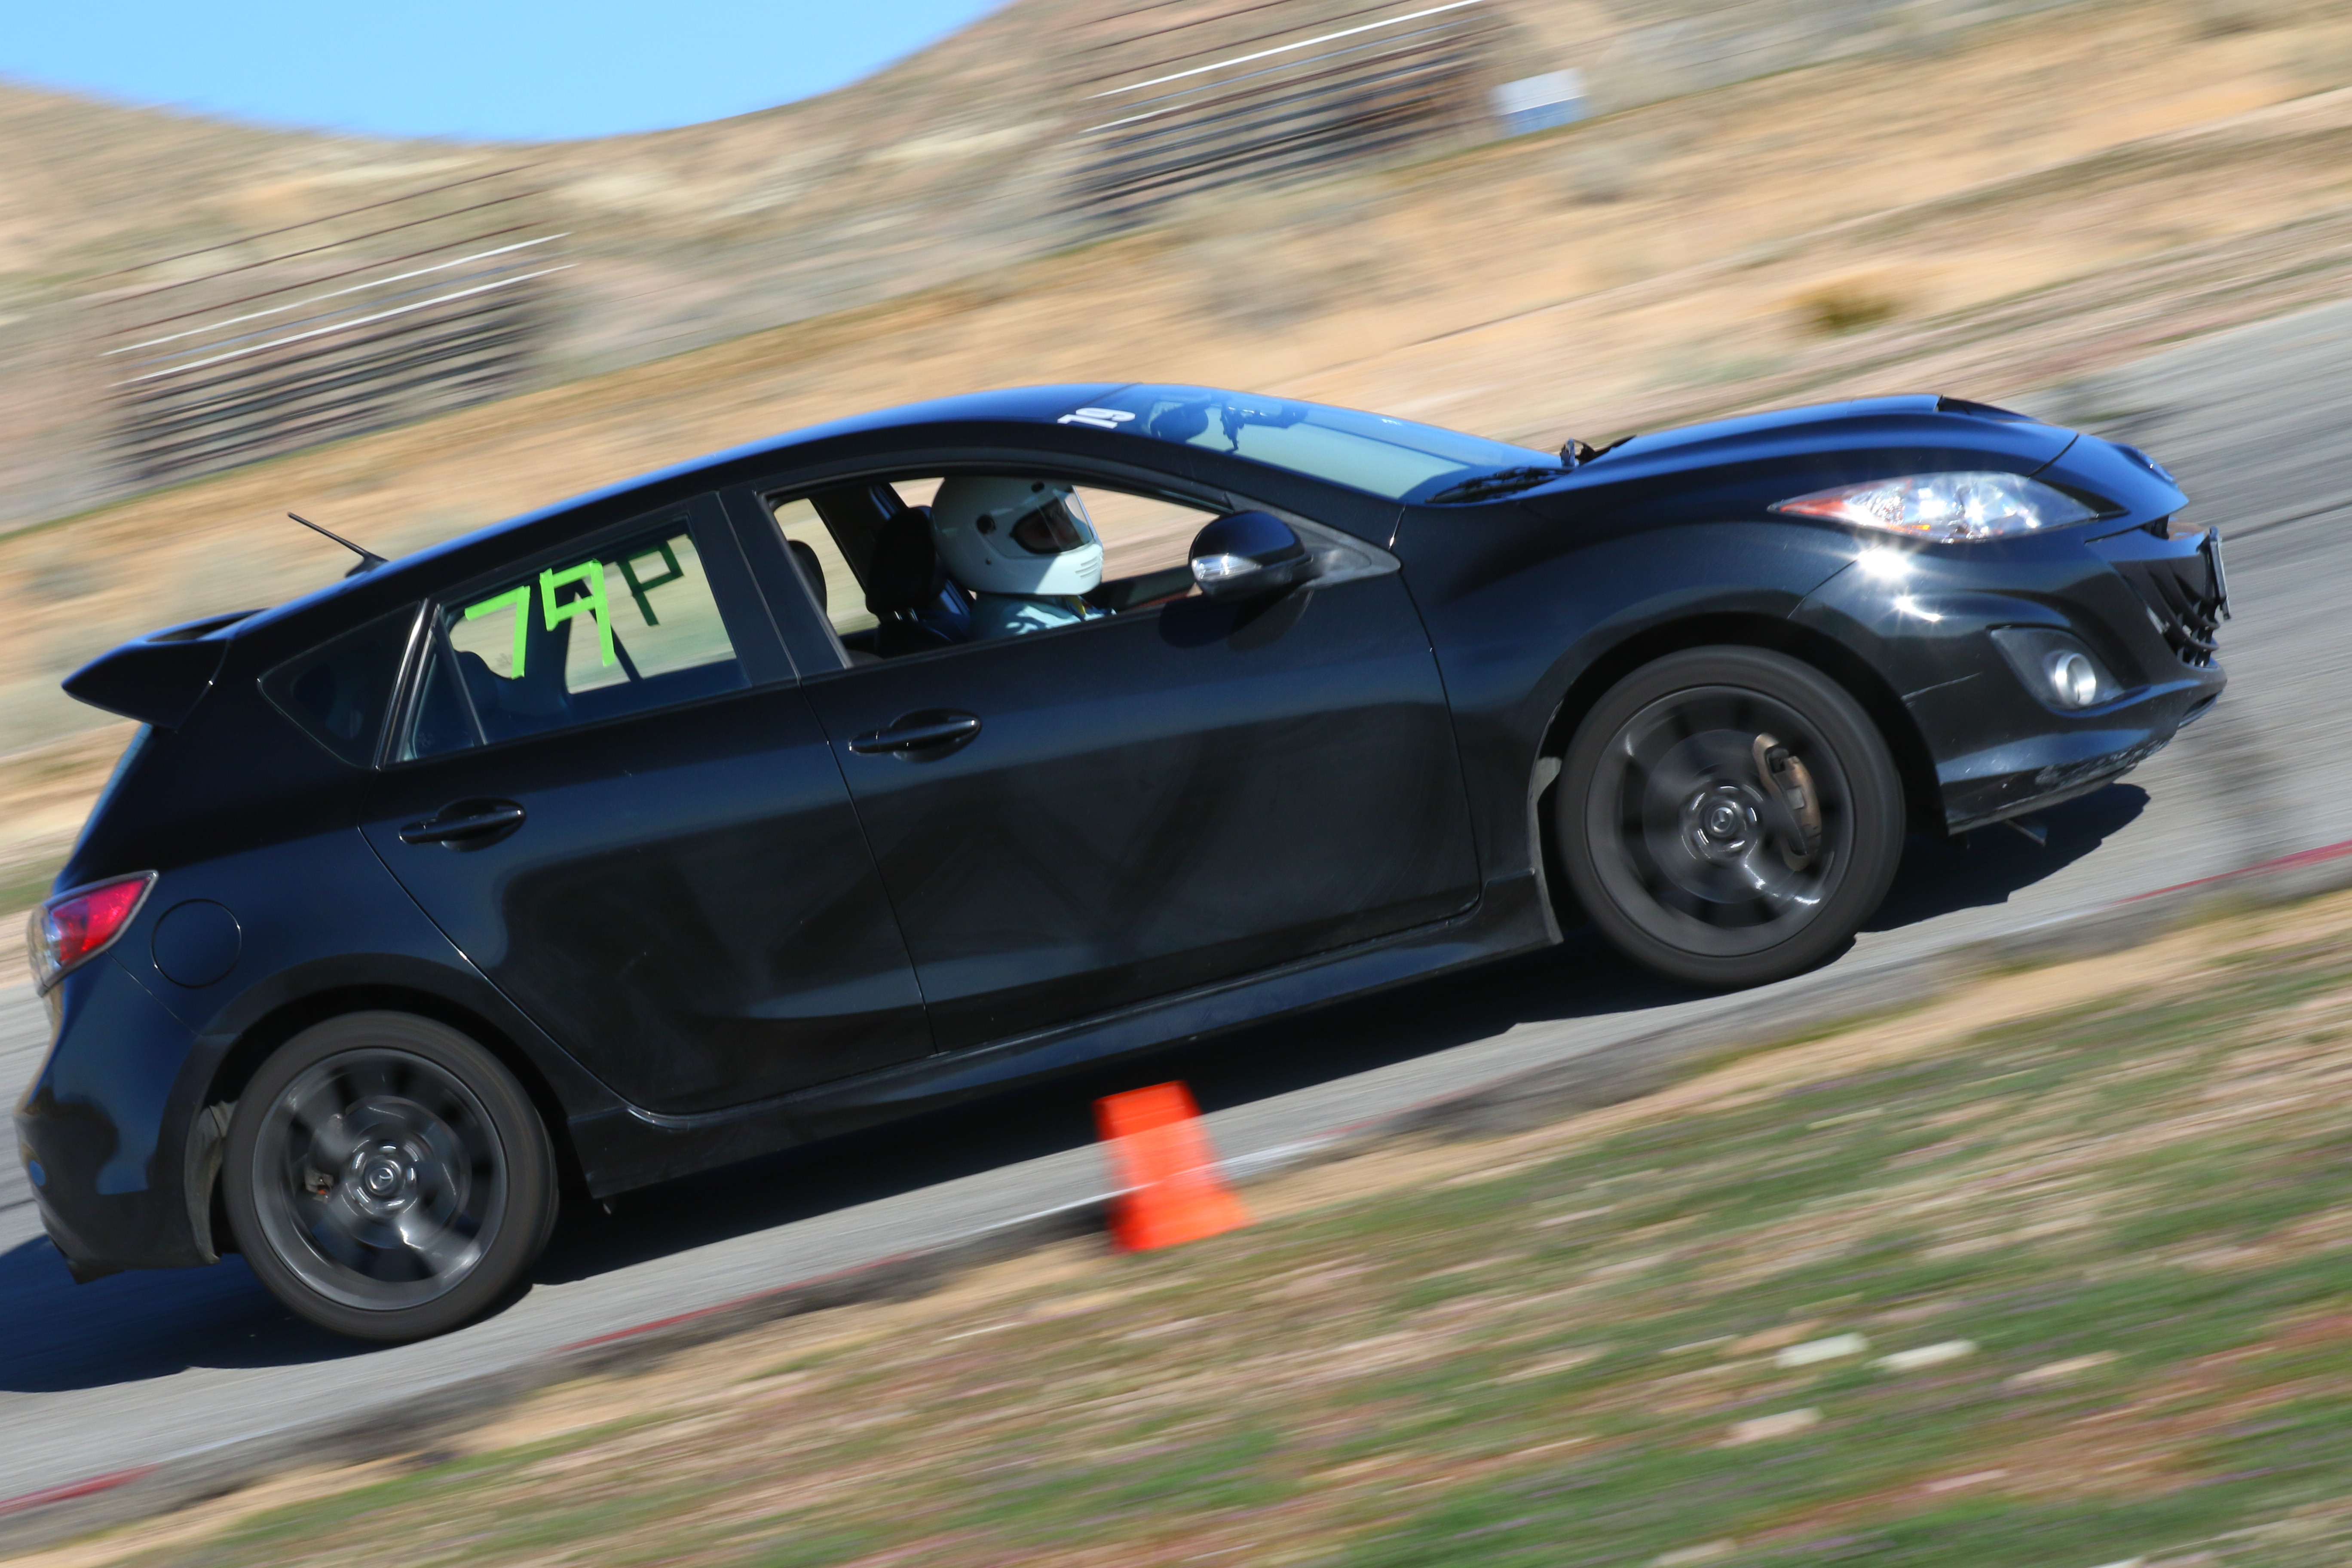
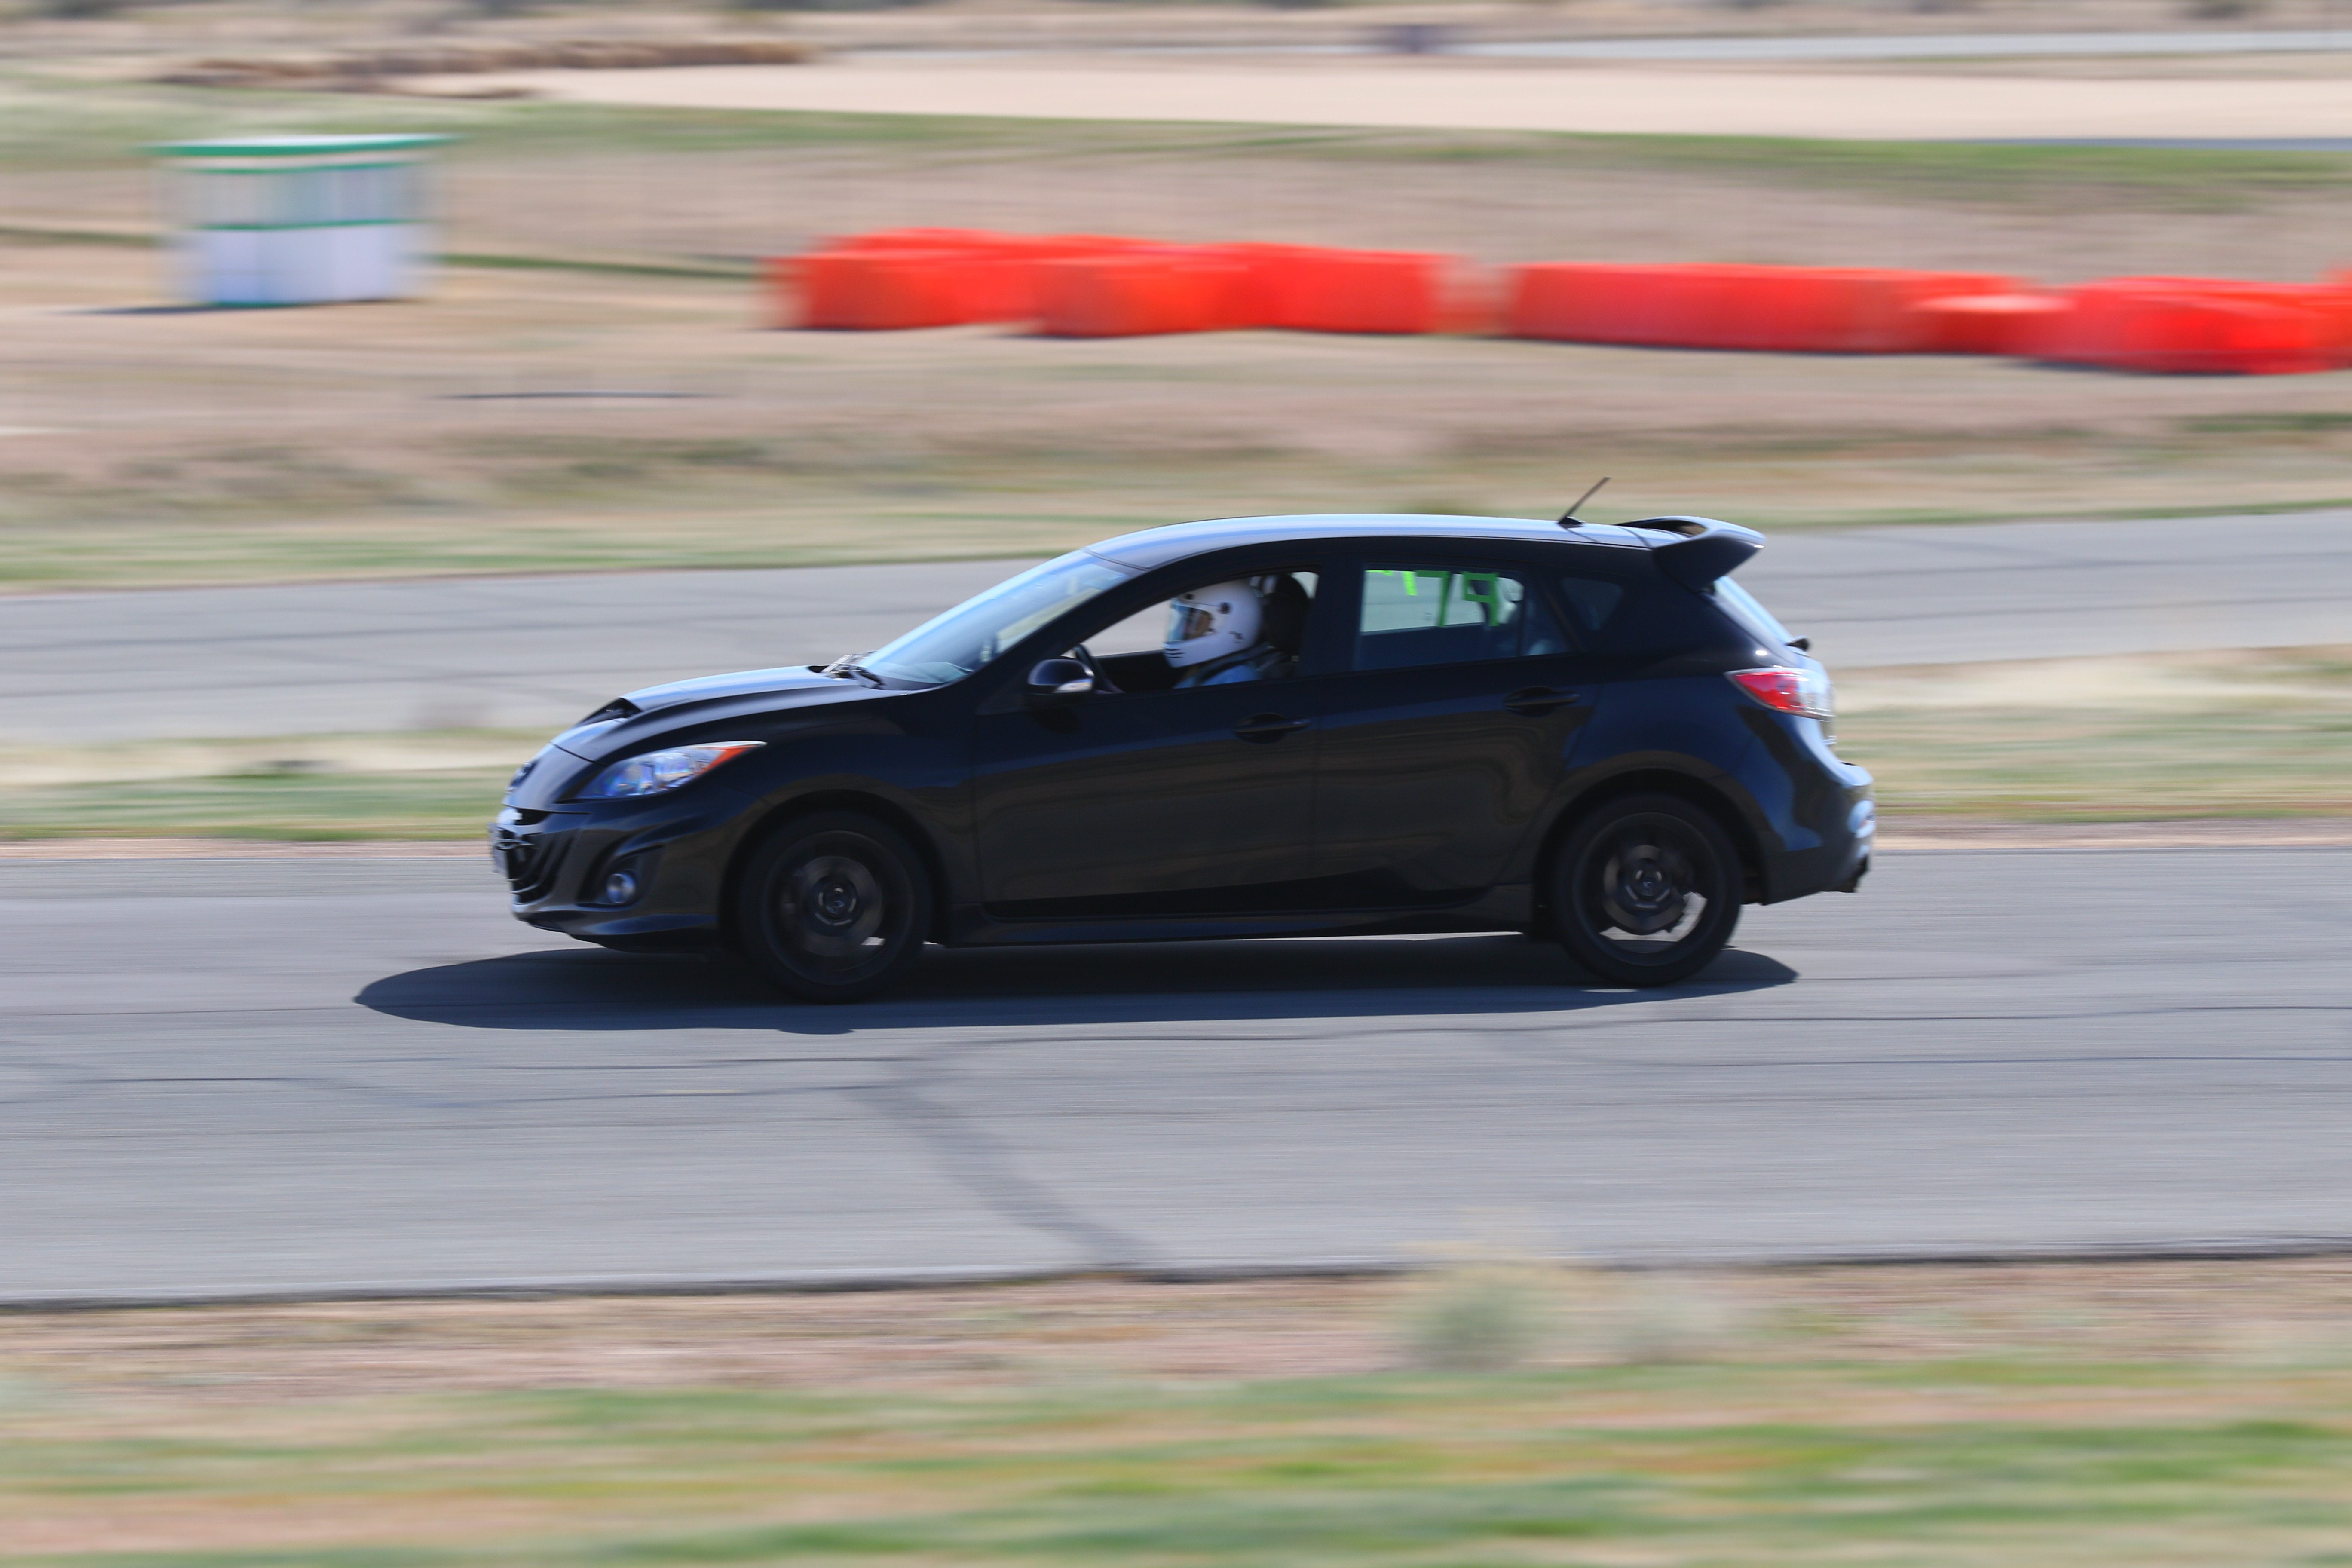
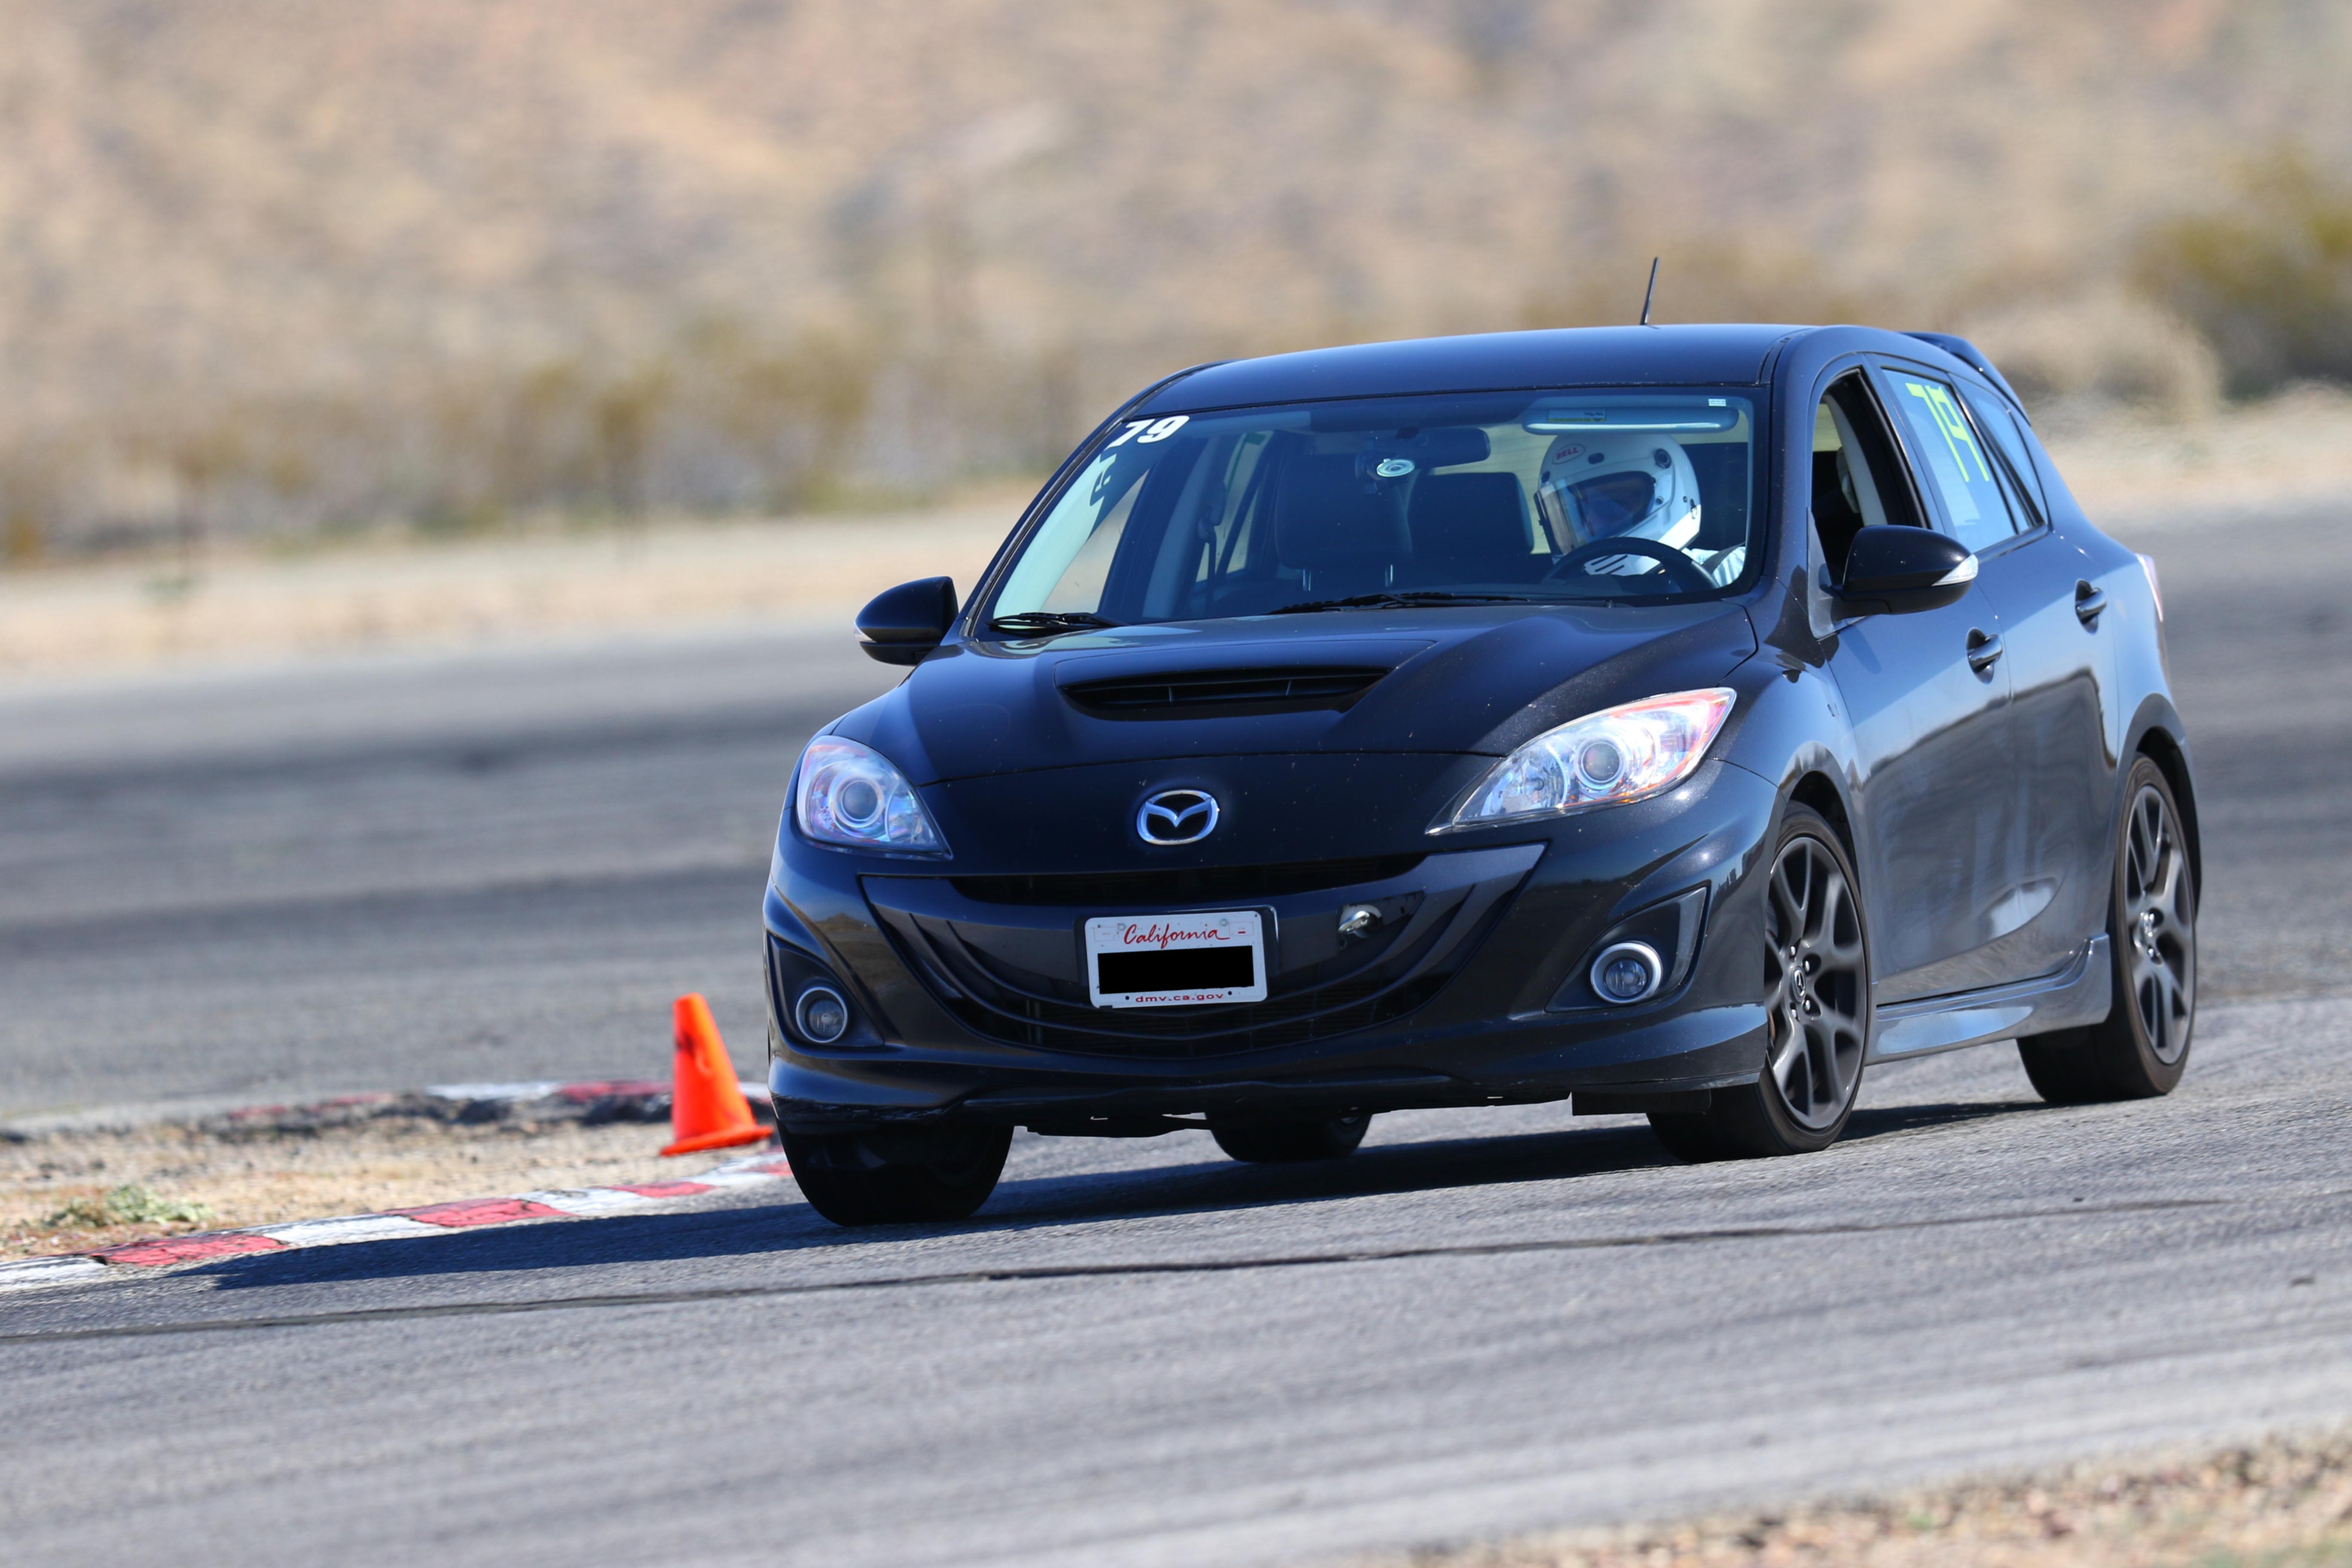
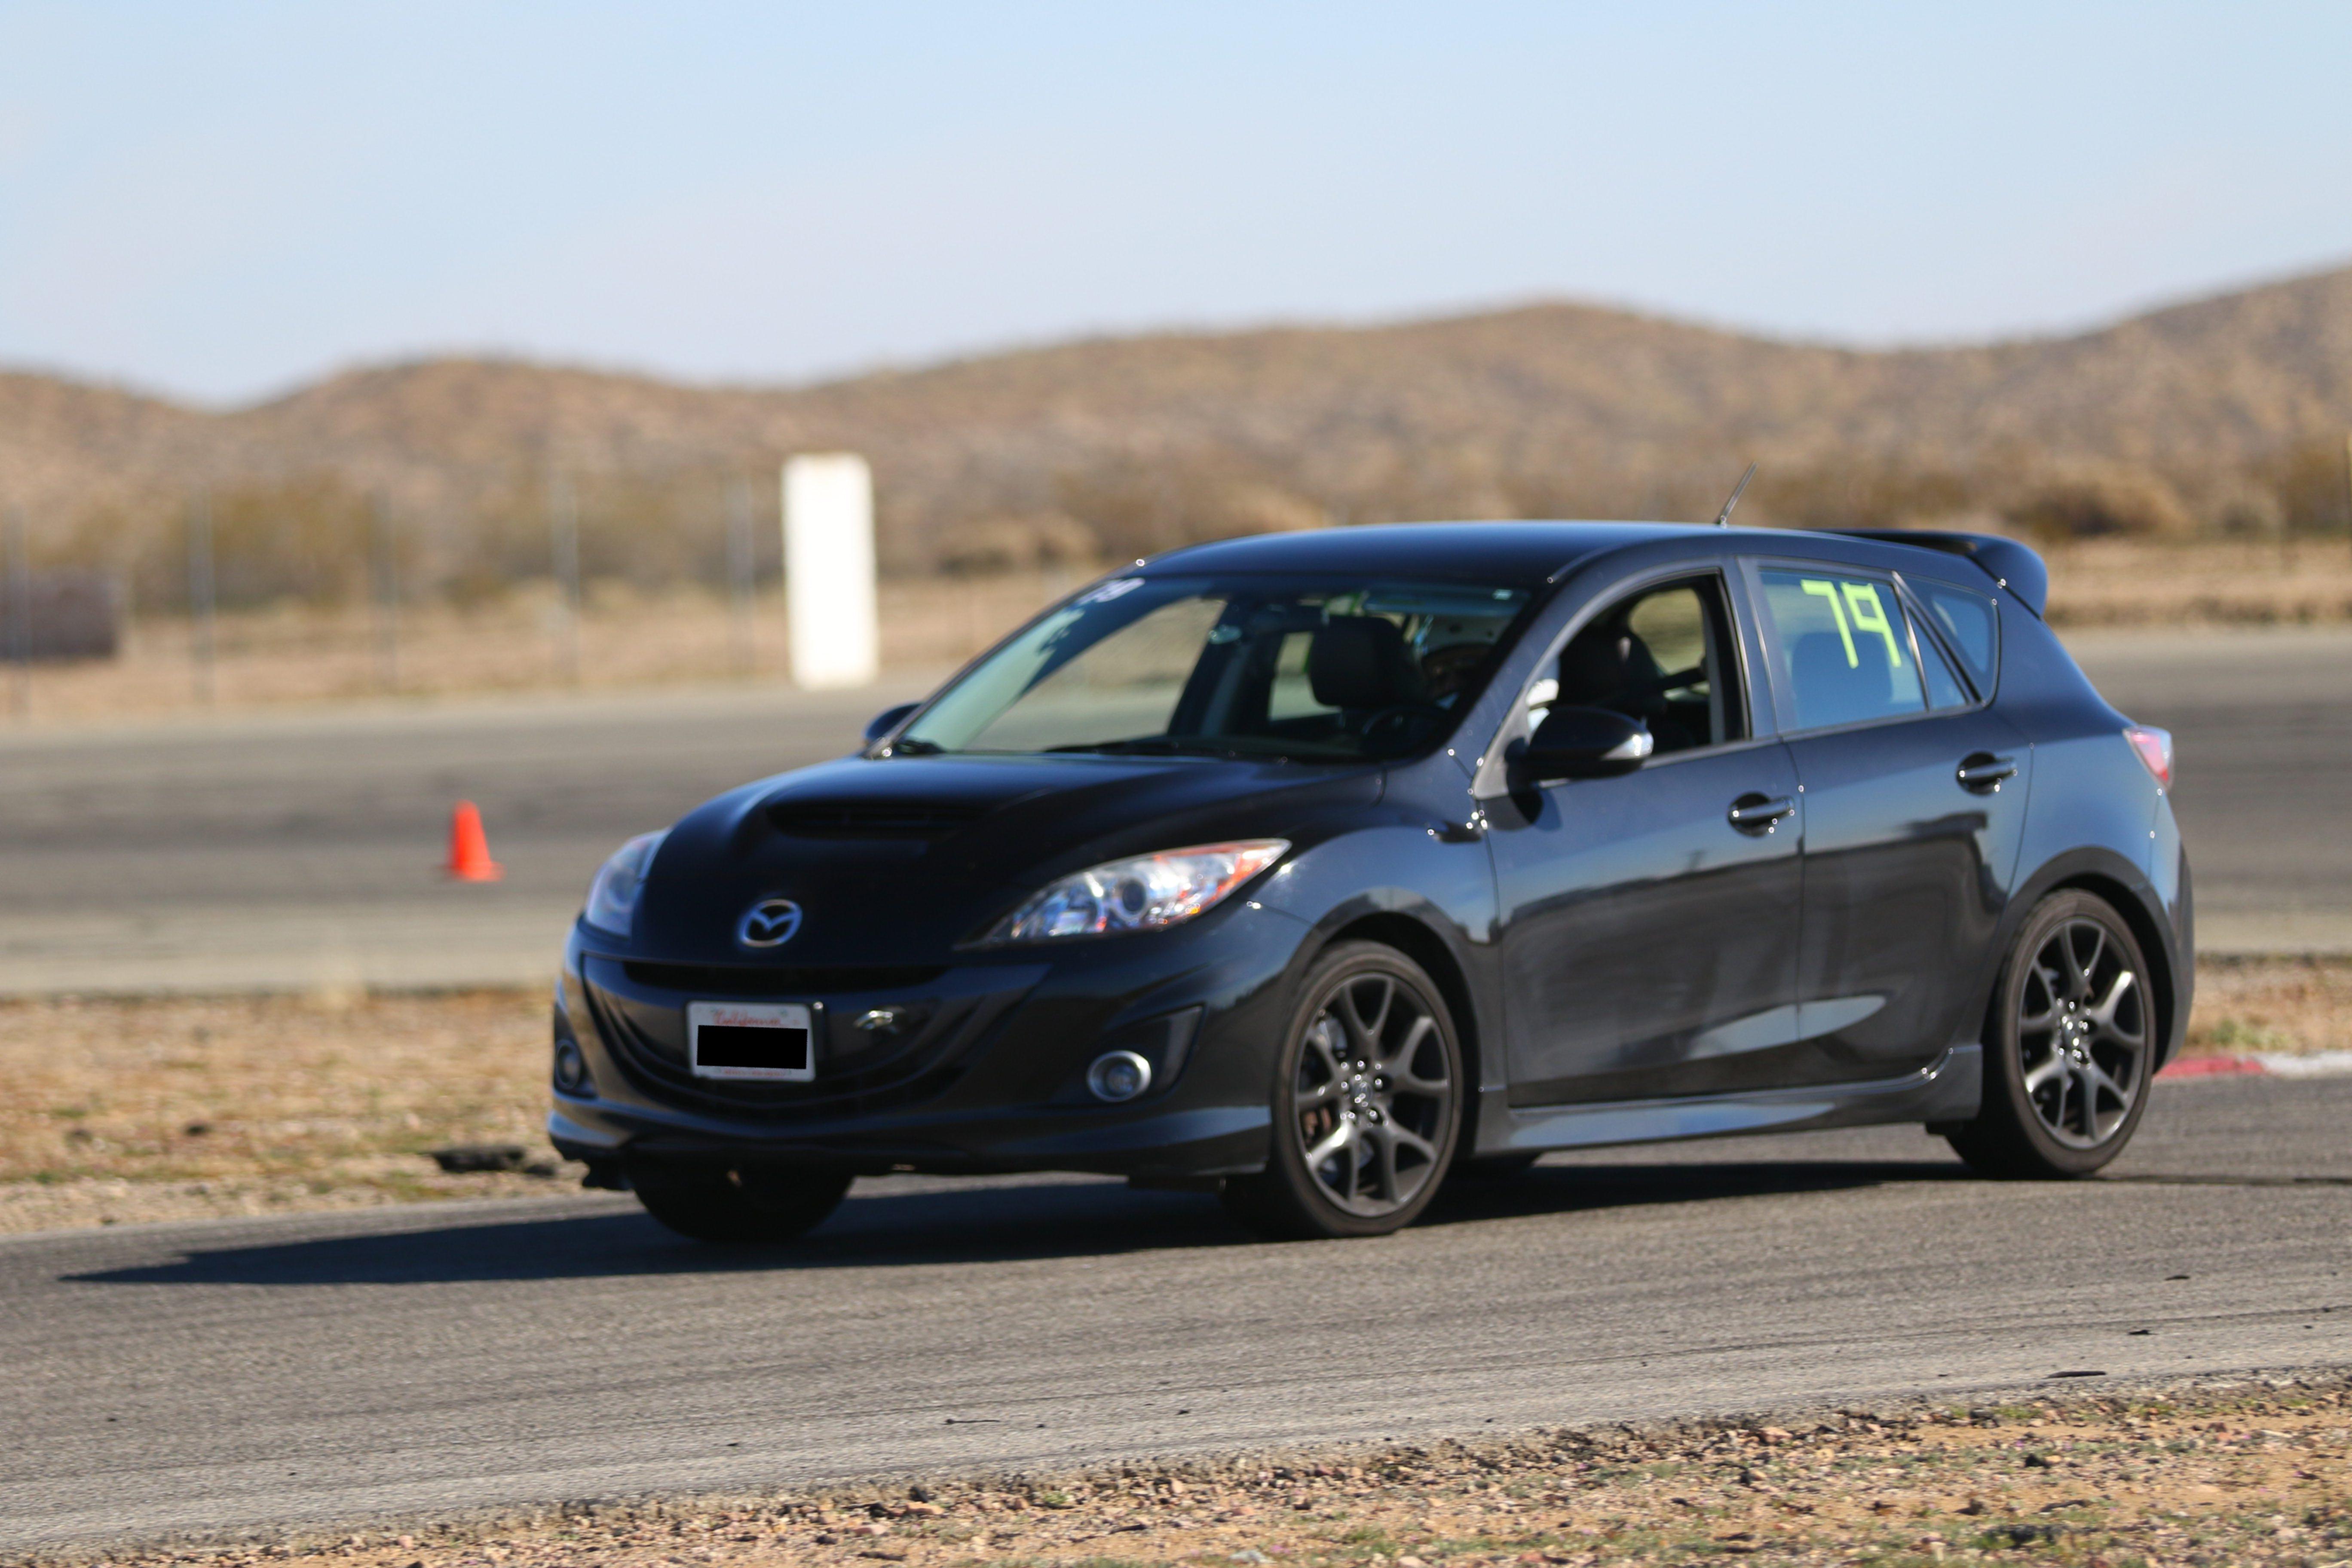
"Mr. Toad" at The Streets of Willow Springs (15 February 2020)
Open-track day with the
Golden Gate Lotus Club!
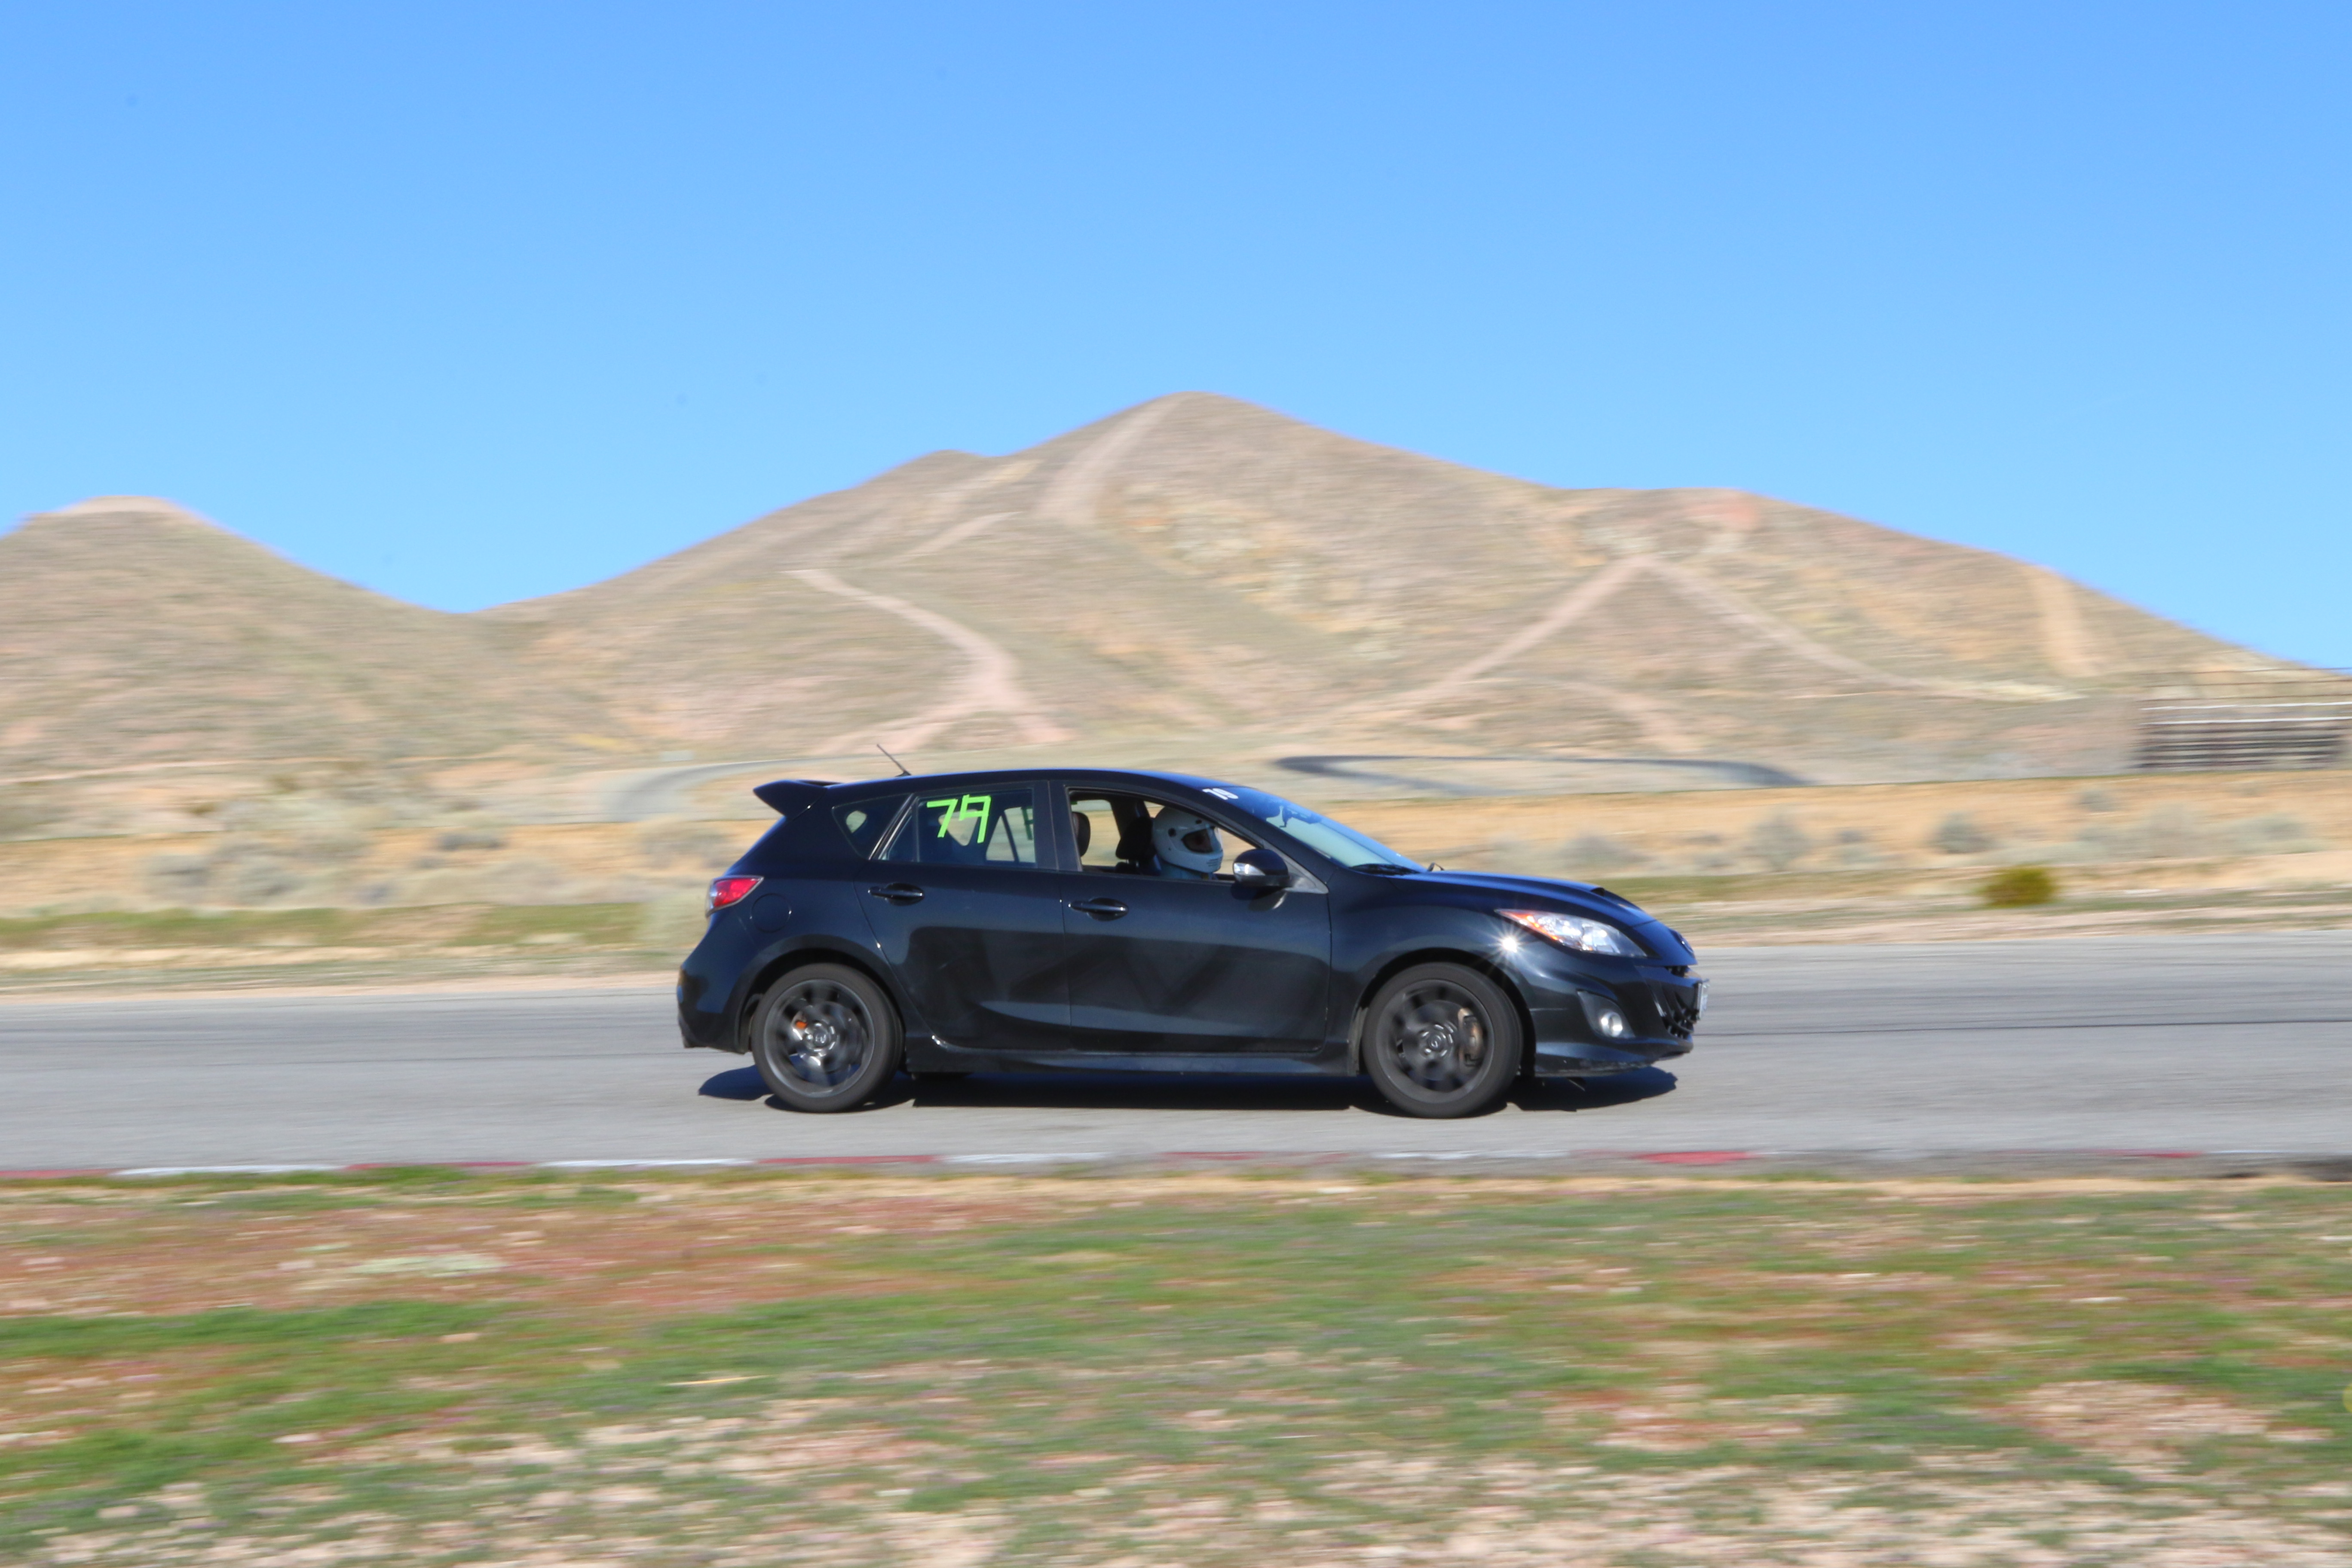
Track Photographs by CaliPhotography
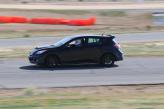
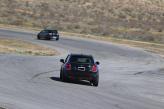
Inside Turn 2


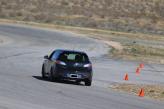
Bowl (Turn 8)

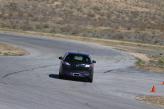
Chicane (Turn 9A, 9B)


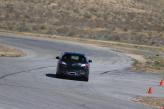


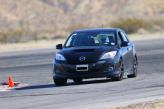
Skidpad (Turn 13)


Paddock and Other Photographs
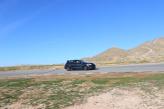
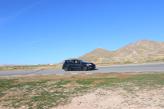
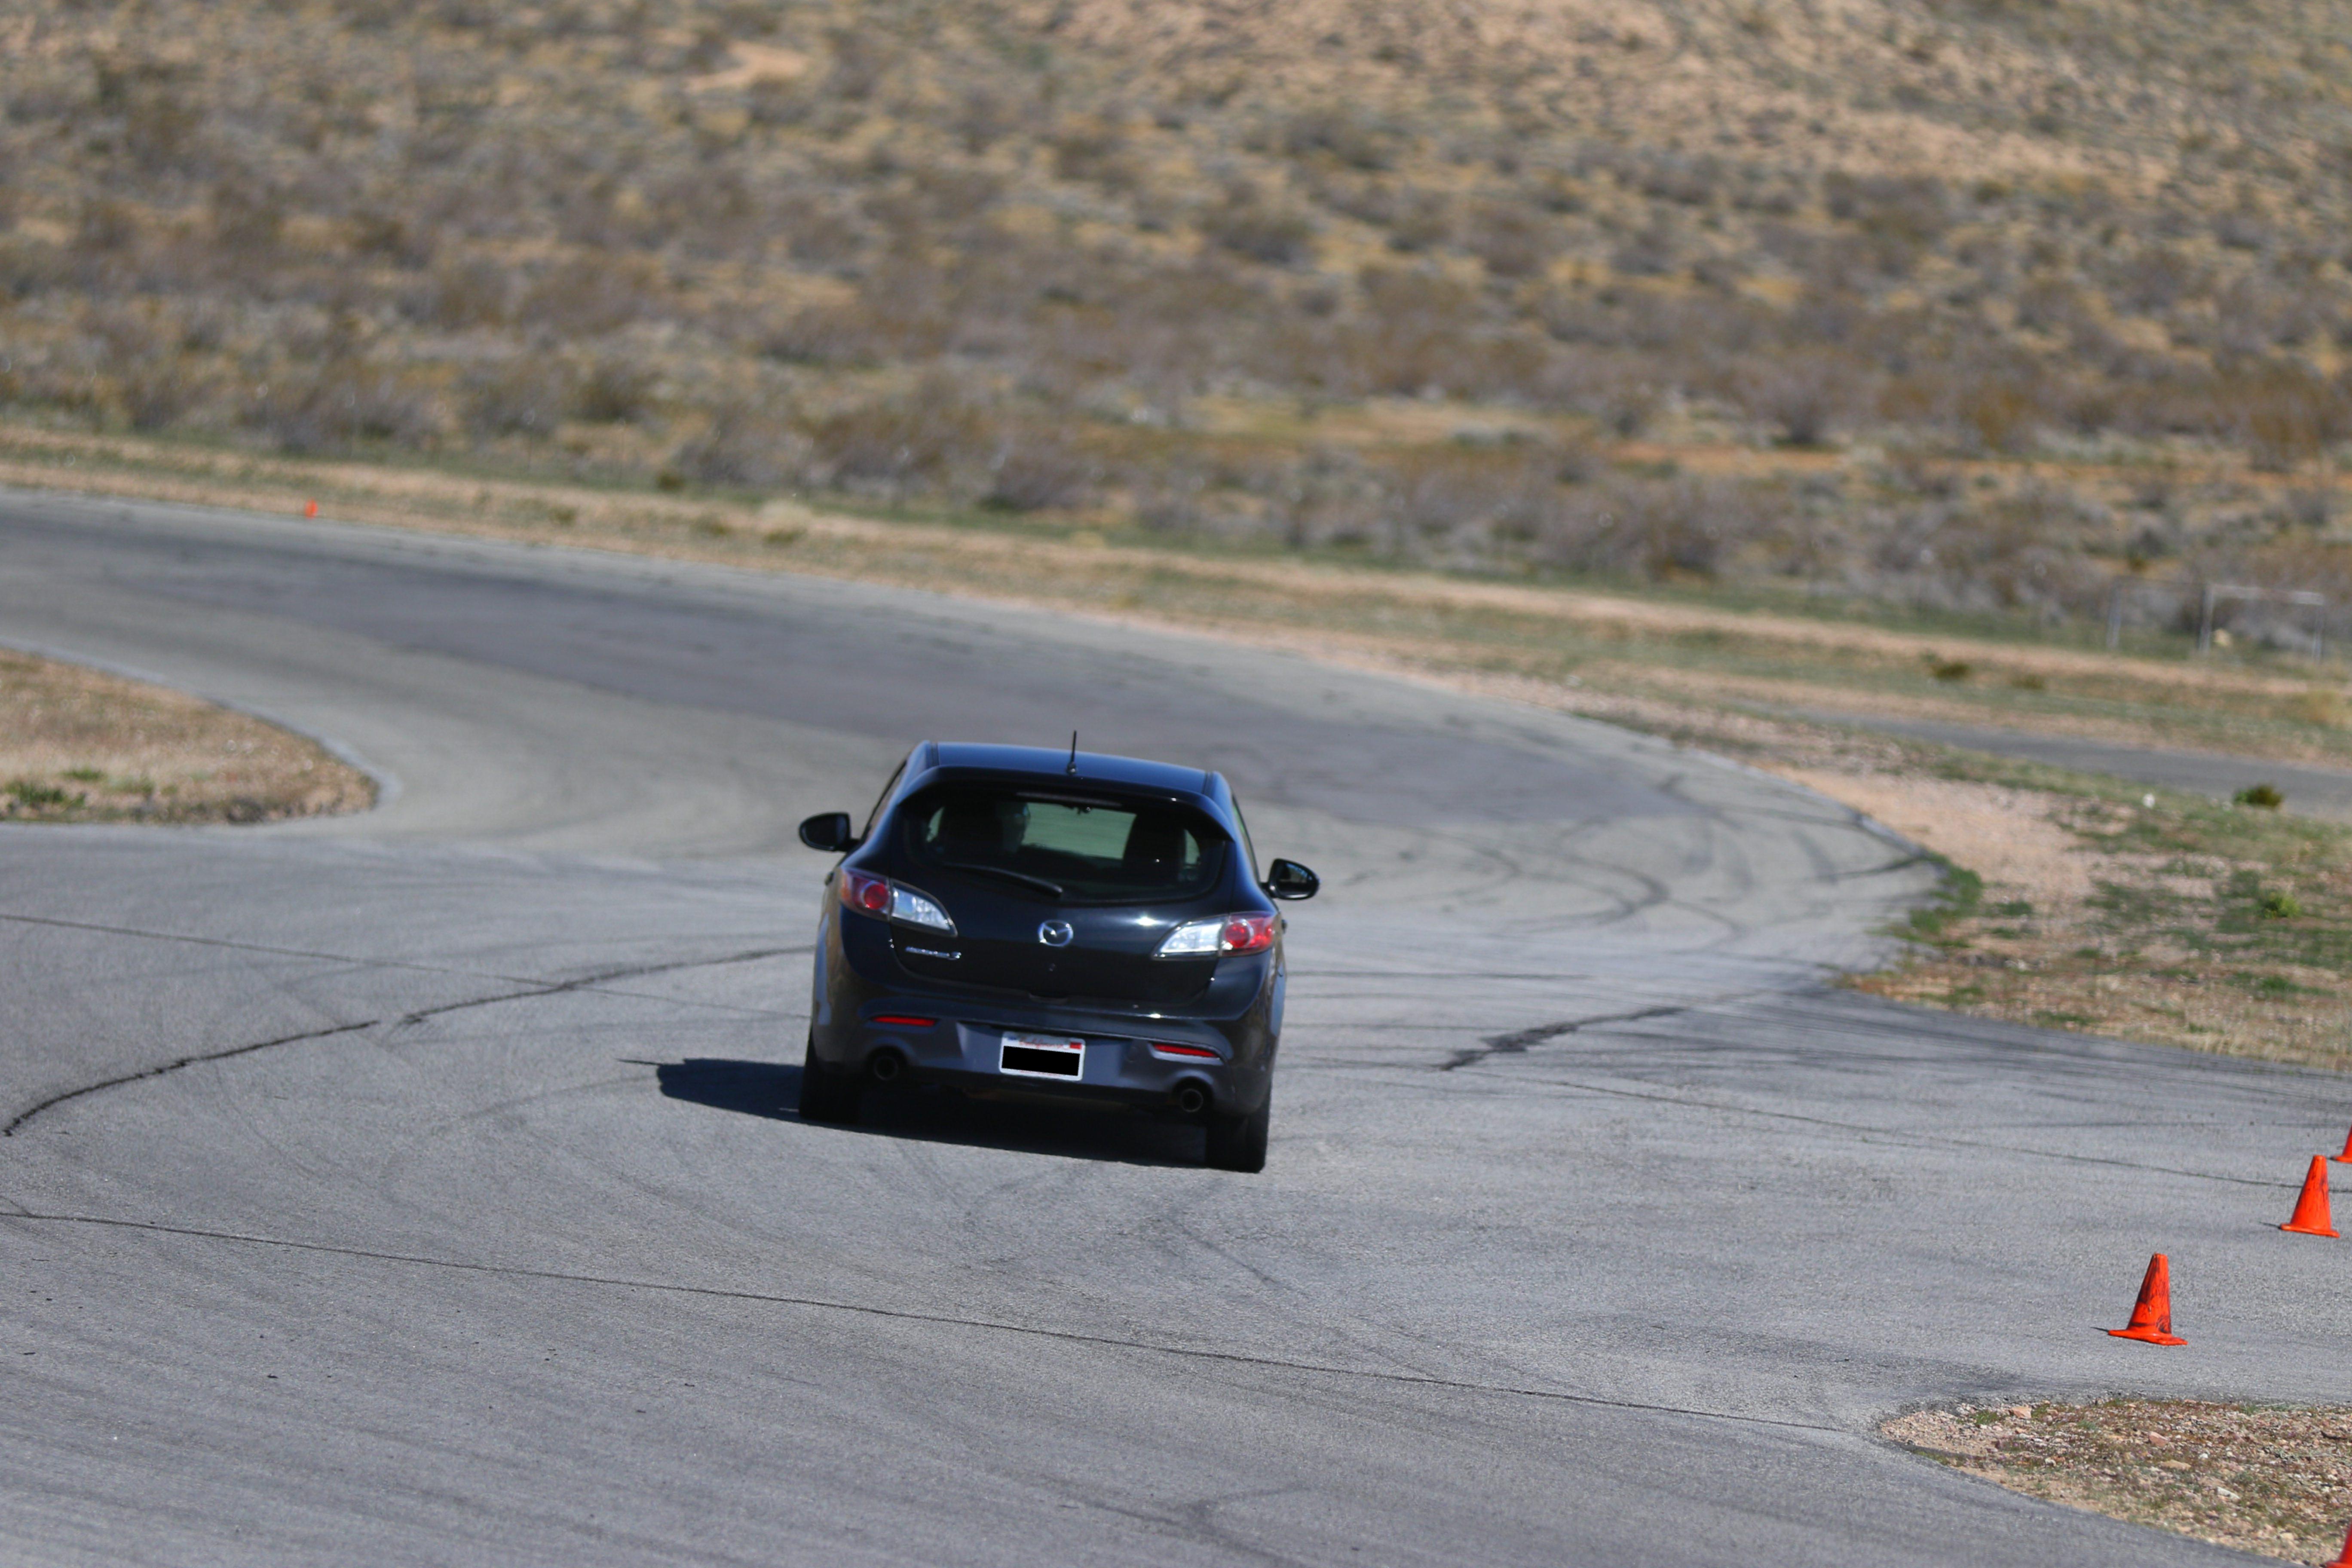
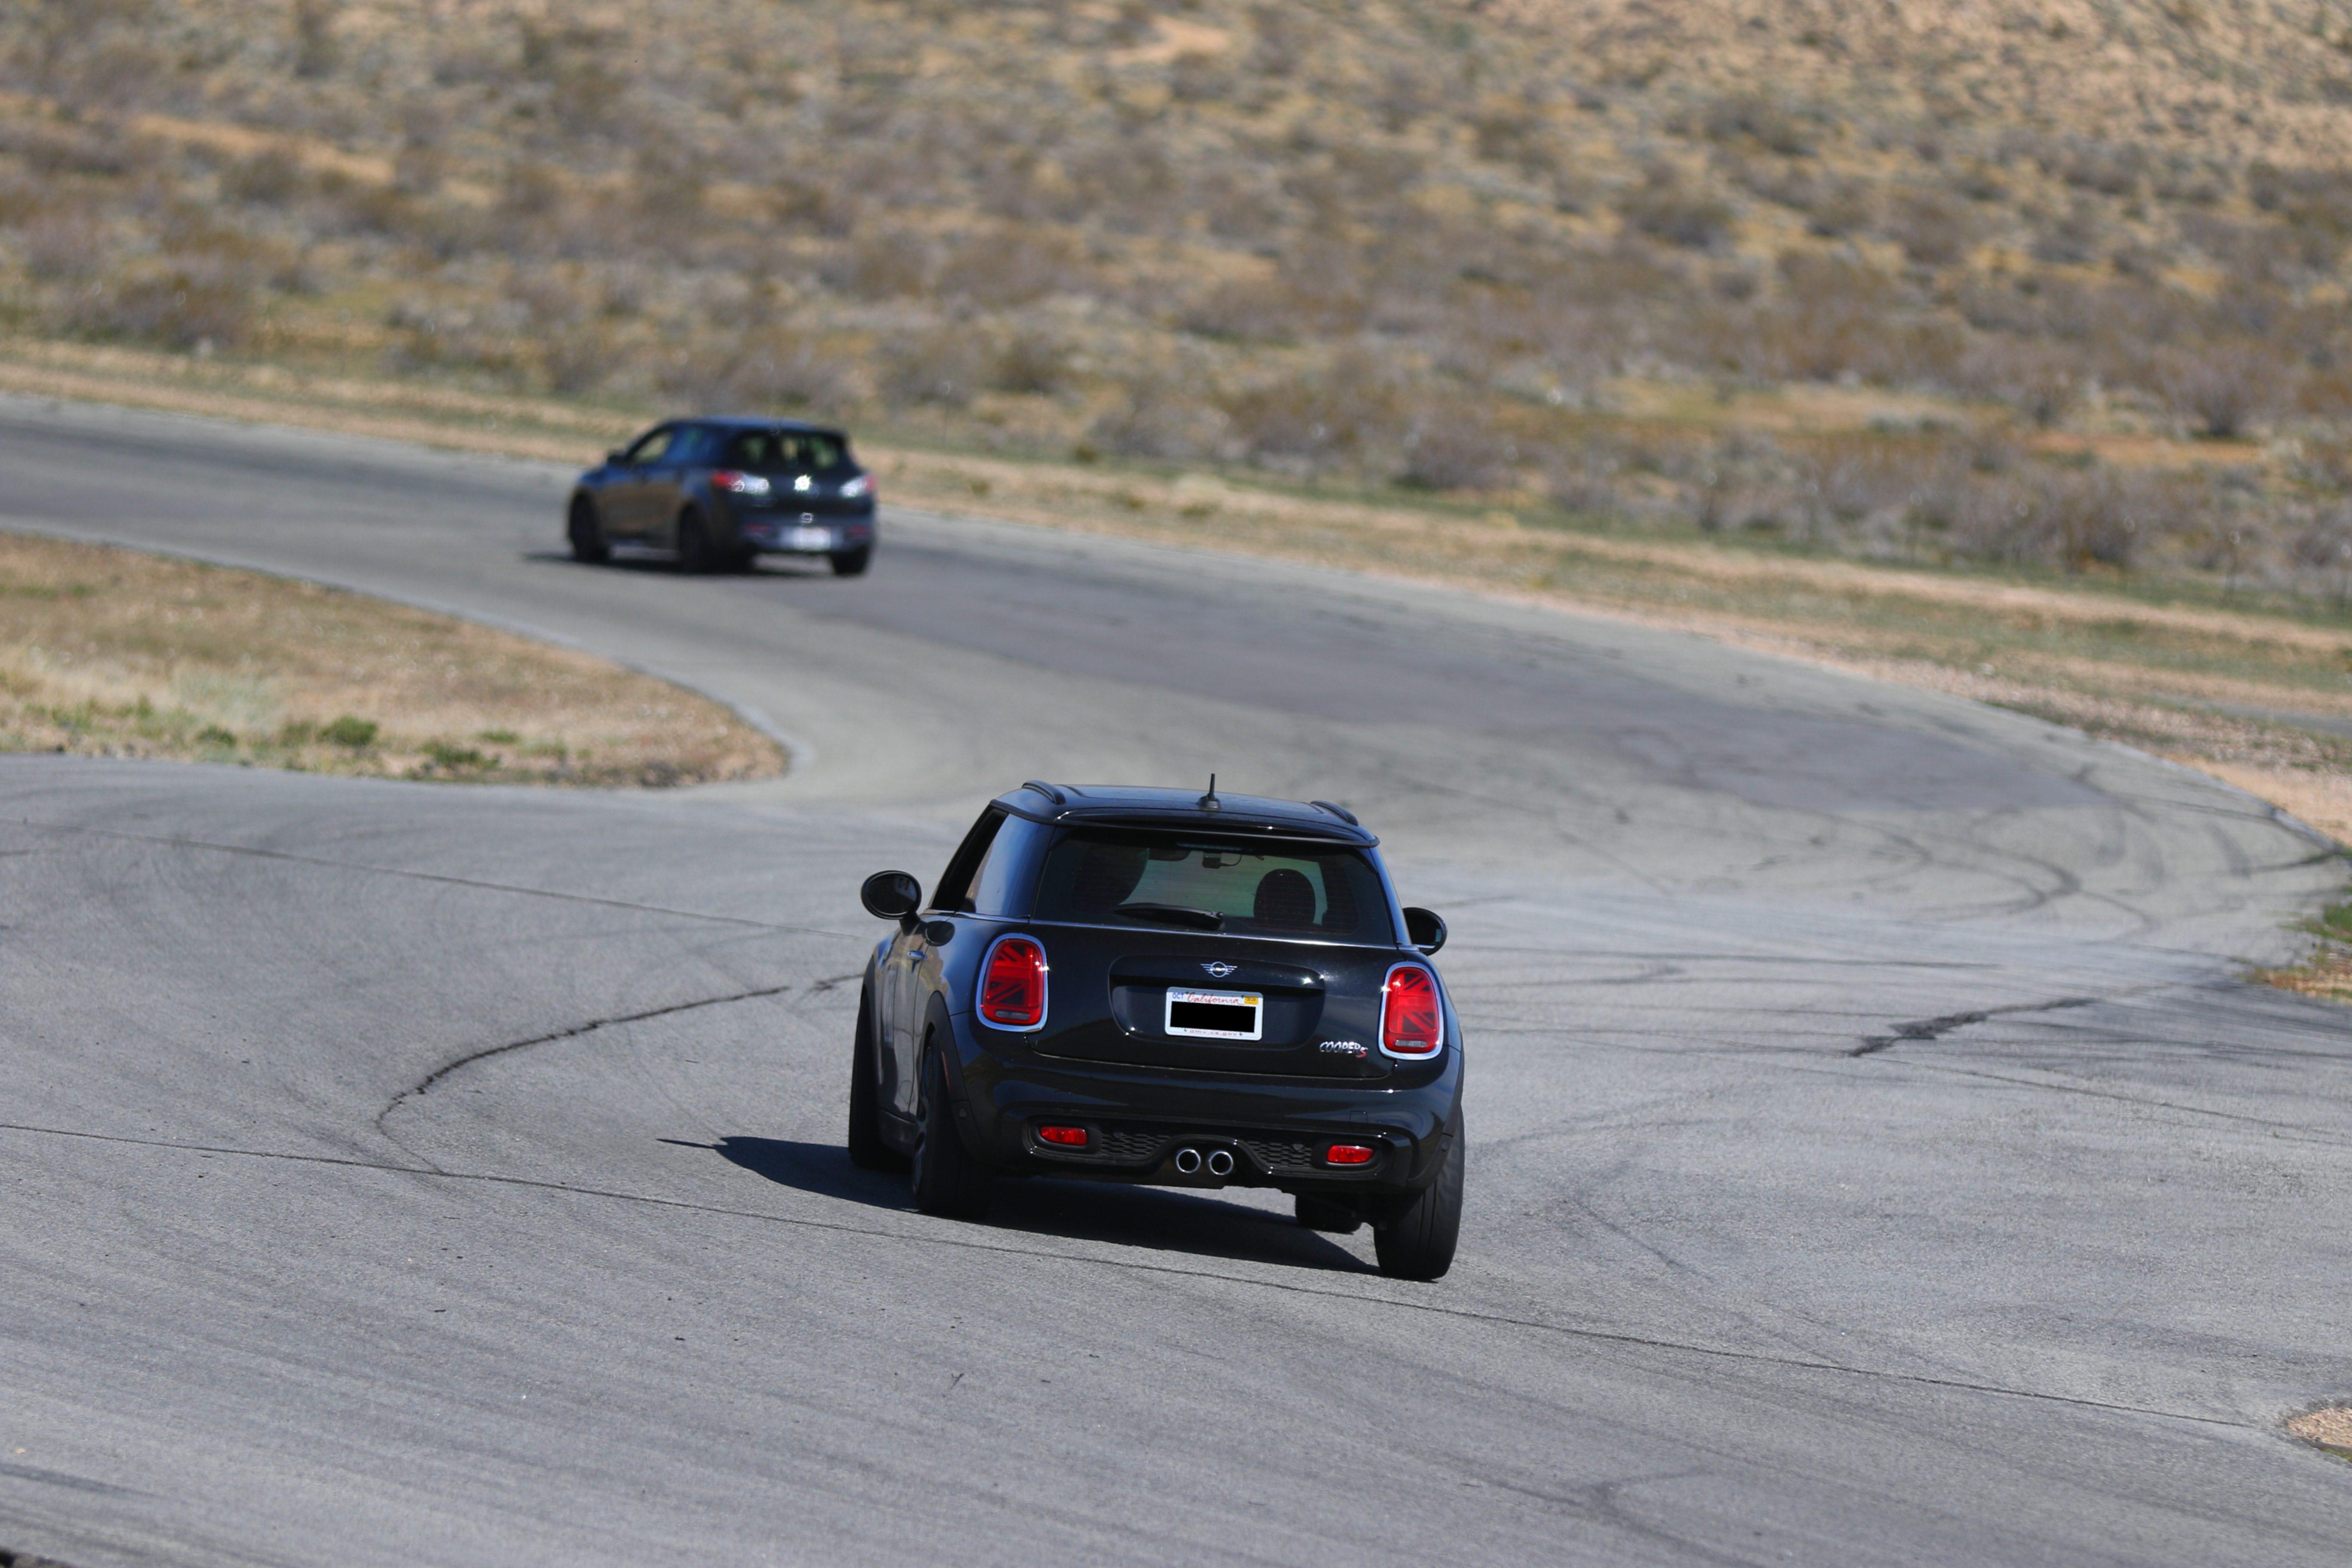
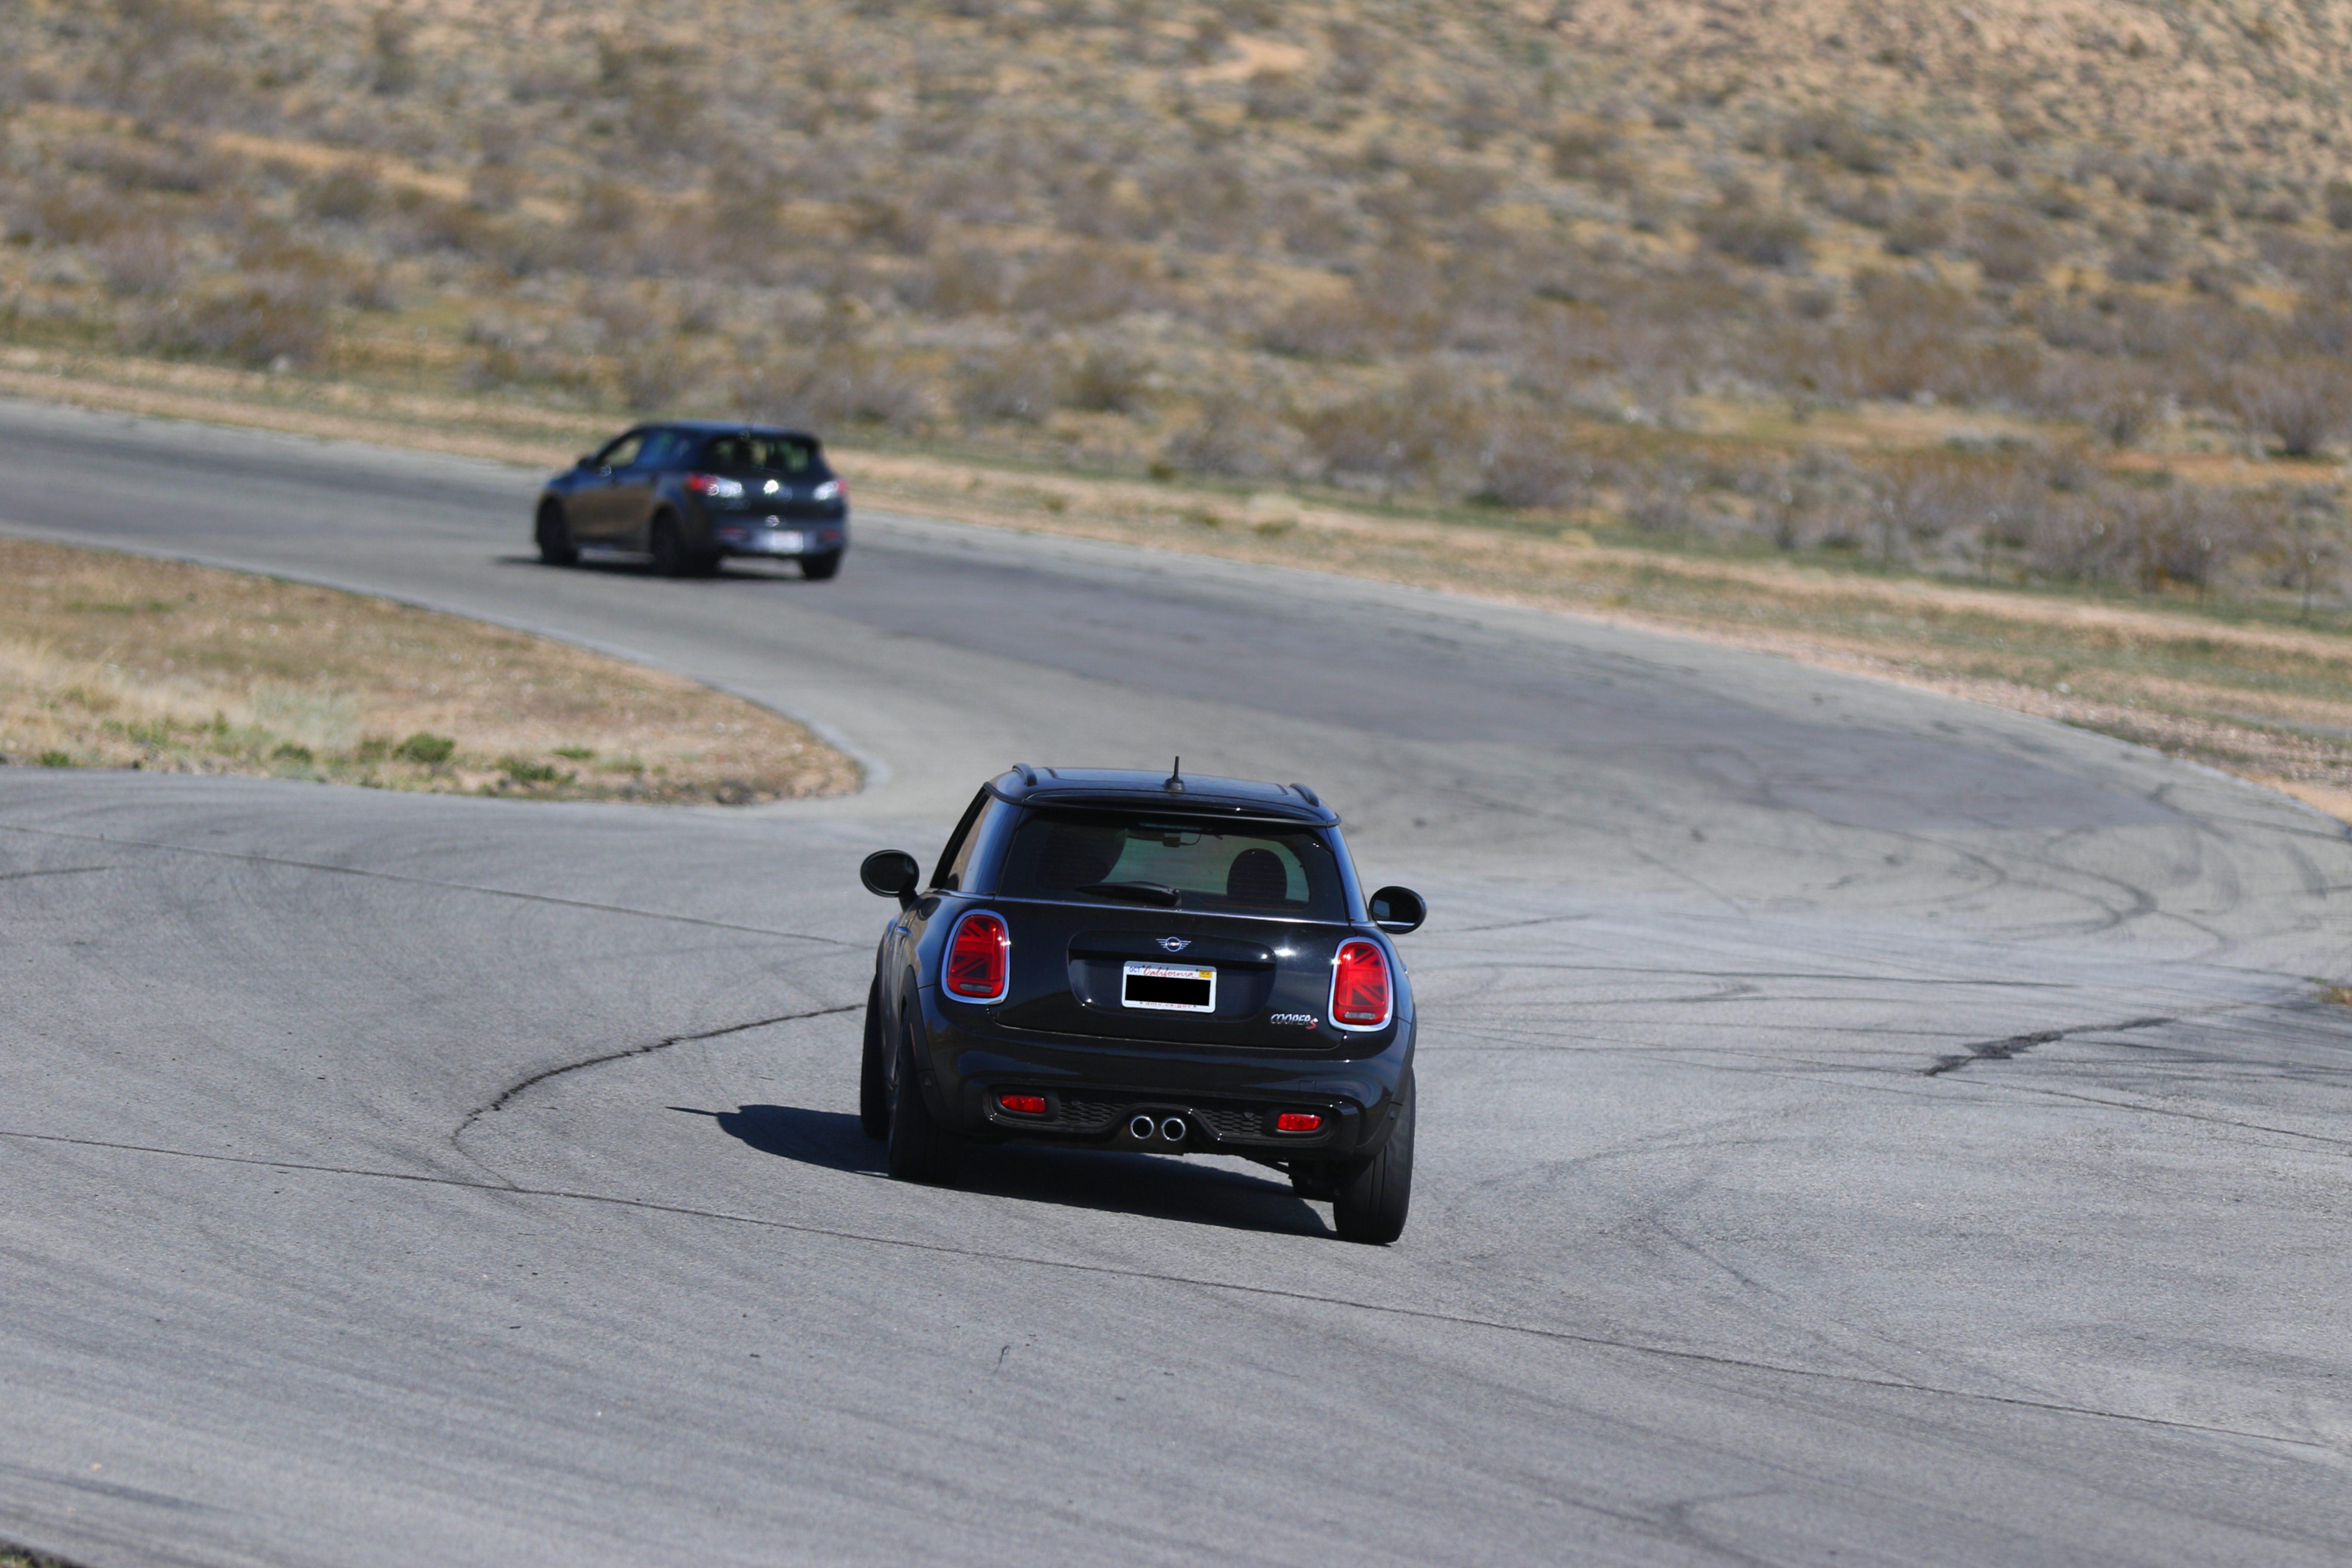
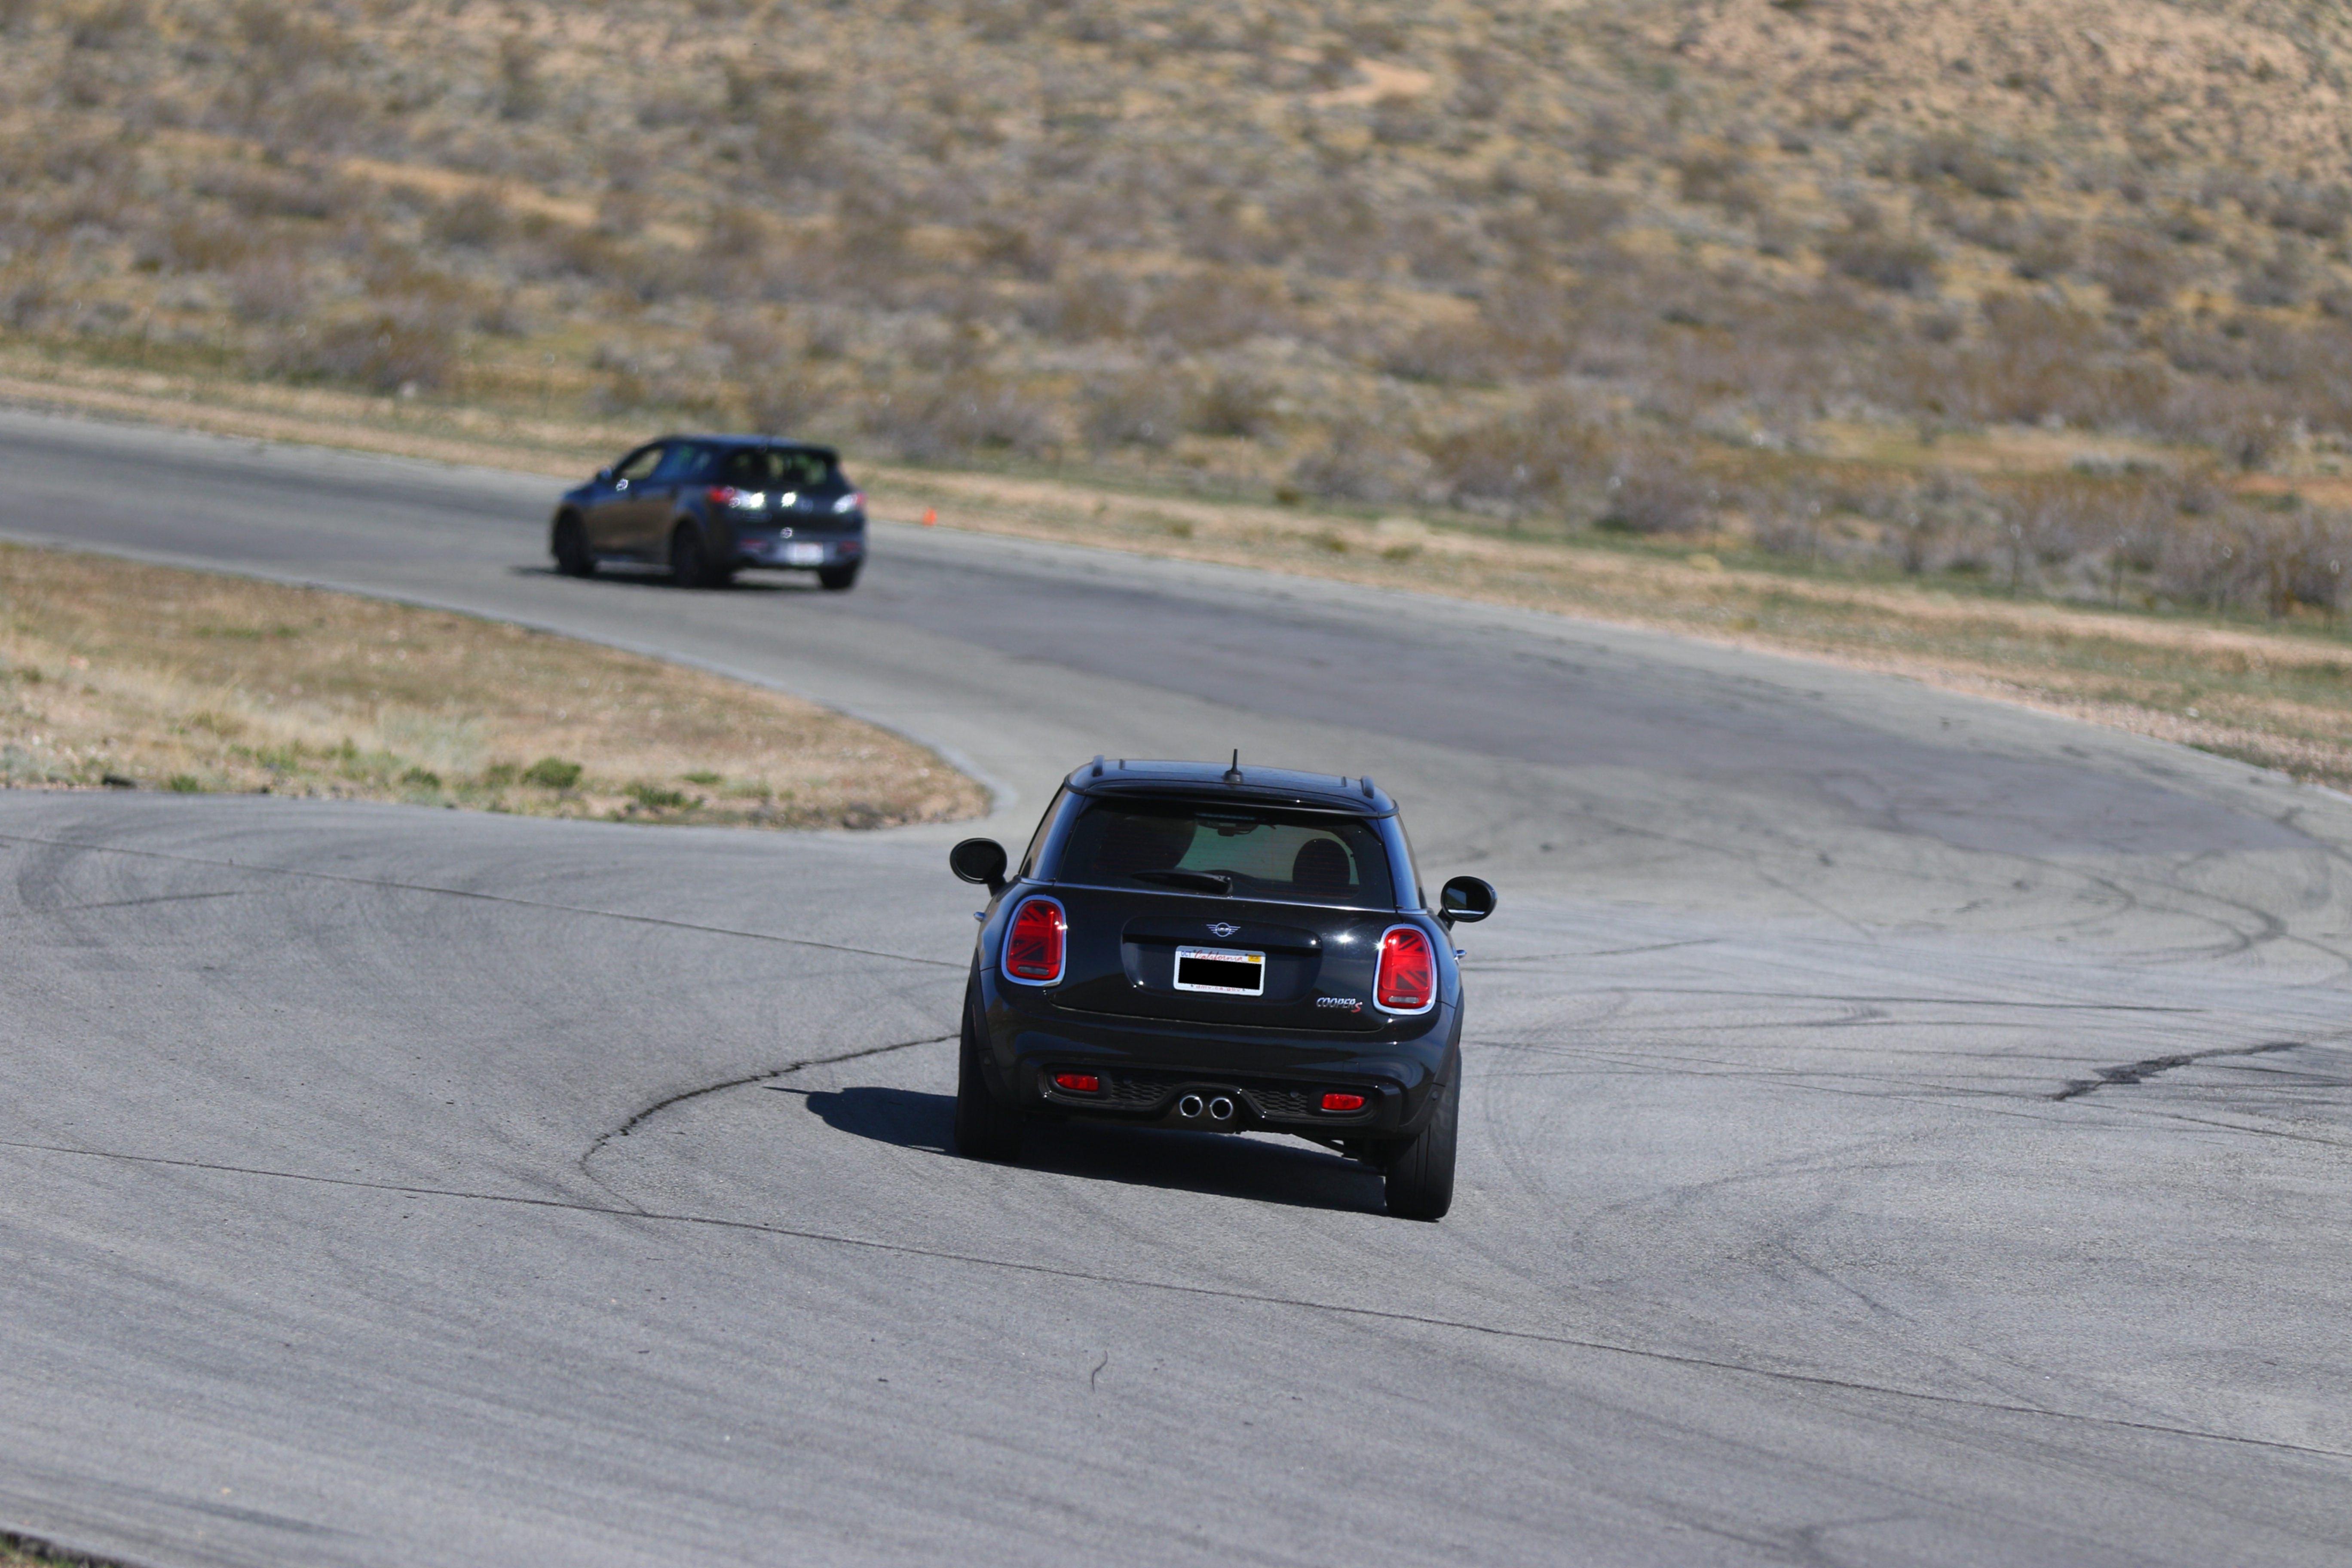
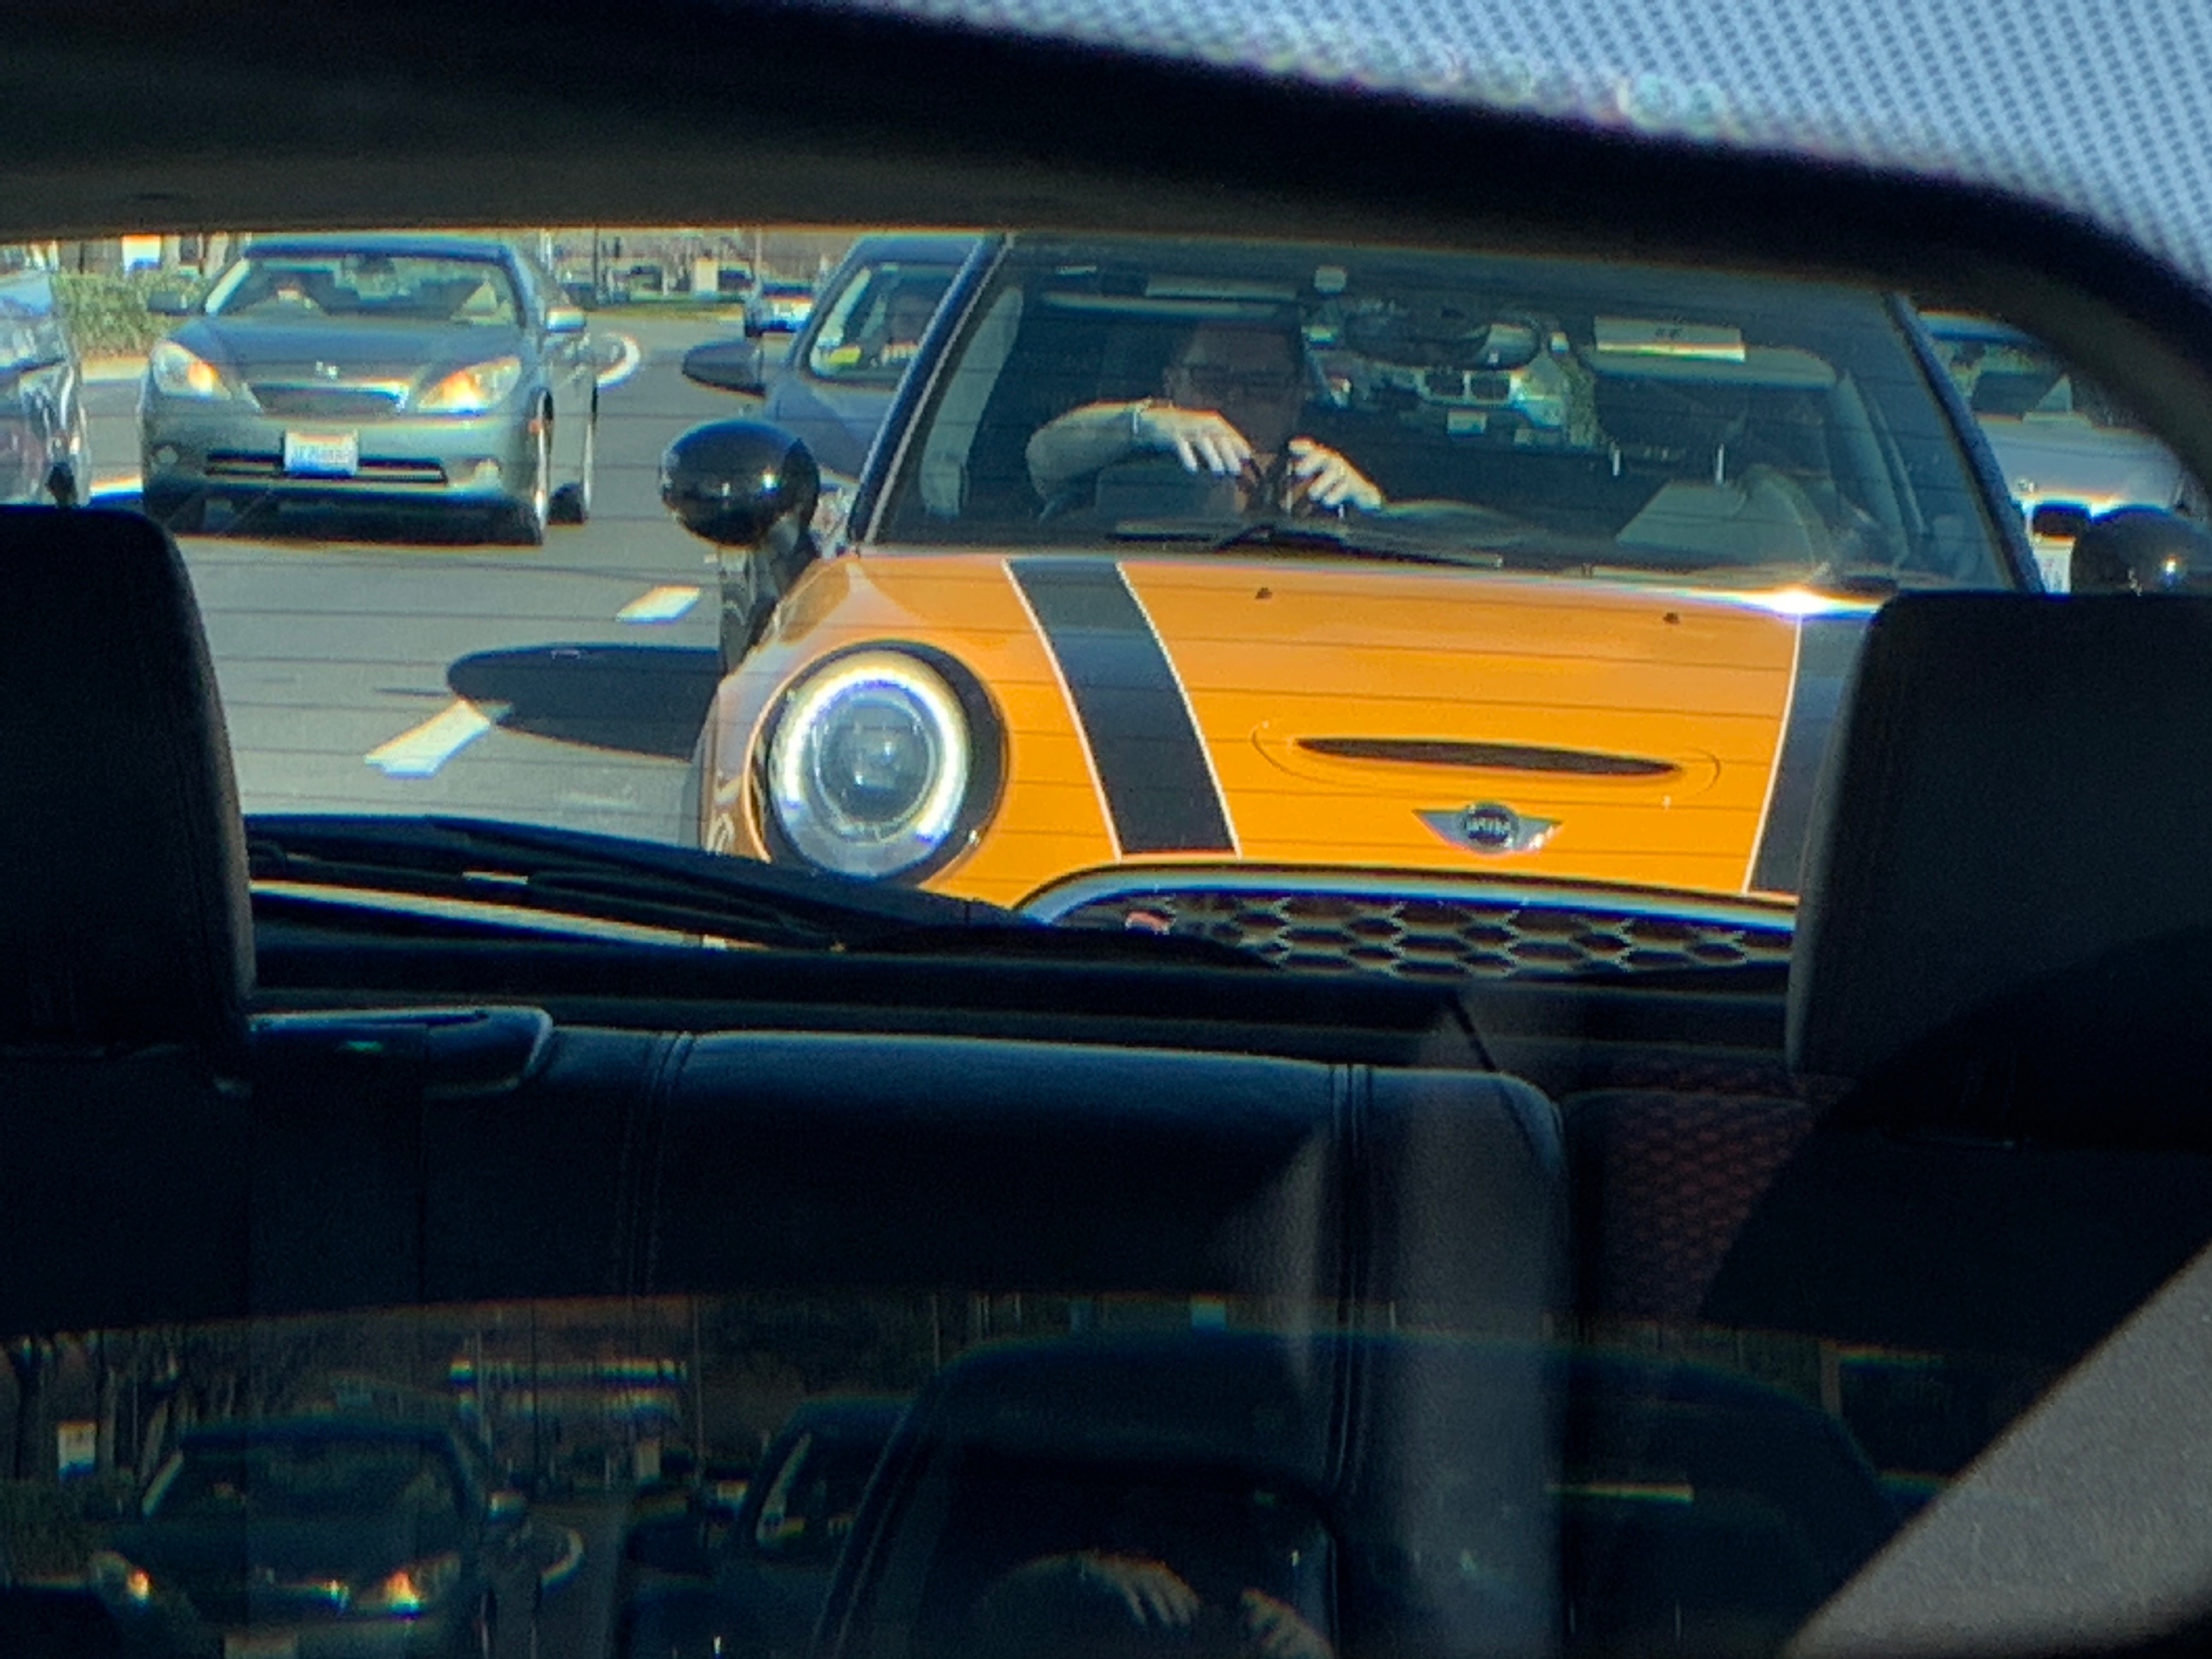
 Heading out from the office with Greg in his MINI
 |

 Lilly, part of the pit crew
 |
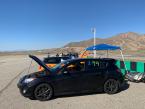
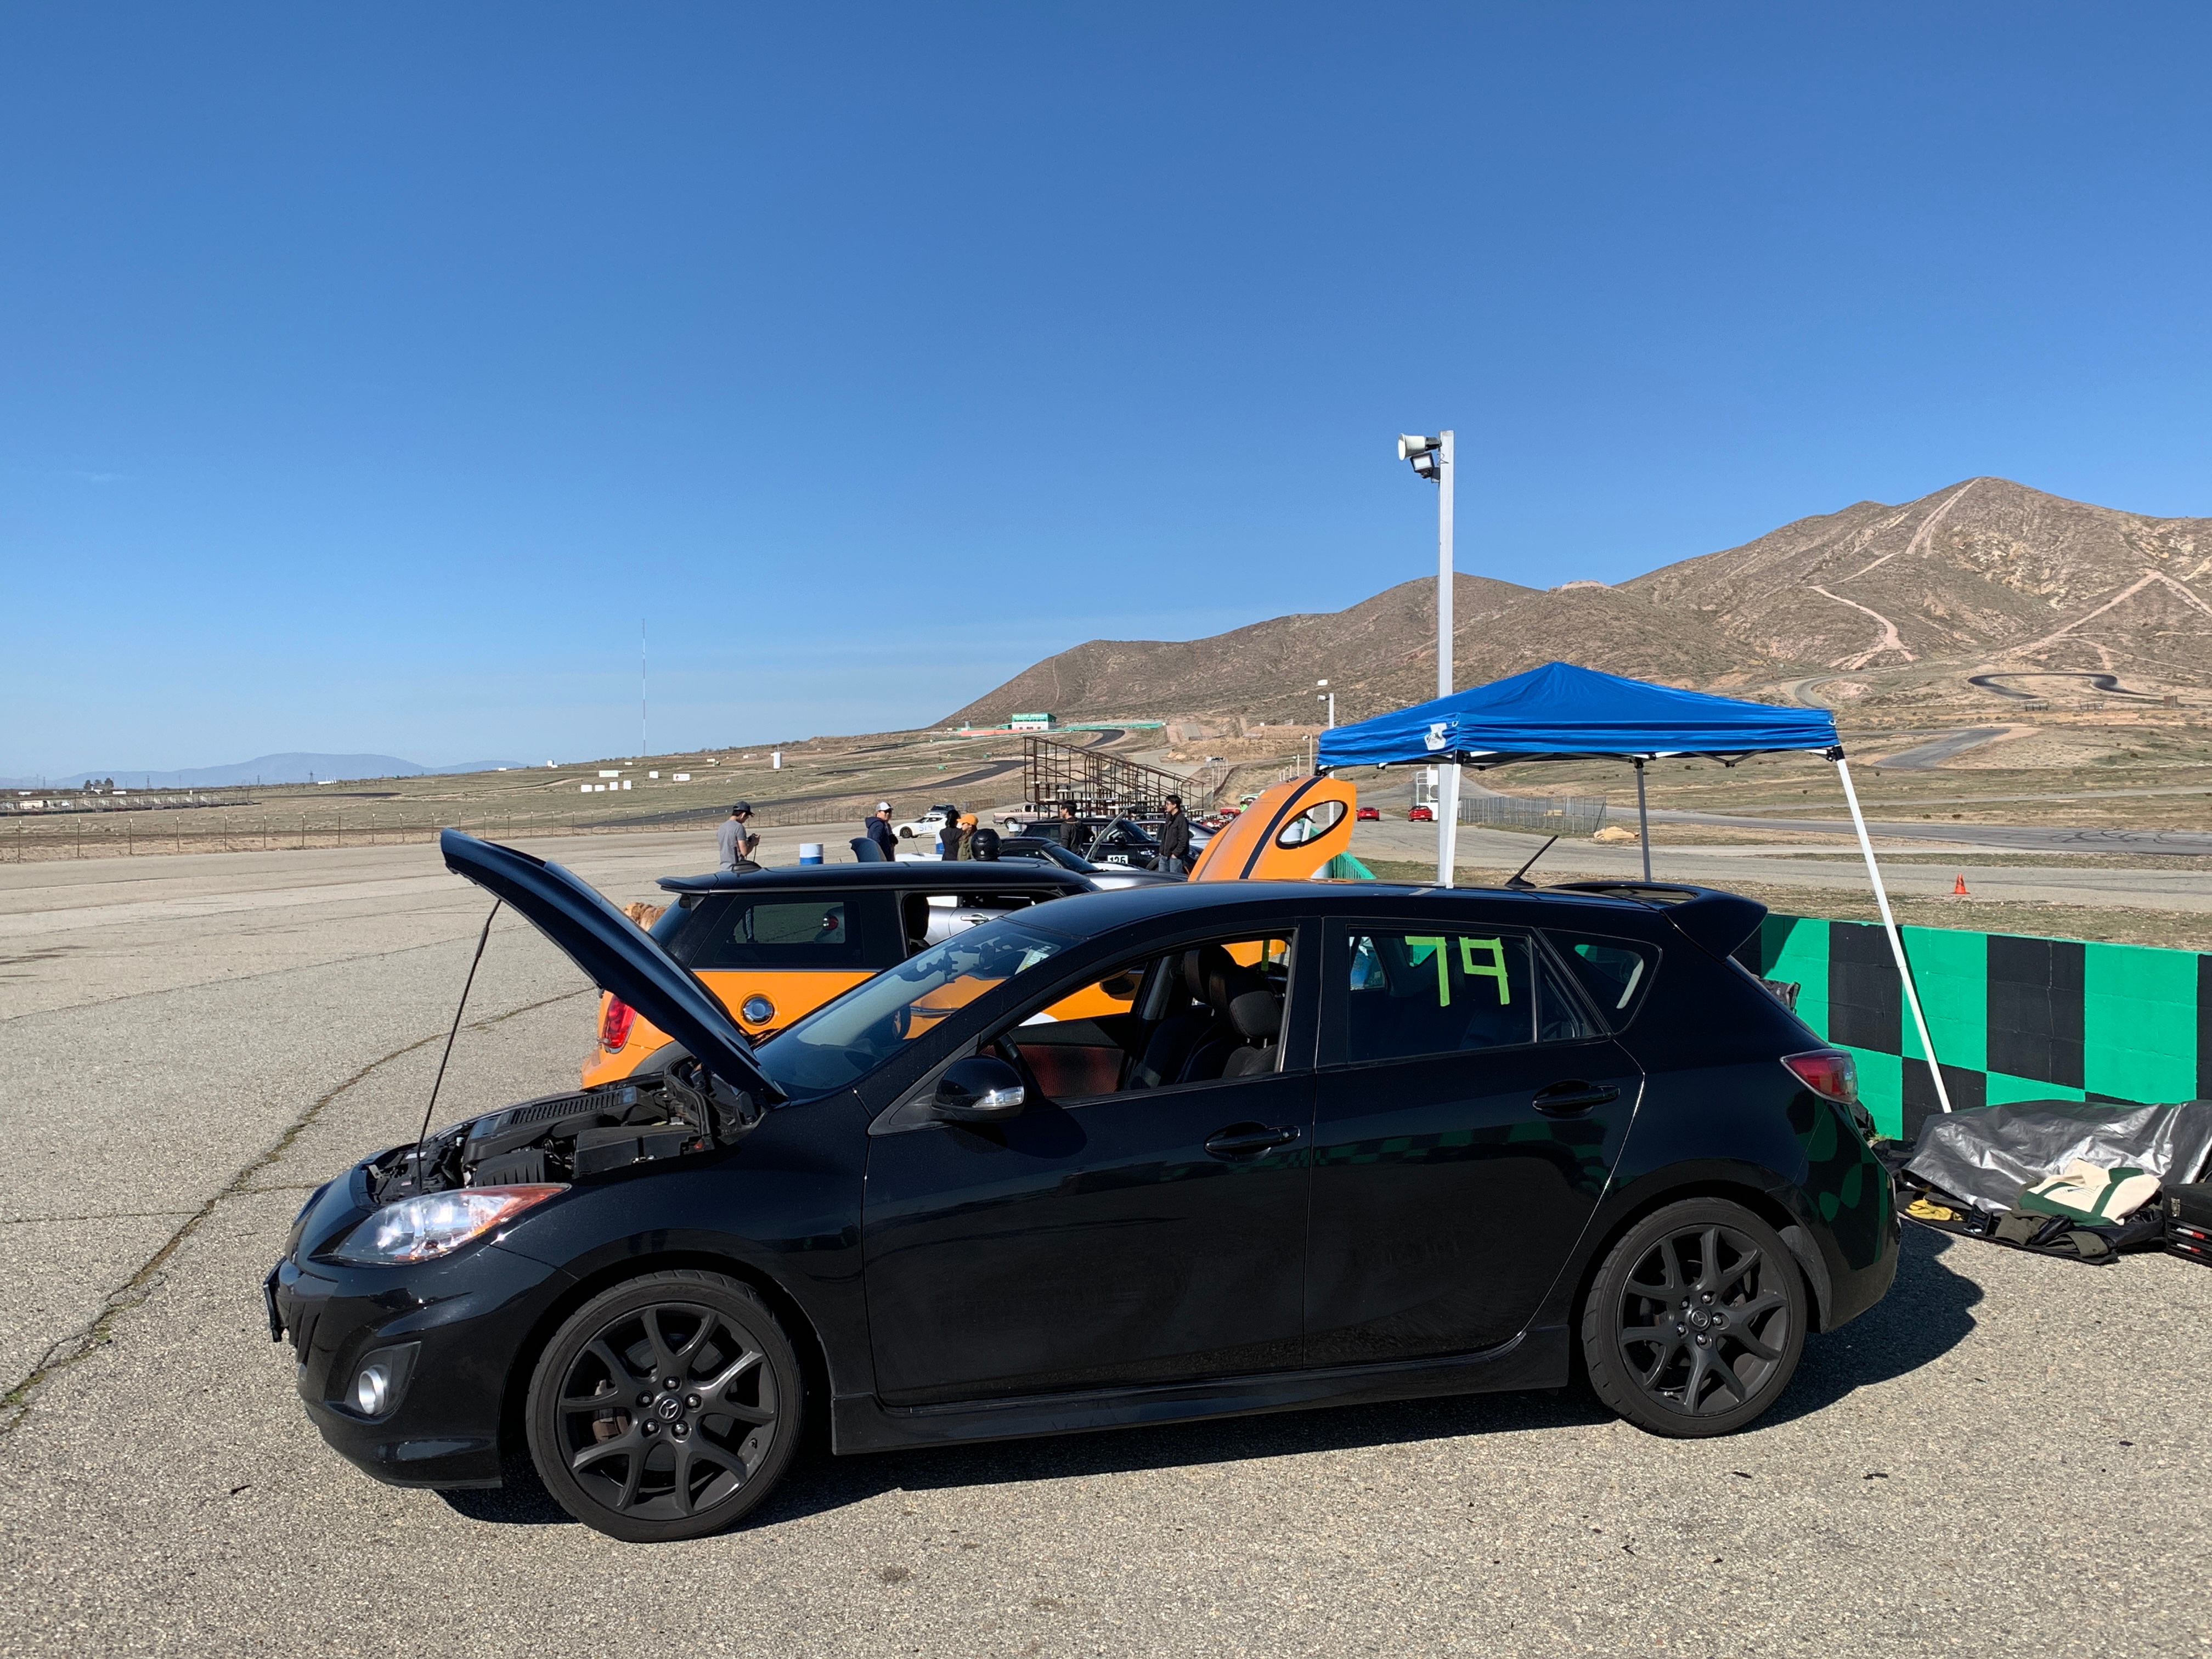
Cooling off
between runs |
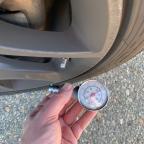 |
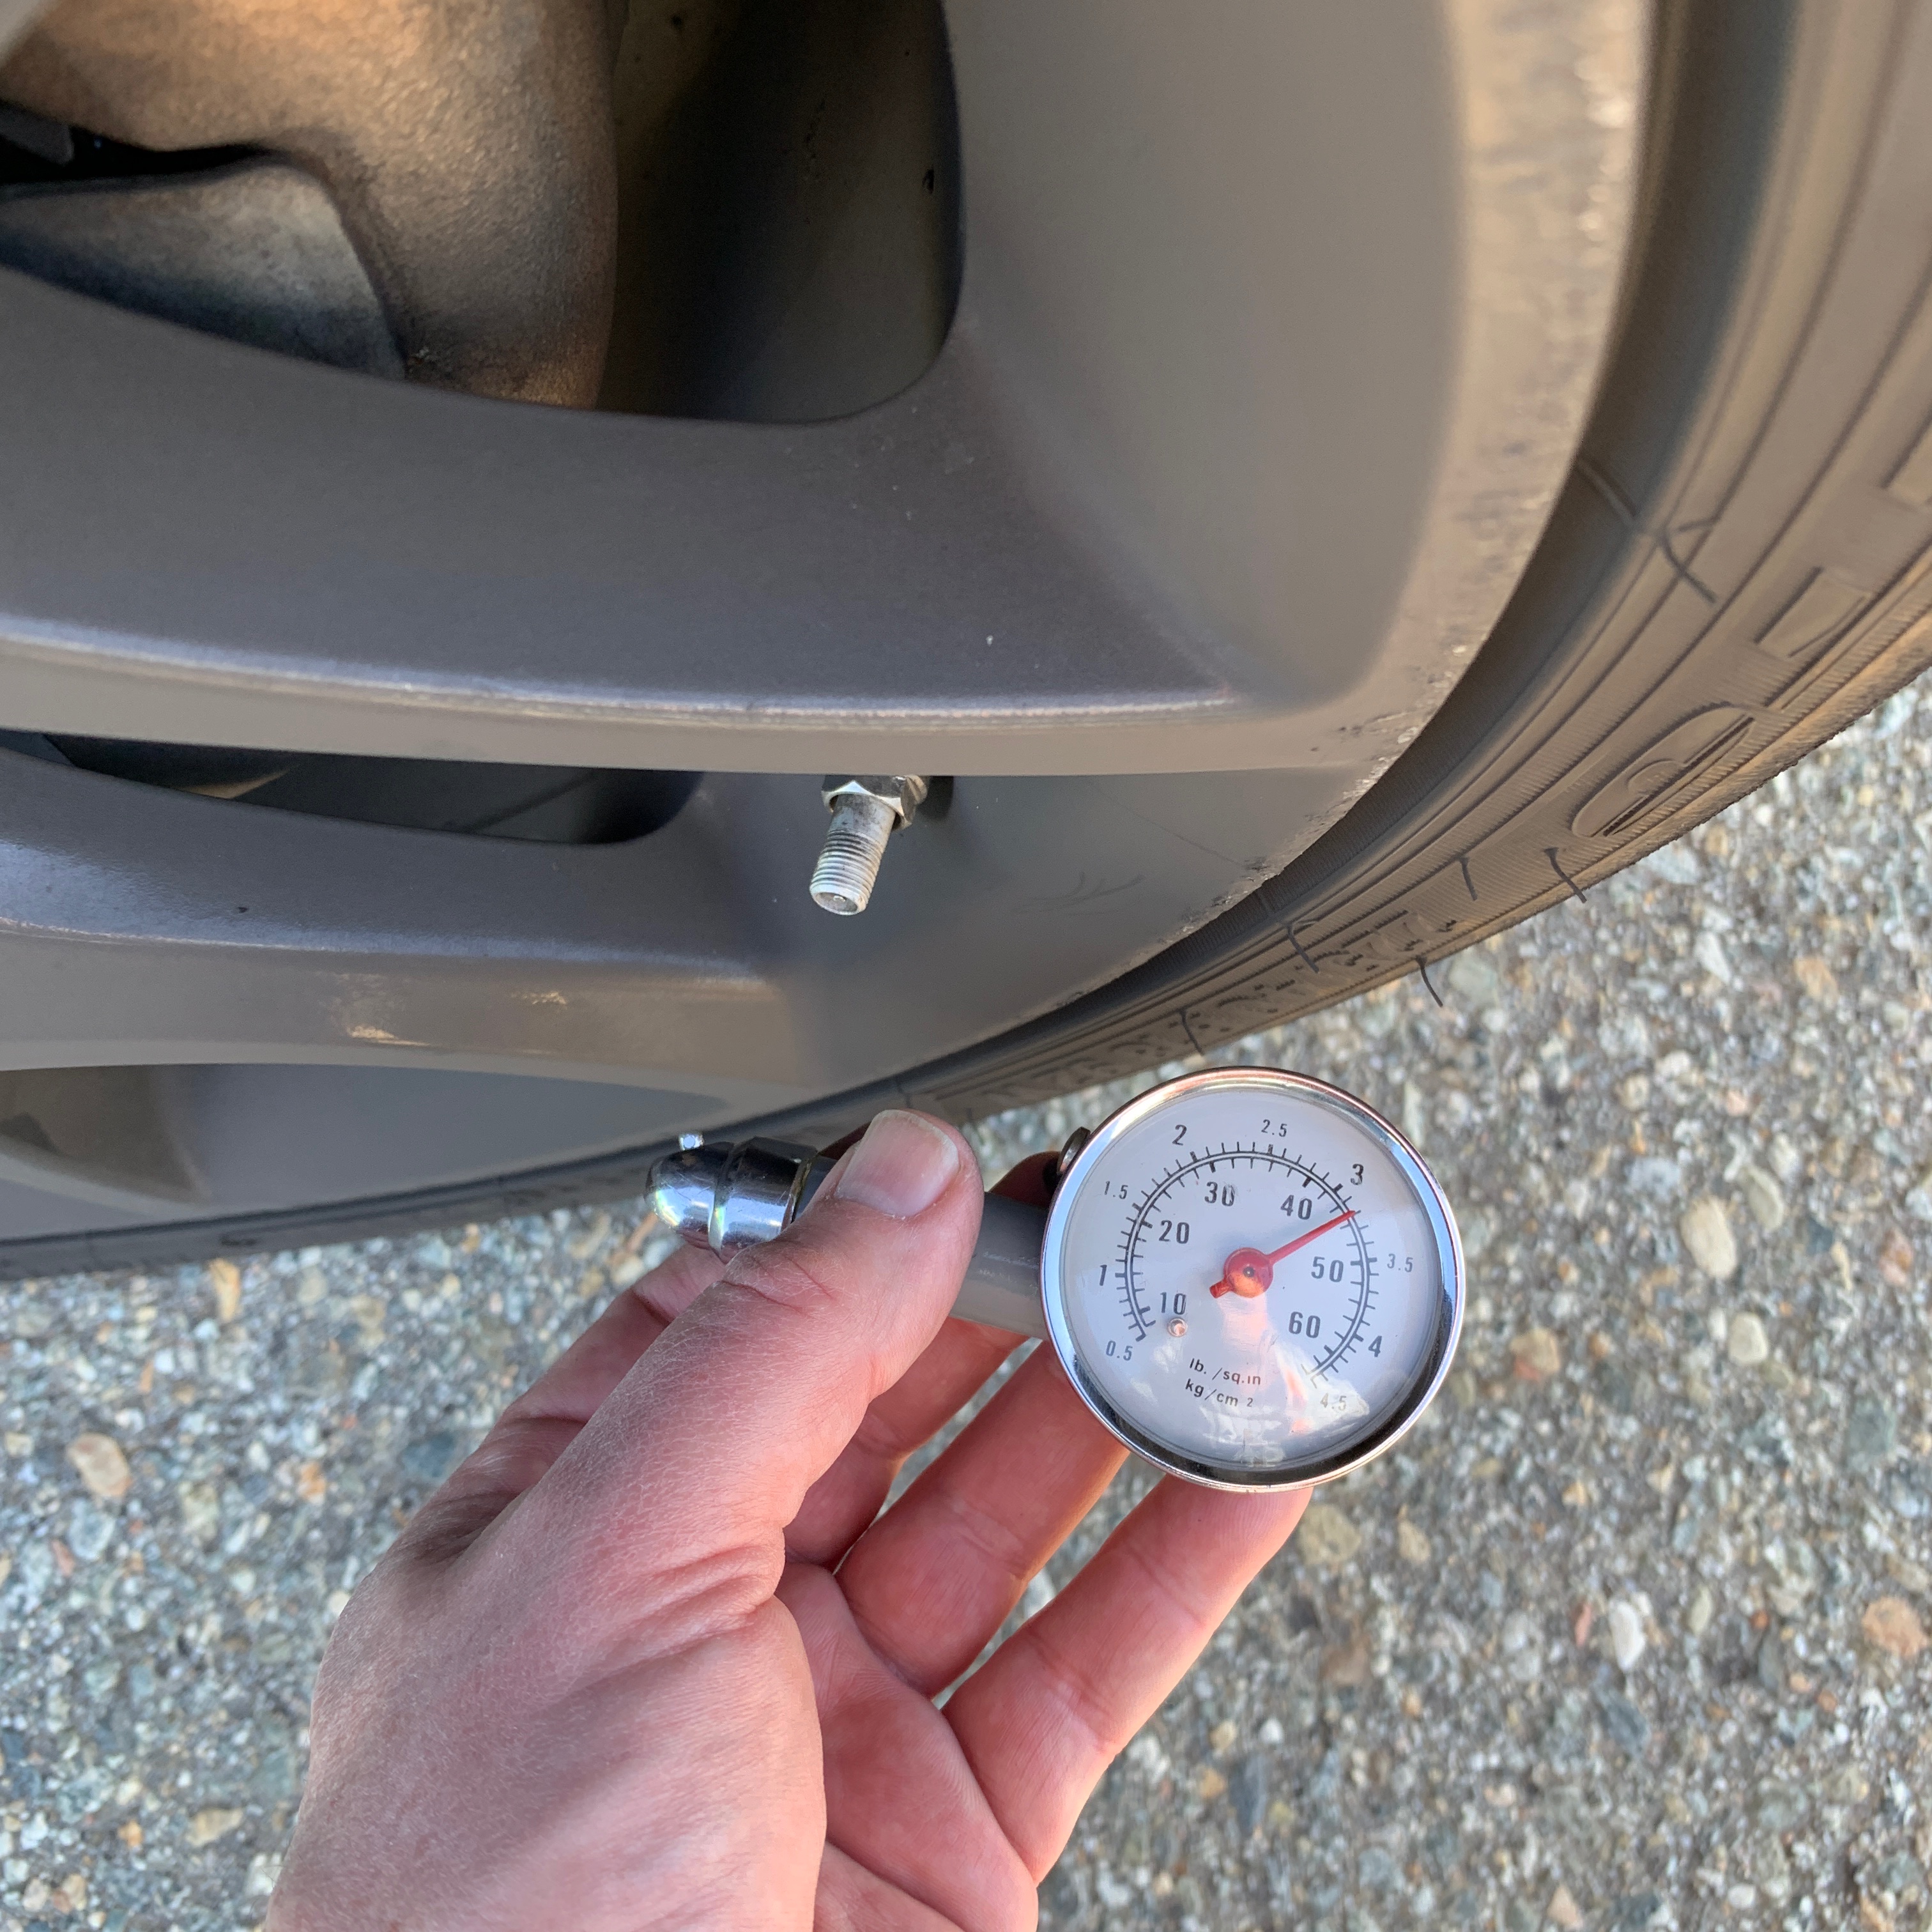
Tire pressure up
almost 10 PSI
after just one run |

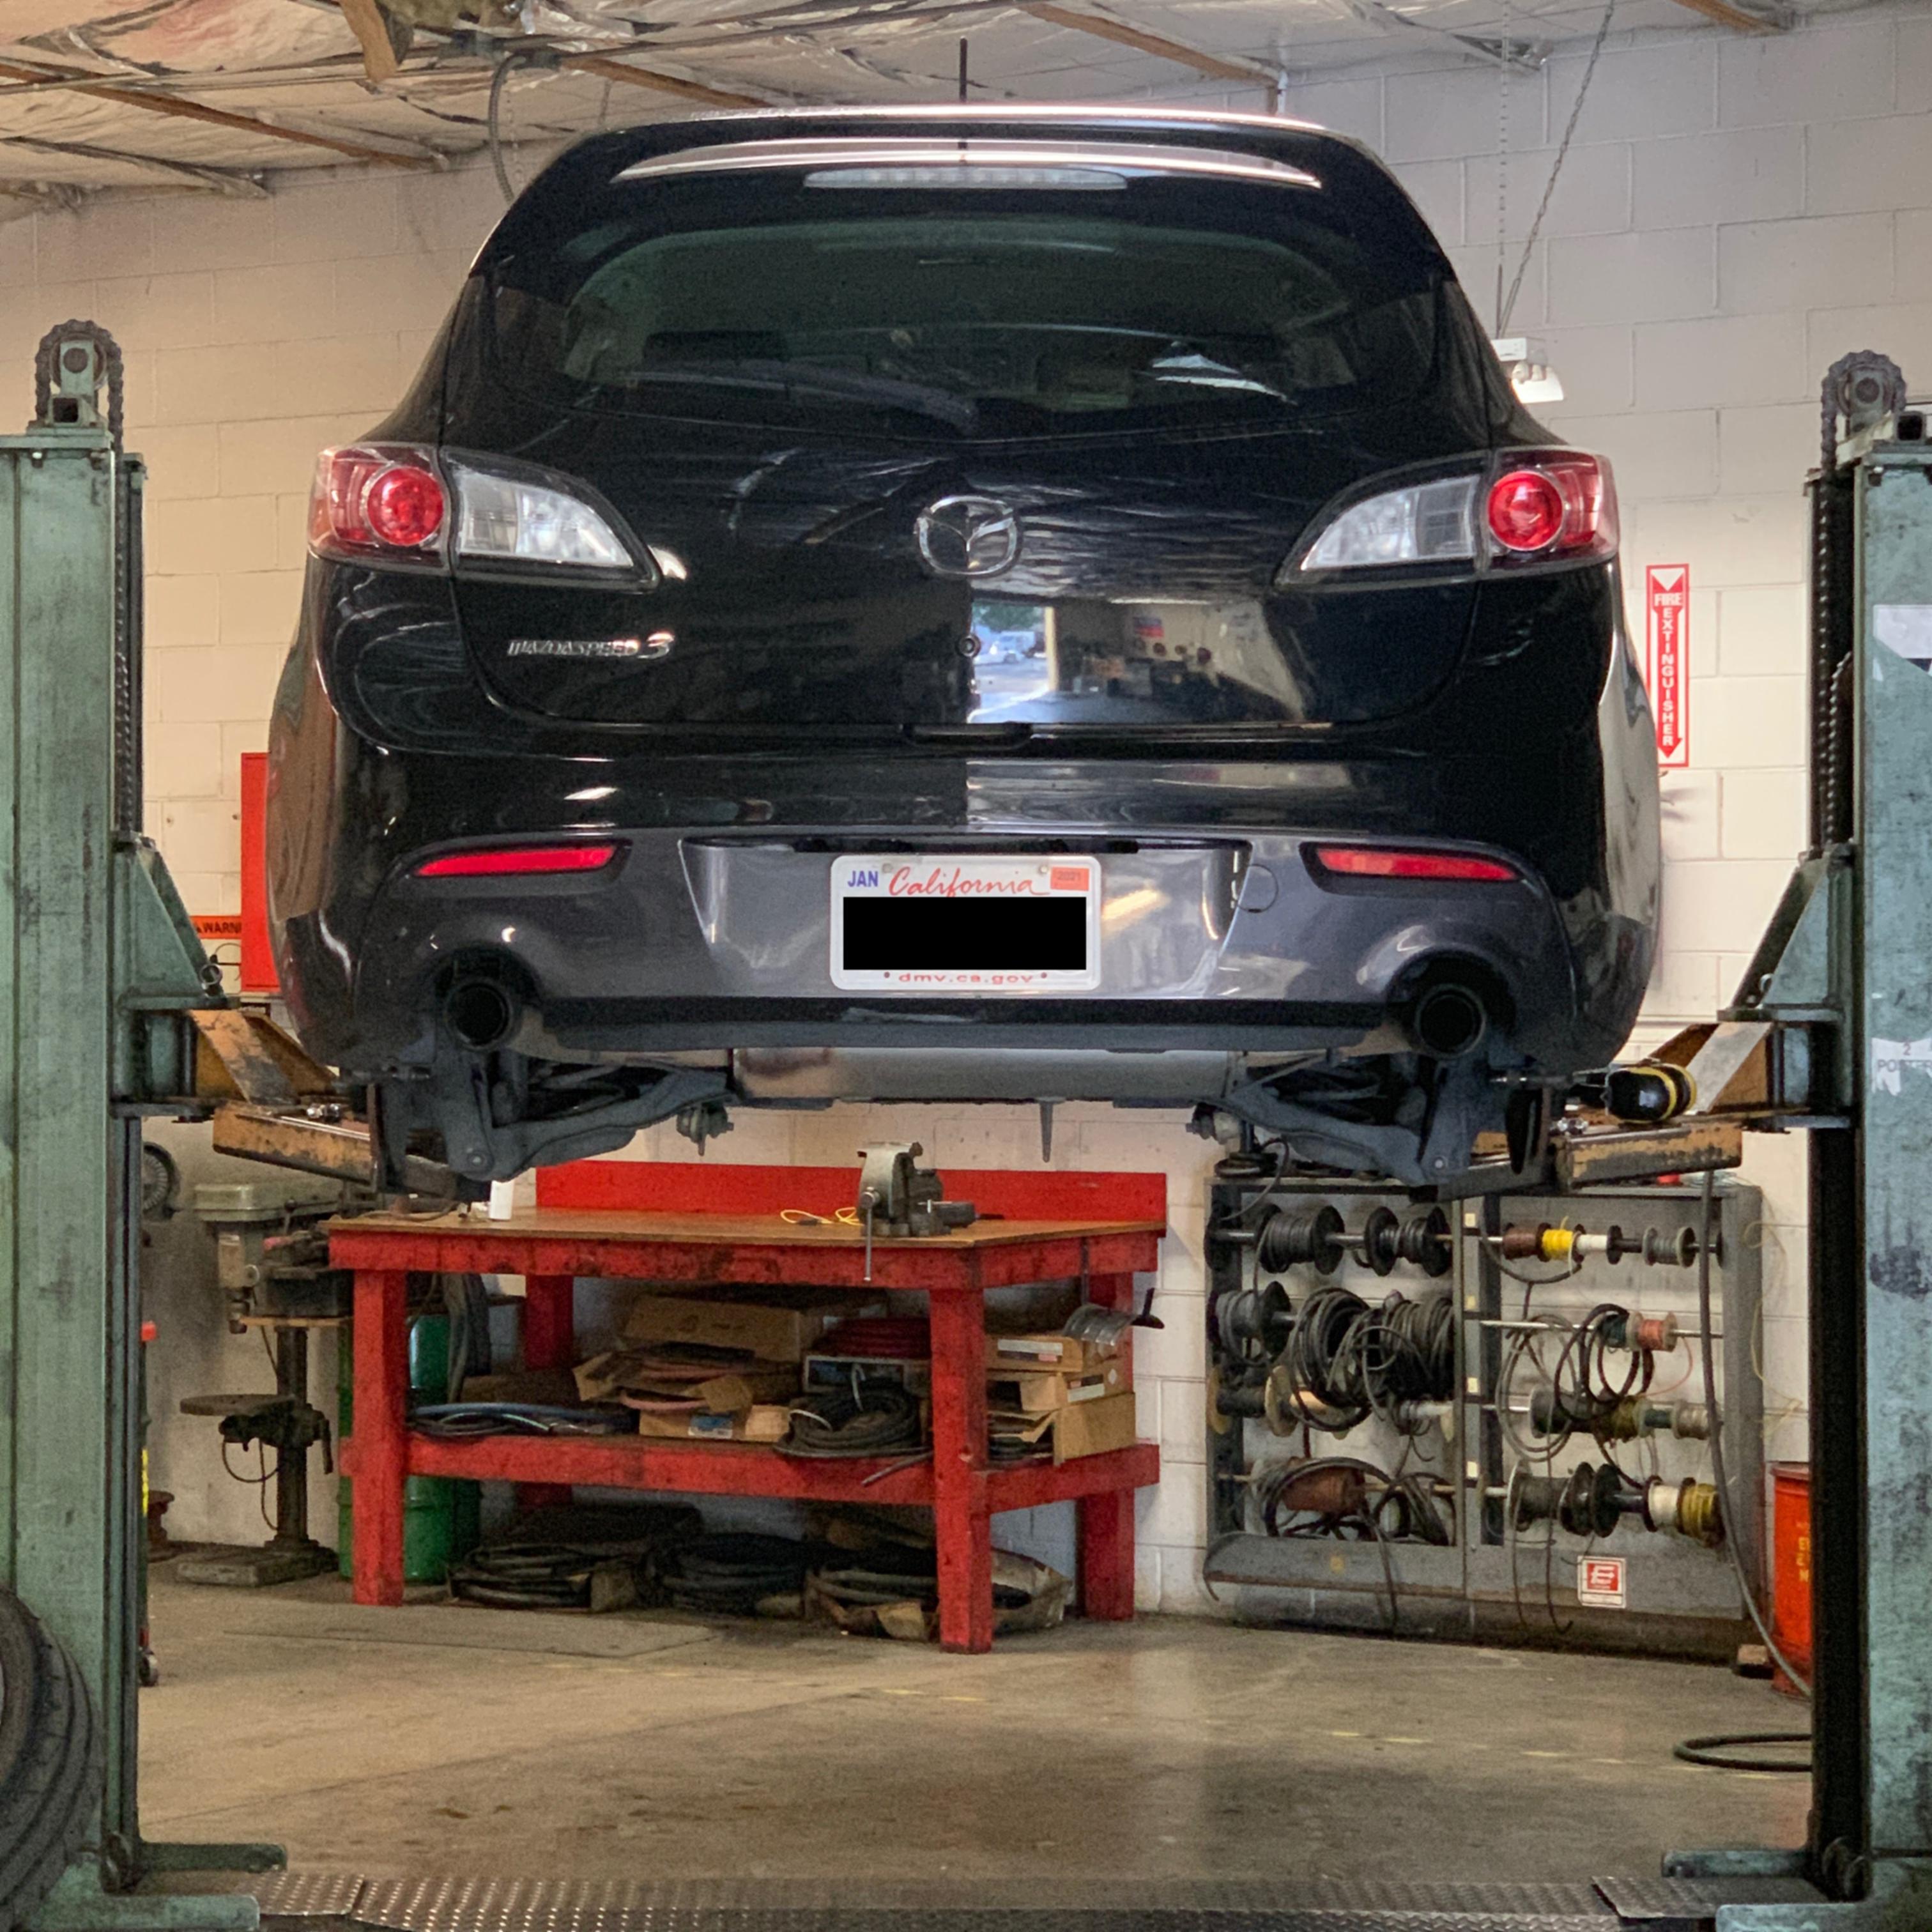
Brake inspection after returning home |
Notes

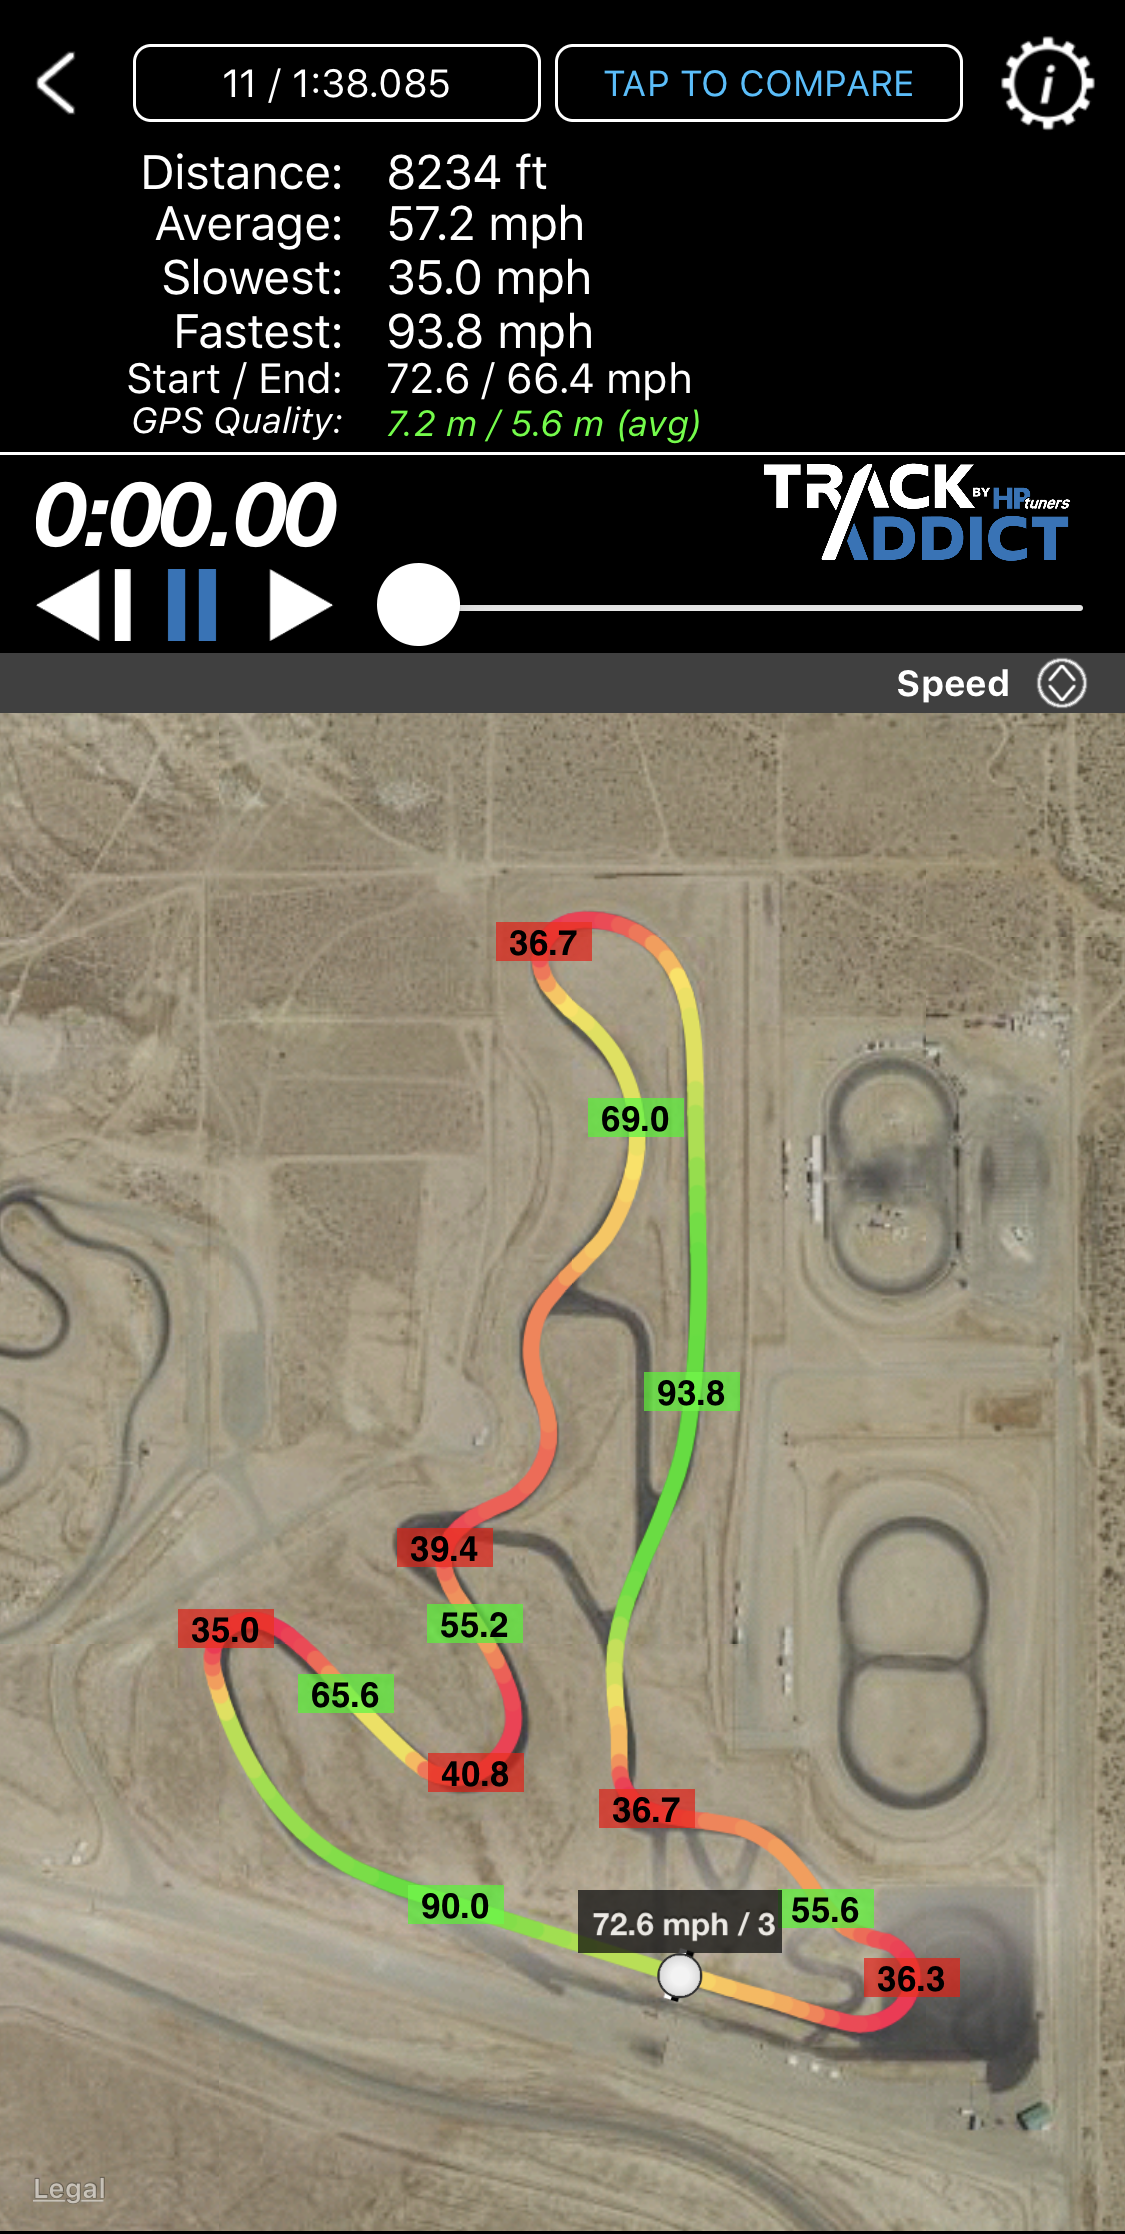
Best lap, first session |
Best lap of the day |
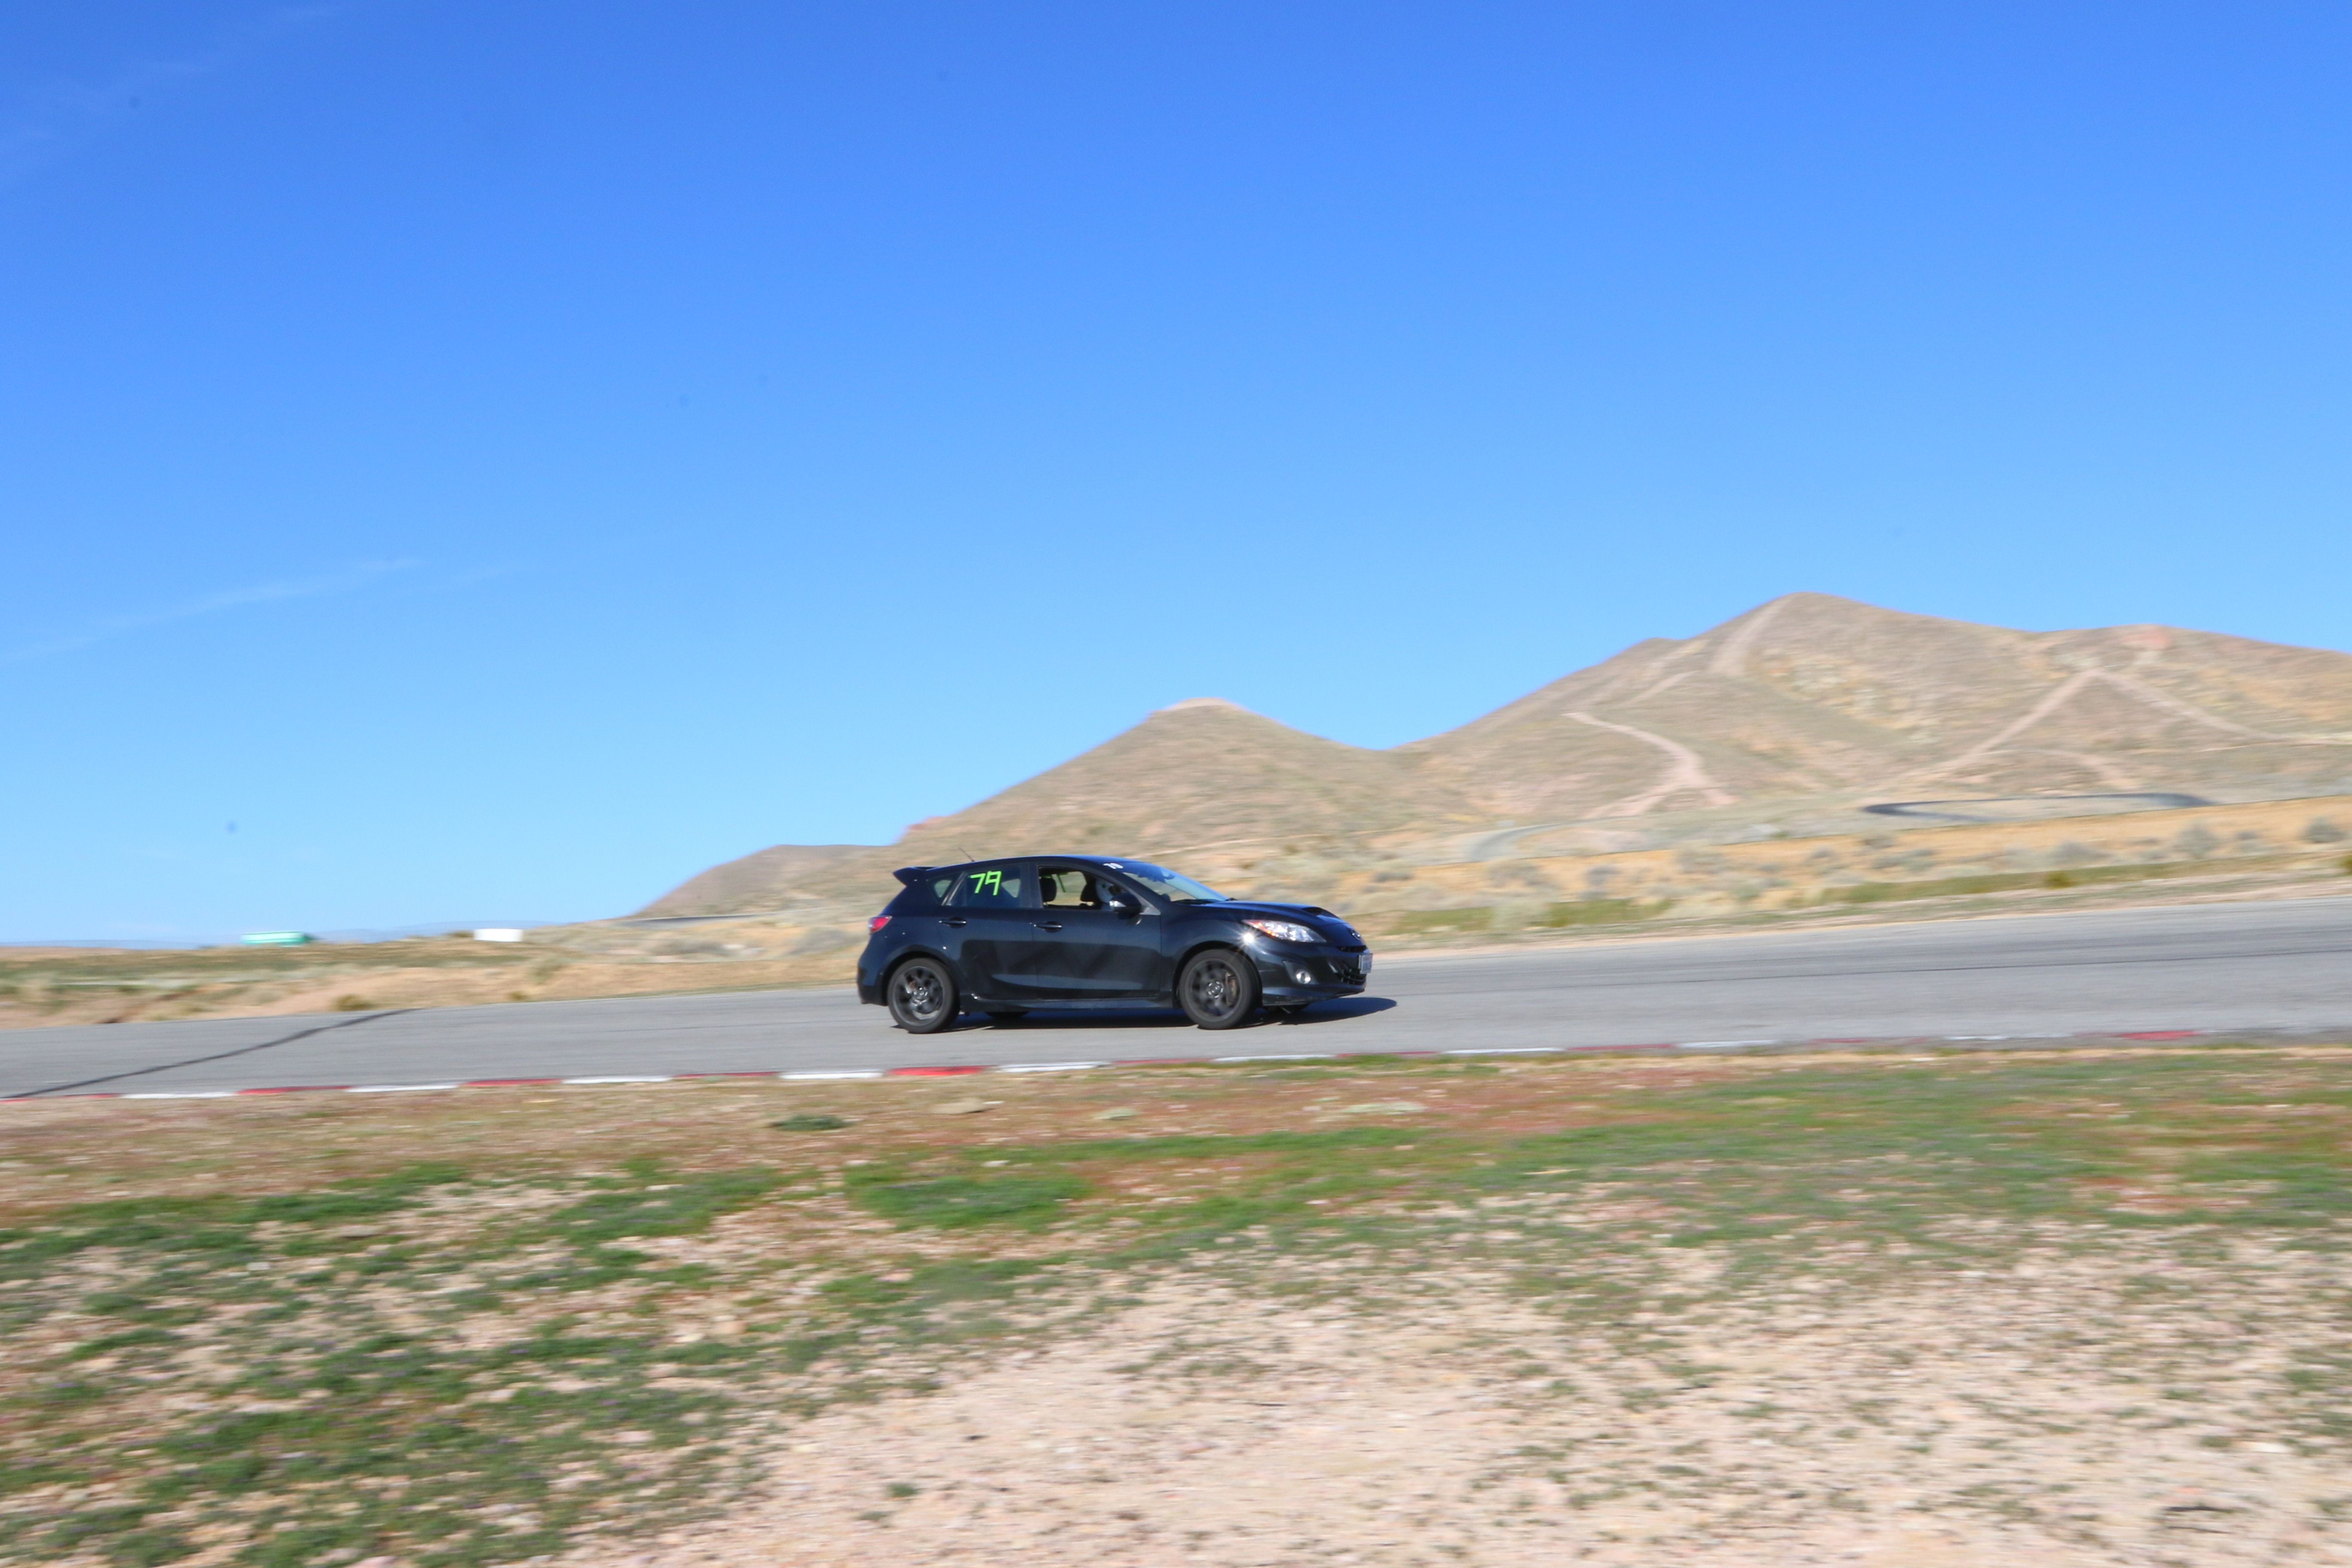
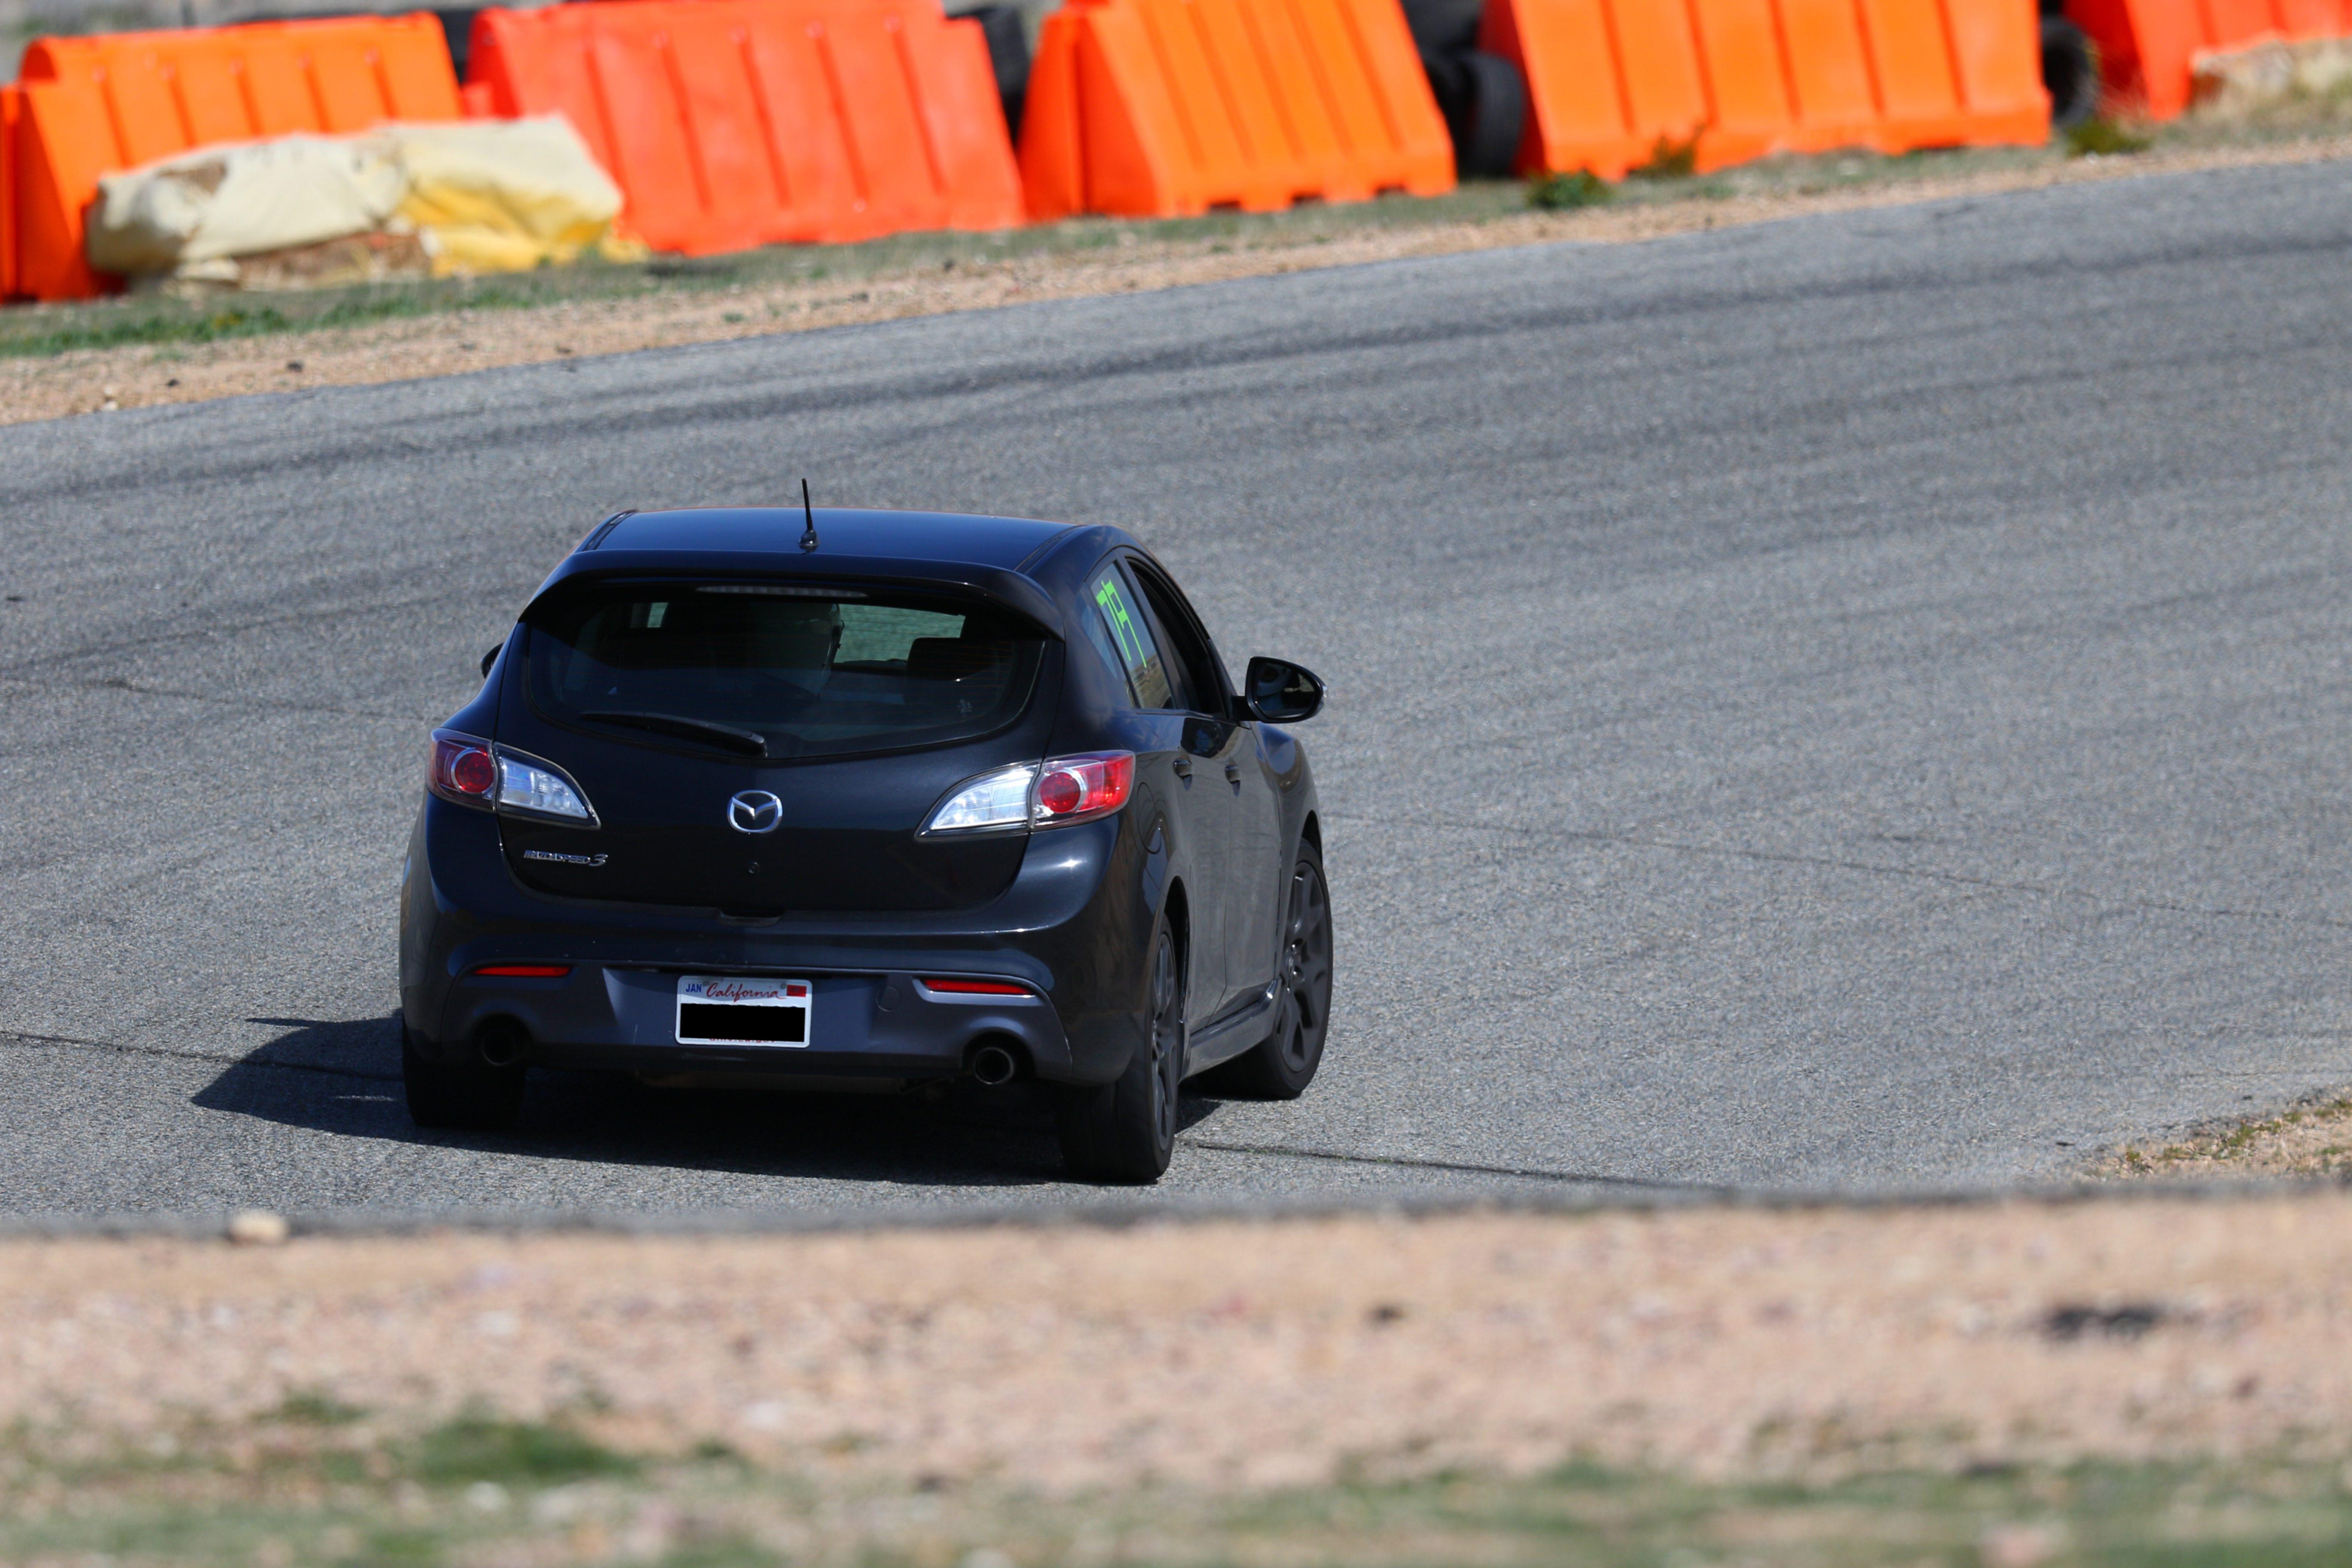
This day was my first time at any of the tracks at
Willow Springs,
specifically the 1.6-mile Streets of Willow Springs.
The Willow Springs complex has multiple tracks including three road courses:
Big Willow
is the original course and is longer at 2.5 miles but has fewer turns
and is focused on horsepower;
the Horse Thief Mile
is shorter (1 mile) with 11 turns and major elevation changes.
Prior to the track day I had studied a few videos from the track along with the
Race Optimal lines.
Race Optimal's analysis has a limited selection of cars and mine vaguely fits
between a Mazda MX-5 Miata and a Porsche 911 GT3 RS 4.0. The Miata is closer
but it's a much lighter (albeit less powerful) car. The Mazdaspeed 3 has a better
power/weight ratio and great gobs of torque but understeers badly in some
corners and scrabbles for adhesion under hard acceleration in a turn.
Beyond that, there were some surprises. The first was turn 2,
which I fortunately took slowly on the first lap as I hit the apex early
and there is no padding at the exit to compensate. I instantly gained a lot
of respect for that turn and was wary of it the rest of the day.
The other surprise was turn 9A. It's at the end of the back stright
so clearly important but what hadn't been apparent from my office chair
was that the unnamed slight left turn following it is blind, which is
bloody scary at nearly 100 mph!
The schedule had me in three 30-minute sessions in the morning, followed by
one after a lunch break, and then an open session for everyone towards the
end of the day. My third session ended a few minutes early as I was
running low on fuel. After my afternoon session, the advanced group's
session had just one car so they opened the track to all groups and I ended
up driving for nearly another hour, for 30 laps plus in and out laps and one
quick return the pits when someone behind me went into the dust in the
chicane. I quit for the day when I fumbled a shift: a stupid mistake after
a long day is a clear signal to stop.
Turn by Turn
My turn-by-turn commentary:
- Turn 1:
- Coming off the front straight, the most important thing is to use
the pit exit to maximize the radius of this turn. No braking is needed;
I backed off the throttle a bit at entry but with more confidence even
that might not be required.
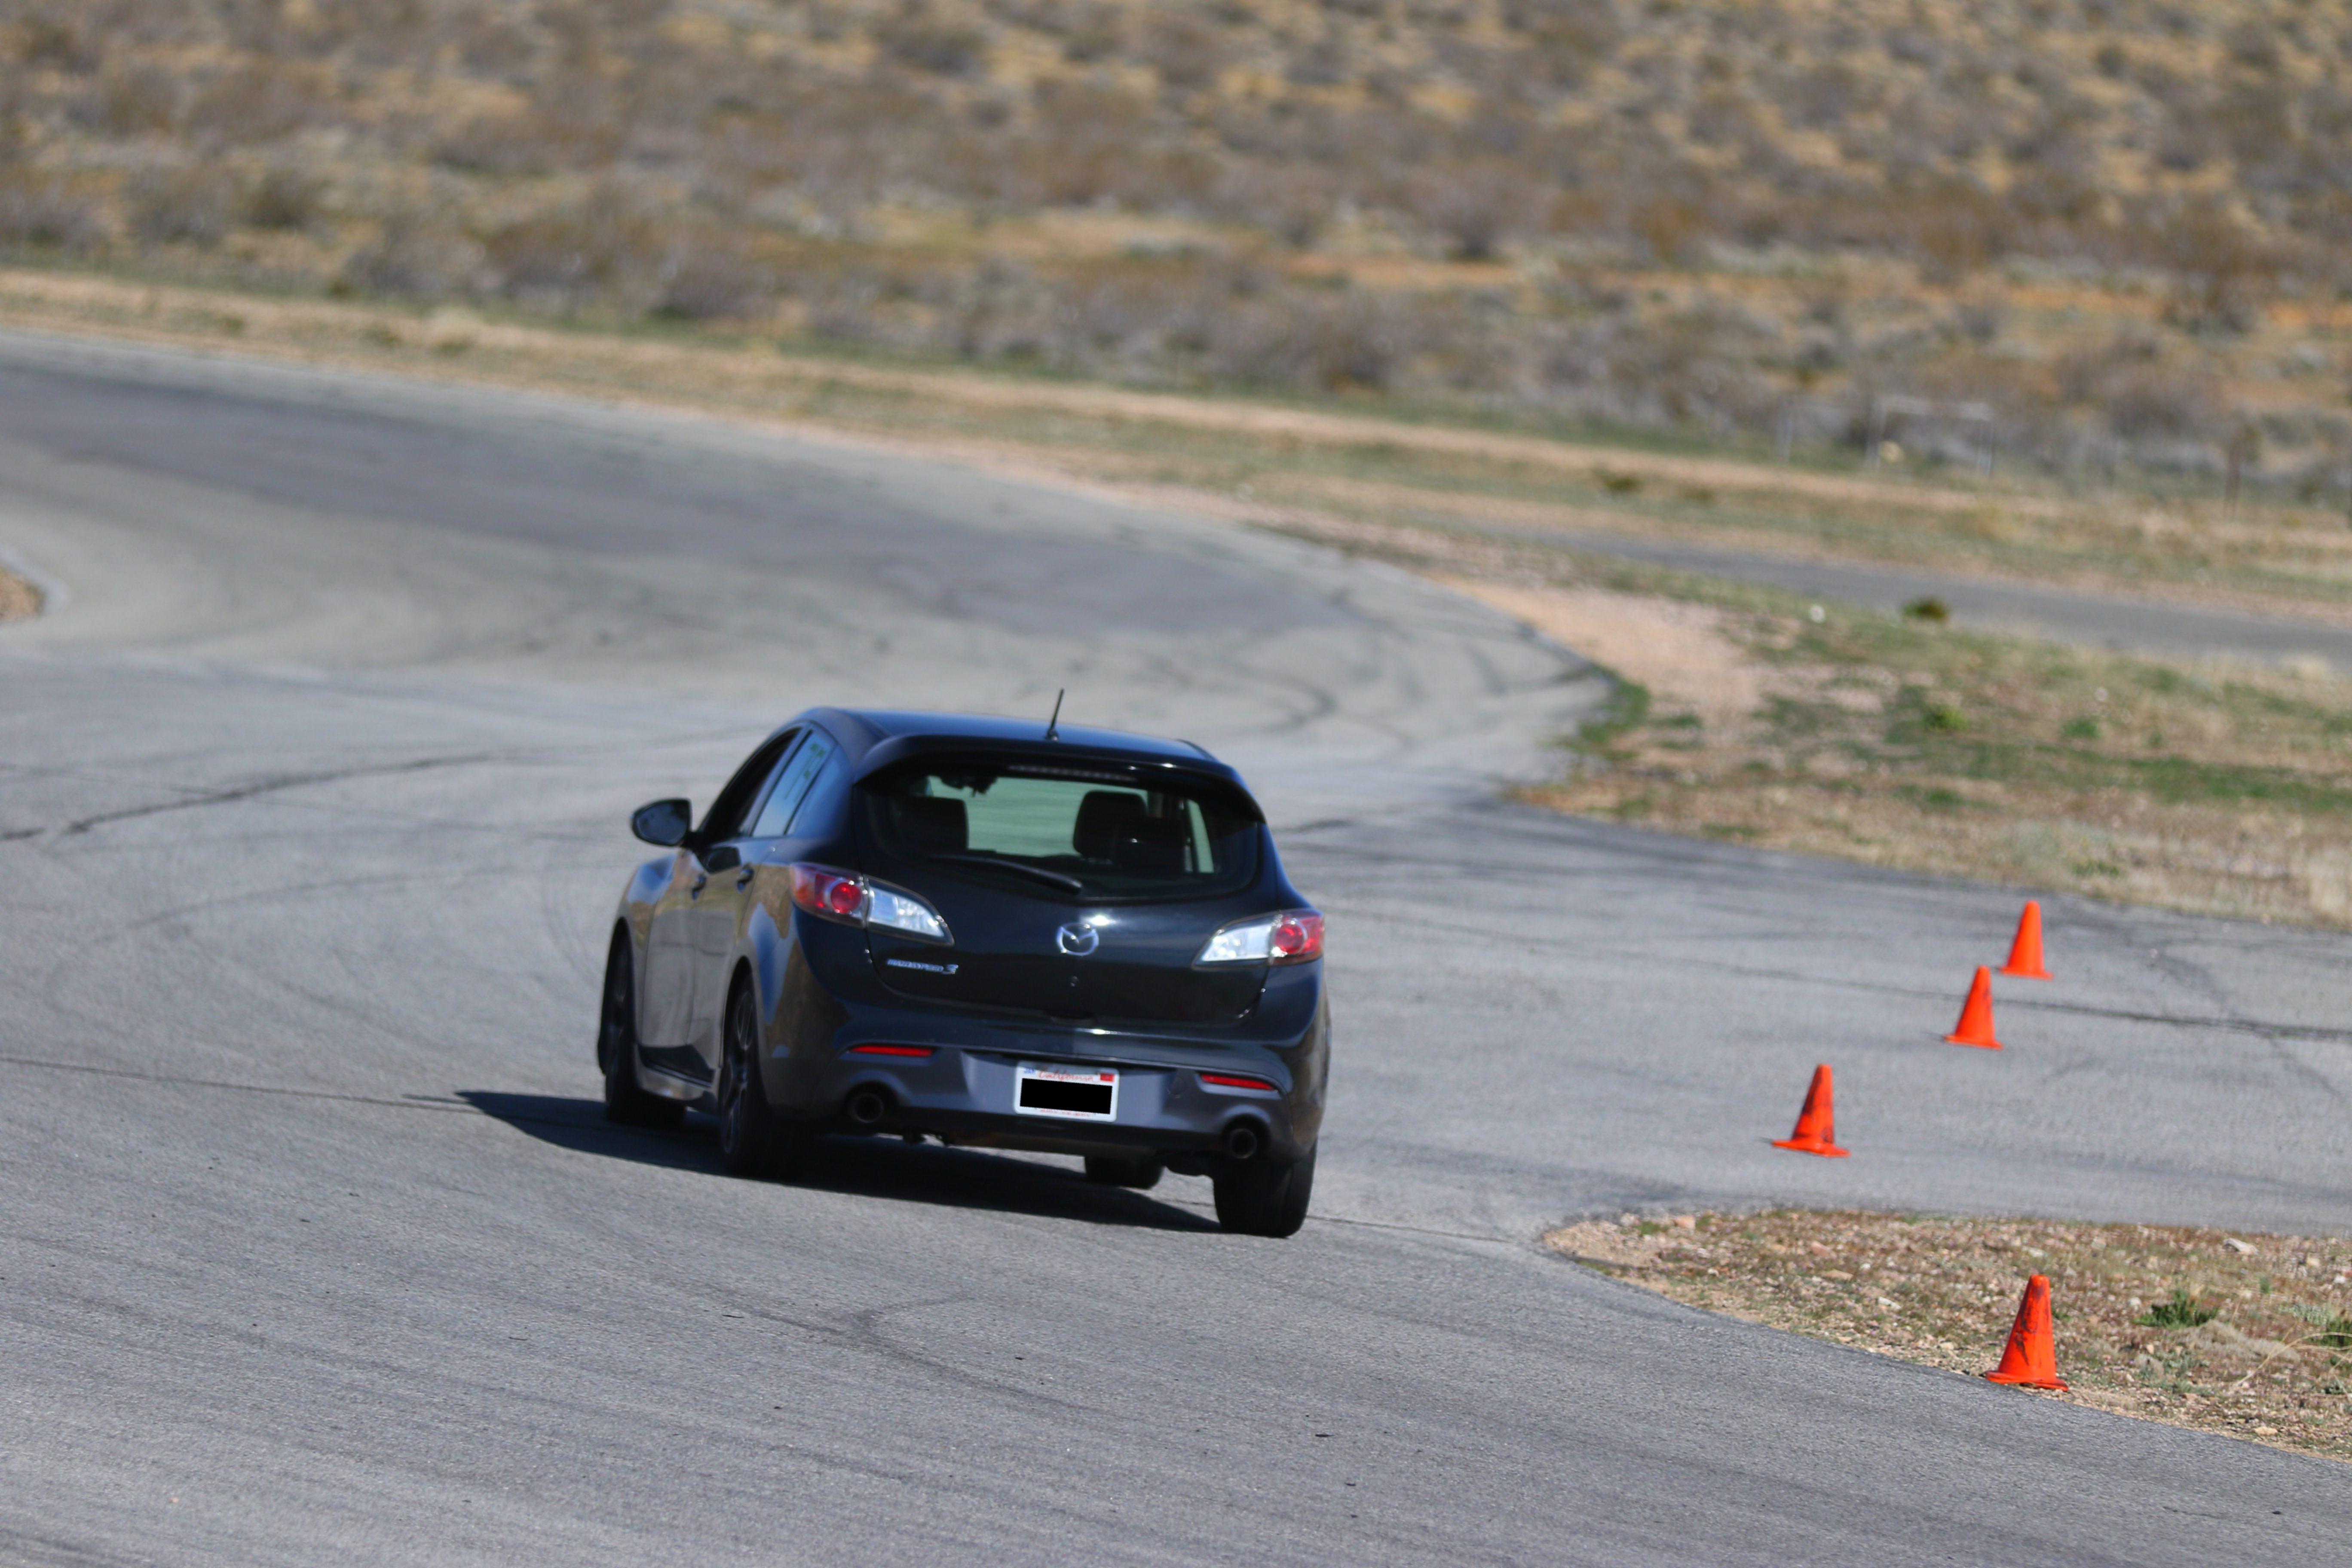
- Turn 2:
- This turn follows a slight crest and the high-speed run on the front
straight and through turn 1. The apex seems later that maps suggest.
I ended up braking late, with a downshift to 3rd gear, and going
very deep before making a sharp turn at the second cross-seam in the pavement.
This approach seems to work better for a car which is a bit too heavy to
corner tightly but which has abundant power to accelerate out of a tight turn.
- Turn 3:
- Coming between two tight turns, this double-apex turn isn't the most
critical turn on the track. My main goal was to hit both apexes tightly
and to wrestle understeer on the exit in order to stay left for the next turn.
As the day progressed my wrists became increasingly sore from this repeated
battle.
- Turn 4:
- Again, I settled on a deeper entry compared to Race Optimal's path,
in order to maximize the exit speed.
- Turn 5:
- Nothing notable about this turn.
- Turn 6:
- Speed is picking up through this turn and it's important to set up a
good entry for turn 7.
- Turn 7:
- This sweeeping left turn is the fastest part of the track other than
the two straights. I worked up to taking it at nearly full throttle,
transitioning into the next turn near the middle of the track as suggested
on at least one video rather than Race Optimmal's tight exit.
- Turn 8:
- The apex cone for this turn was near a pavement seam, with another seam
just before it. I aimed for the second seam (the cone could move) with full
throttle at the first seam so the turbocharger would be spun up at the apex.
More often than not, caution overwhelmed courage and I was late on the
throttle, undoubtedly costing a few fractions of a second. As the boost and
power picked up I gradually unwound the steering wheel then used the exit
cone as my marker for an upshift to 4th gear.
- Turn 9A:
- This looks like a gentle turn at the end of the back straight,
not much of a challenge. What track maps don't show is that it is at a slight
crest and thus blind. Not like The Corkscrew at Laguna Seca but just
enough to be terrifying at nearly 100 mph. A slight left-right chicane
follows this turn and I knew that it could be driving in a straight line,
but it took quite a few laps of observing other drivers and cautiously
working up to my limits to do so. By the end of the day I could take it
at nearly full throttle.
- Turn 9B:
- Although appearing sharp on the map this turn is quite fast
and really does not require any braking before the entry. I rarely managed
that much courage and usually used a slight tap on the brakes before
entering this turn. Maybe next time I'll go at it without hesitation.
- Turn 10:
- Again, Race Optimal shows a wide turn, but I elected to
sacrifice this turn in order to carry speed from the back straight and
the 9A/9B chicanes as long as possible, then brake hard and downshift
(to 3rd gear) to get a better run at the following turns.
For my car, I think this works better.
- Turn 11:
- My goal here was to make this turn as broad and thus fast as possible,
even if it meant giving up a little on the before and after turns.
- Turn 12:
- Hard braking before this left turn set me up for the critical next turn.
- Turn 13 (Skidpad):
- This turn ended up being the most troubling. It is an important turn as
it leads onto the front straight Since it is on the skidpad one can take it
as tight or wide as desired. I experimented with a tight turn against the
cones or a deeper hook allowing a larger-radius exit but no matter what the
limiting factor ended up being front-tire adhesion coming out of the turn.
- Start/Finish
- This line was my reference point to upshift to 4th gear.
One curious detail is that my speed on the front straight kept going
down throughout the day, despite lap times improving. During
my first session, my speed hit 90.0 mph during the fastest lap.
By late afternoon, my best lap time was almost exactly two seconds faster
yet the top speed on the front straight was only 83.6 mph. I hadn't
noticed this oddity until I was home. It's probably due to the struggle
for adhesion coming out of turn 13, with lots of wheel spin.
Comparing morning and afternoon sessions it looks like it might be worth
sacrificing turn 12 to get a better entry onto the straight. I'll
look forward to another chance at the track to work on this detail.
Brakes
In addition to being a new track for me, this was also my first time using
G-LOC
brake pads and other brake upgrades
(brass caliper bushings and braided stainless steel brake lines)
via Damond Motorsports,
with great support from
Helming's Auto Repair.
Whereas my previous brake pads broke up from the heat of a
track day at Laguna Seca,
the G-LOC brake pads took the punishment with only a bit of scorching.
The R12 pads in front, with an operating range of
78C to 1015C (173°F to 1860°F), came out with 90% of the material remaining
and may last through an entire season.
(R10 compound sufficed for the rear pads on this front-heavy car.)
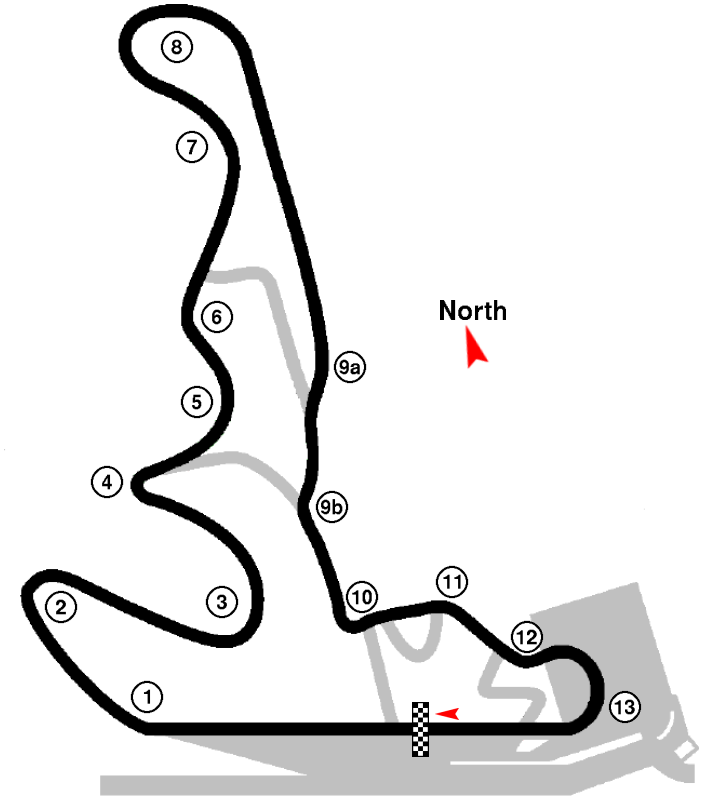
Tires
Tires take a beating on the track in various ways. It's difficult to see
in the photograph at left but the leading edge of the tire block (the right
edge) is rounded whilst the trailing edge (at left) has a sharp, feather edge.
This happens when the rubber melts and flows backwards.
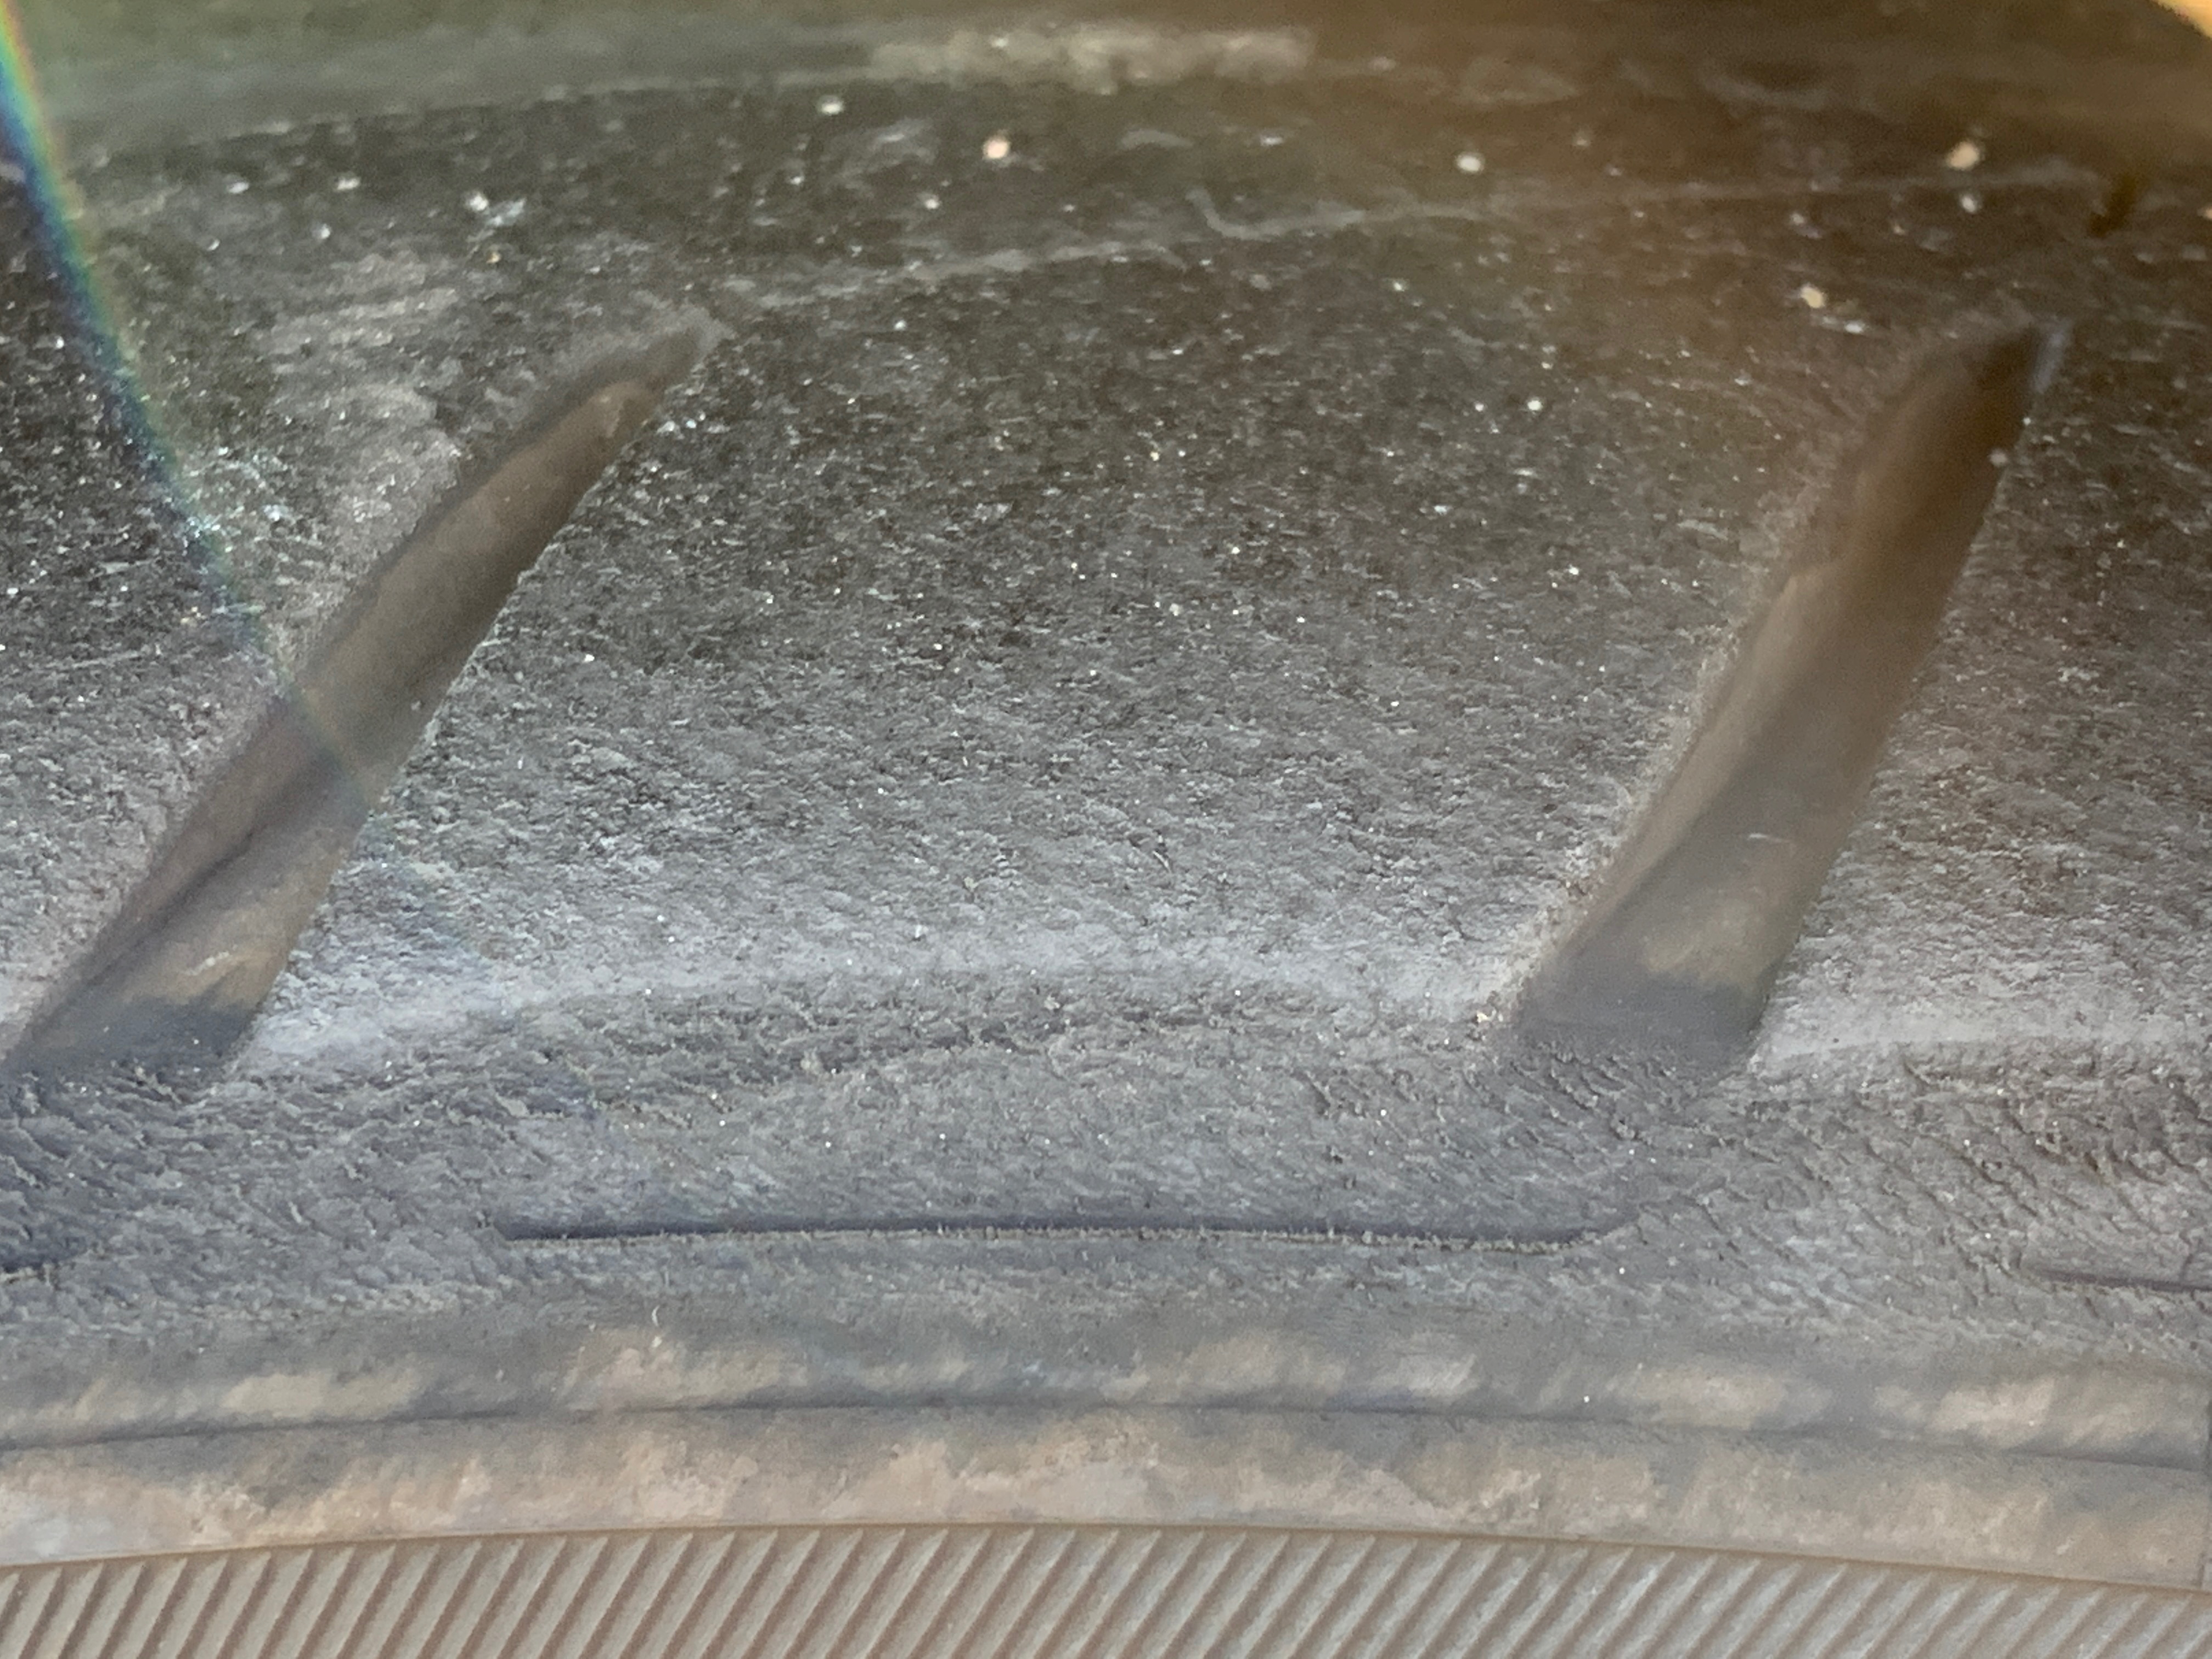
The larger view on the right shows where some chunks of the tire tread broke
off on one of the front tires. This is usually the result of high heat
vulcanizing and hardening the rubber.
Stickier tires are probably the answer to the adhesion problems observed
in turn 13 but poor wear life make such tires are a poor choice for
everyday use. Until I get an extra set of wheels for track use I'll have
to compromise on tires. As it is, the current tires are nearly worn out
after just 4,500 miles of use, albeit with three track days under
their steel belts.
Video
Best lap and several passes
This video
(QuickTime version)
shows five laps from the mid-afternoon all-groups open session.

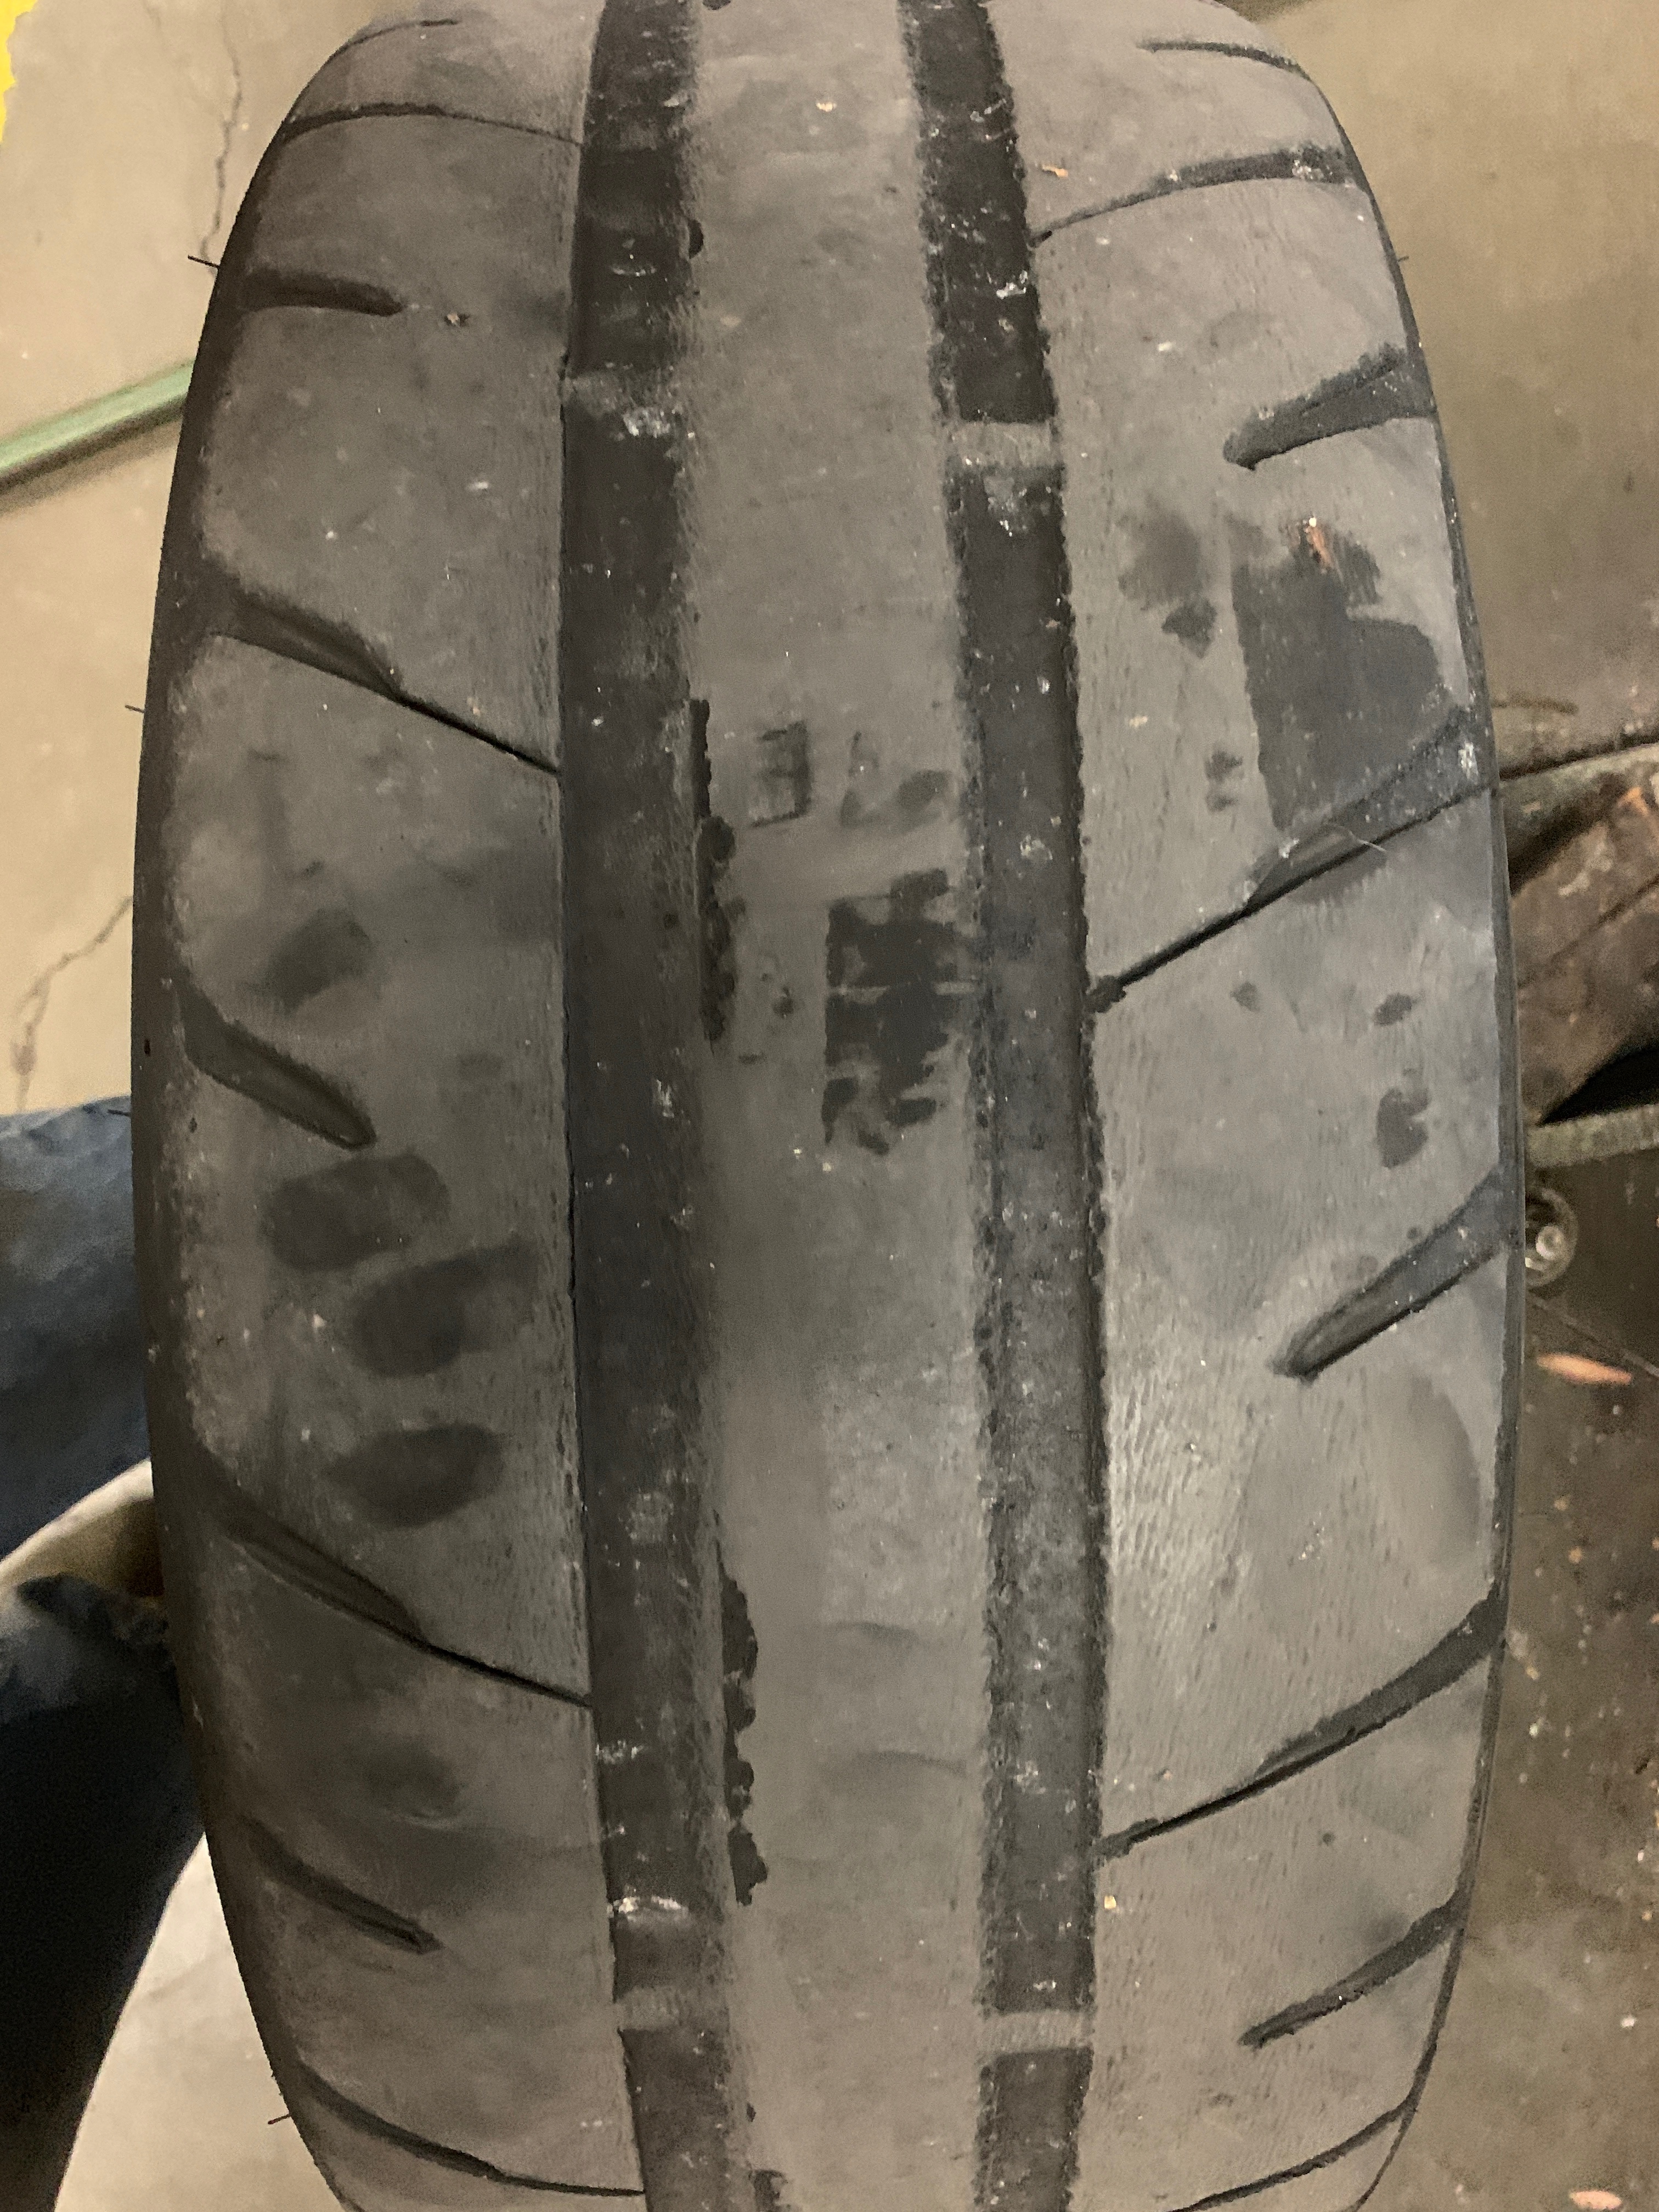
Best of all ...
I passed a Cadillac!
Lap 24 was my best of the day, with a lap time of 1:36.064 and average
speed of 59.1 mph. I had hoped to get below 1:36 but couldn't quite
get there.
In lap 25 I caught up with another Lotus, and then we caught up with
a BMW Z3 (an M Roadster, I think). I finally passed both of them
on the back straight during lap 26.
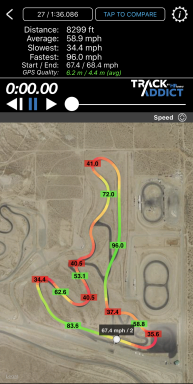
Lap 27 was again without traffic and was my second fastest lap at 1:36.086.
Quite a bit of information is overlayed on the video. The vertical histogram
at the left shows throttle position; the target to its right shows
two-dimensional acceleration. The two horizontal bars at bottom left
show RPM and the turbocharger's boost pressure, with the numeric values
to their right. At lower right is a map of the track showing the
current track location in the video.
(Video from the Track Addict app
with additional data via a
PLX KIWI 3
OBD adapter.)
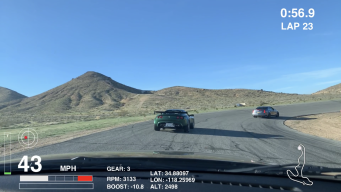
Catching and passing a Lotus Elise
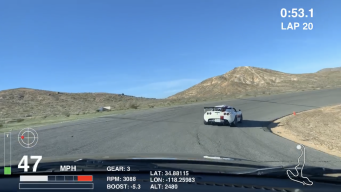
The second video
(QuickTime version)
shows a couple of laps in which I caught up with and eventually passed a
Lotus Elise Series 2. Although the Mazdaspeed 3 has significantly
more power, it weighs about 70% more. Eric, the driver of the Lotus, was
impressed that I could catch up and pass him, then amazed when he learned
that the engine was stock, with brakes being my car's only performance
enhancements.
Thank you to Mazda and Jinba Ittai:
although the Mazdaspeed 3 has some quirks I'm learning how to work
with them, and with that mischief managed the car is a wonderful partner
and a powerful implement of speed.
References


 Heading out from the office with Greg in his MINI
 Lilly, part of the pit crew